
Composite Layup Tutorial
Purpose
This page acts as a tutorial for performing high quality composite hand layups with vacuum bag use. Many factors are to be considered in the setup and performance of a composite hand layup. Due to the timely nature of epoxy resin working/curing times in composite layups, these factors must be considered before performing the layup and a clear and consise plan should be should be created prior to beginning.
Setup
Setting up for a composite layup involves gathering materials, prepping layup surfaces, and prepping vacuum pumps.
Gathering materials
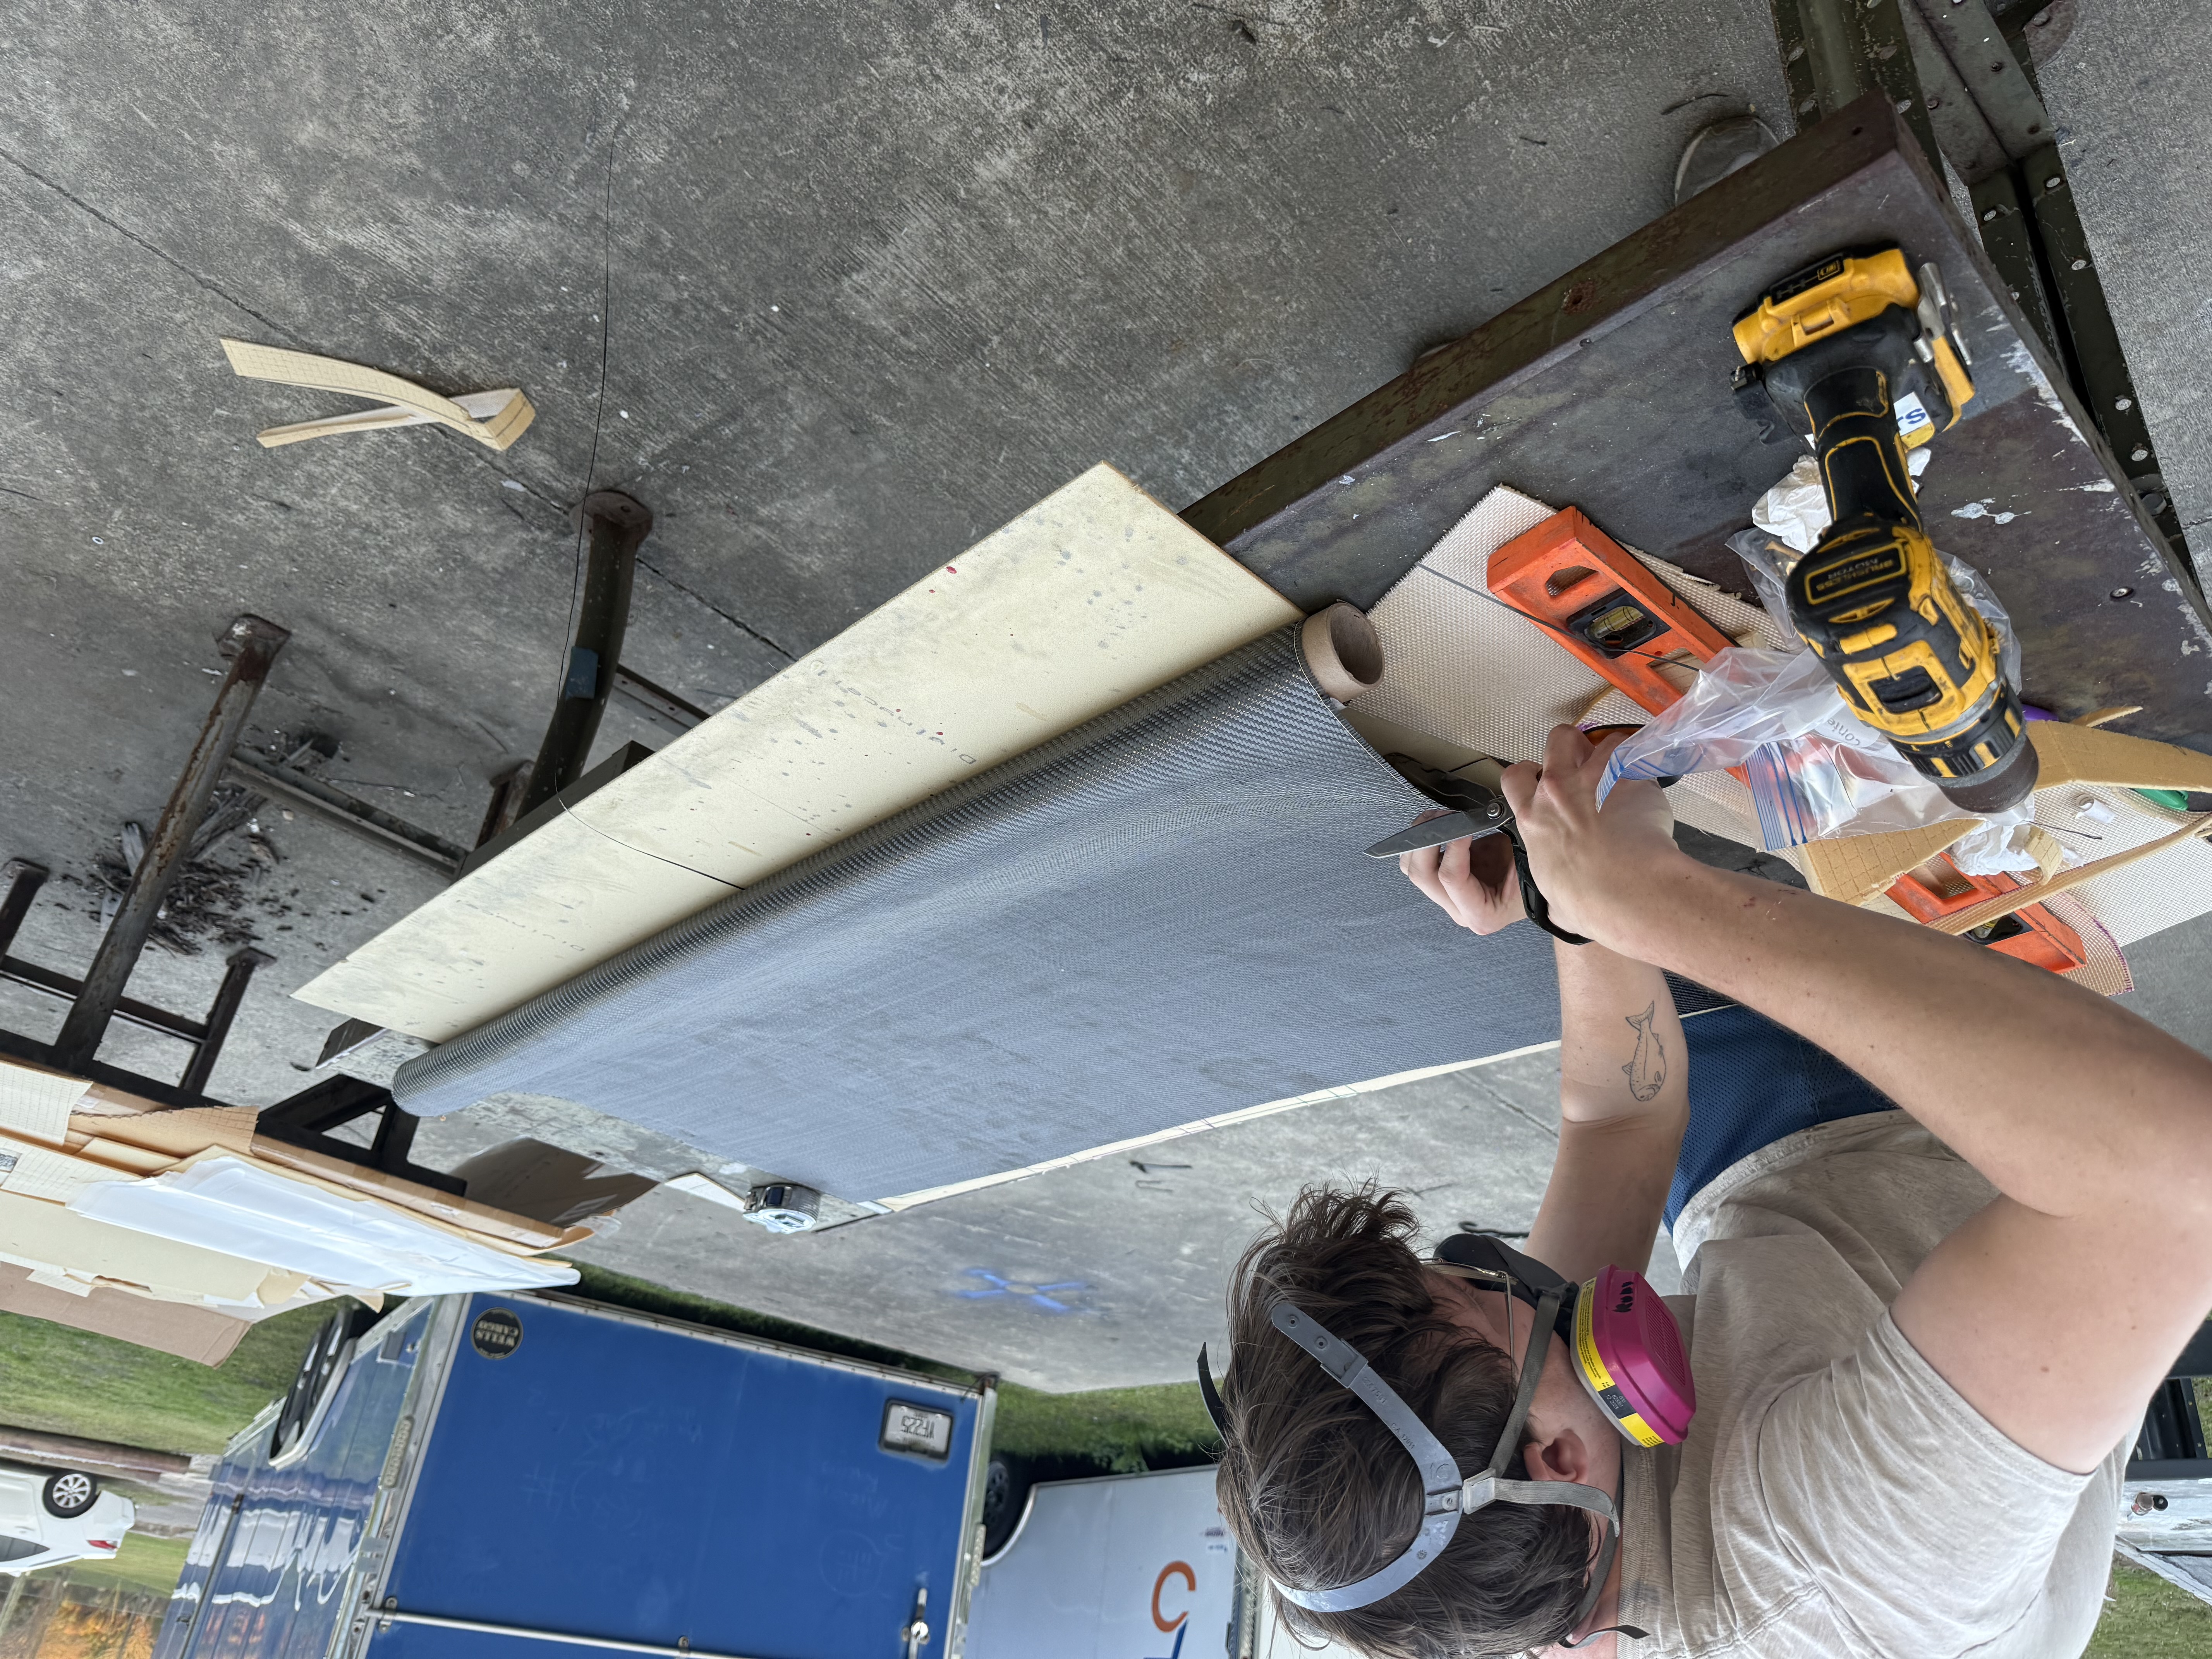
The materials for a composite layup include
- Composite fiber (Carbon fiber, Fiberglass, Kevlar, etc.)
- Resin (Epoxy, Polyester, etc.)
- Peel ply
- Breather
- Vacuum bag
- Tacky Tape
- Vacuum Pump
- Vacuum Puck (Frog)
- Paint Brushes/Squeegees
- Scissors
- Core (Foam, Nomex, etc.) [Optional]
Ensuring materials are properly cut and sized before performing a layup will save time and allow for a smoother procedure.
The amount of composite fibers, resin, and core depend on the design of the part to be made. Consider the desired weight, strength, cost, and stiffness of a composite part to determine this.
Peel ply and breather must be cut out to fully cover any portion of the layup that will be wetted out with epoxy resin. The purpose of the peel ply and breather is to remove excess resin from the layup, creating a higher fiber ratio and a lighter part.
Prepping Layup Surfaces
The surface on which a layup is to be performed must be prepped prior to a layup, which includes cleaning and waxing.
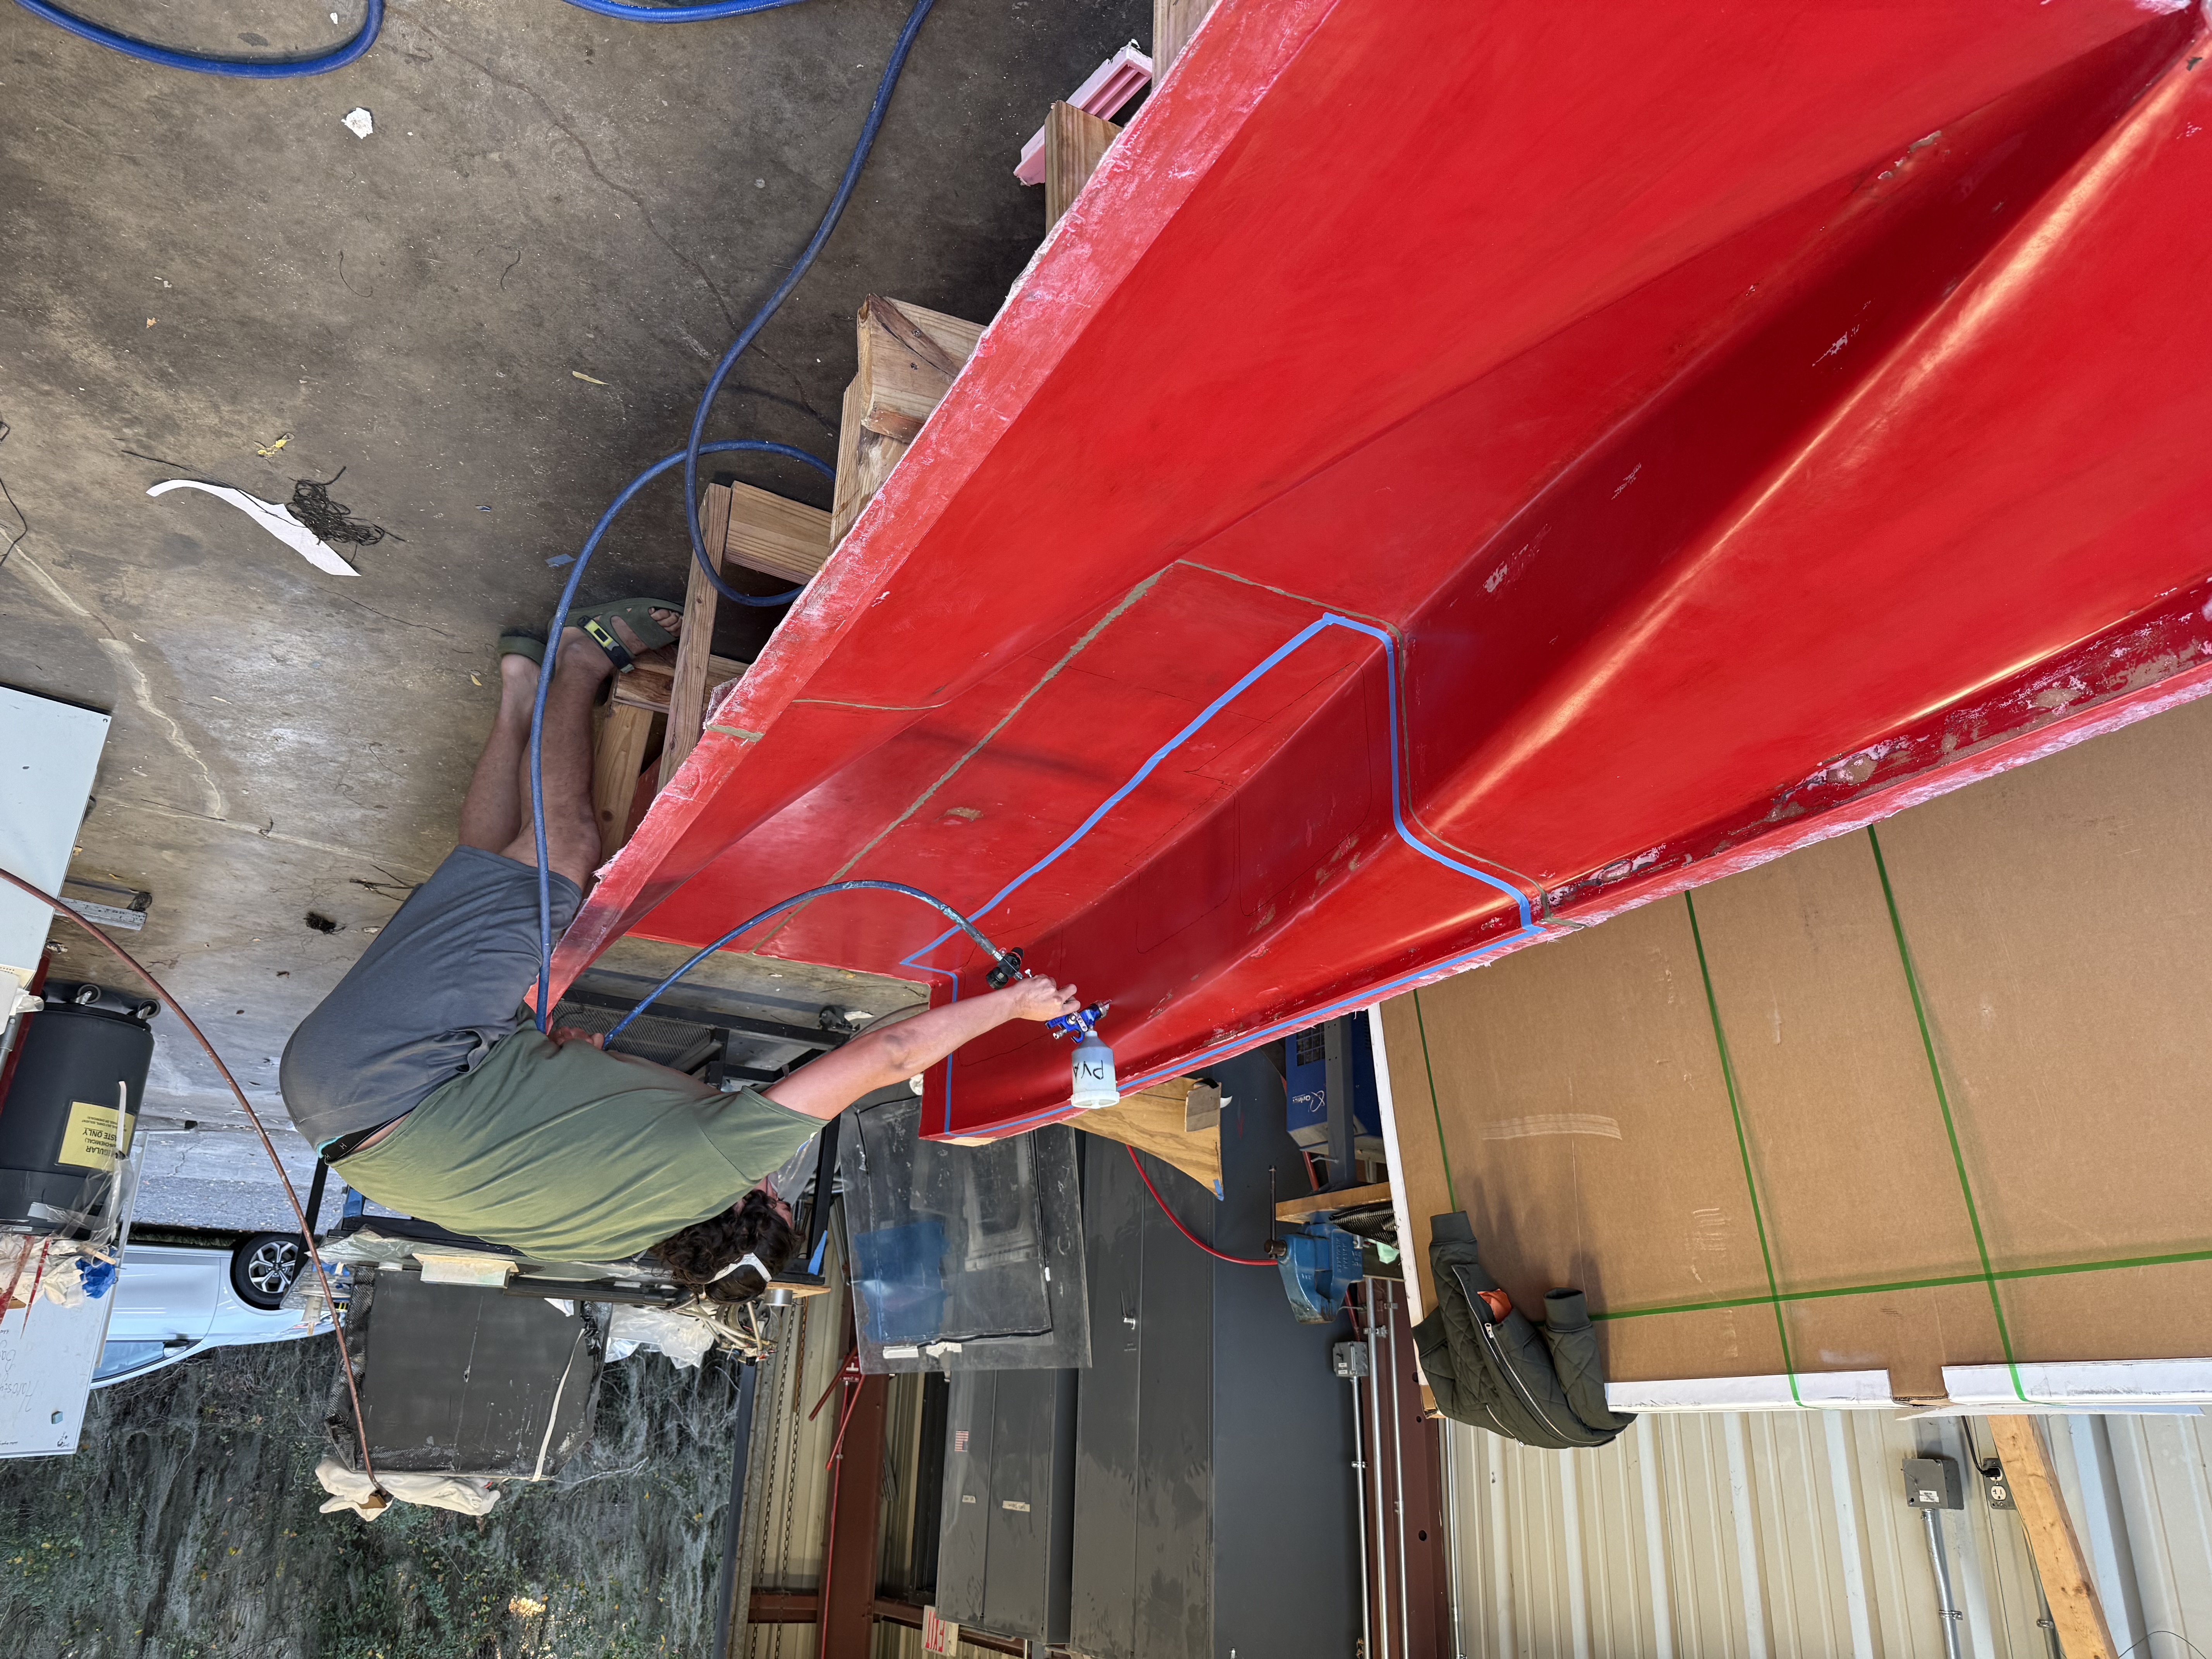
Any contaminants on the surface should be cleaned with isopropyl alcohol. Once the surface is cleaned, it should be waxed with #2 partall paste, PVA mold release, or covered in a mold release film. This ensures the finish part will detach cleanly from the layup surface. Consult wax instructions for prep times.
Preparing Vacuum Pumps
The amount of vacuum bag and tacky tape depends on the type of vacuum seal to be made. An envelope vacuum completely encapsulates a part and is generally used for smaller geometries. Envelope vacuum bags can be thought of like a ziploc bag, putting a part inside and sealing with tacky tape. More traditional vacuum bags outline an area for layups to be performed, and vacuum bags seal against the layup surface. This type of vacuum bag uses less material and can be easier to perform, especially for large parts.
Once the vacuum area is determined for a traditional vacuum, tacky tape can be layed on the perimeter before the layup has begun to save time. This tacky tape will need to be covered in painters tape to ensure resin does not contact the tacky tape. Resin in contact with tacky tape will compromise the tapes ability to seal the layup from the surrounding atmosphere.
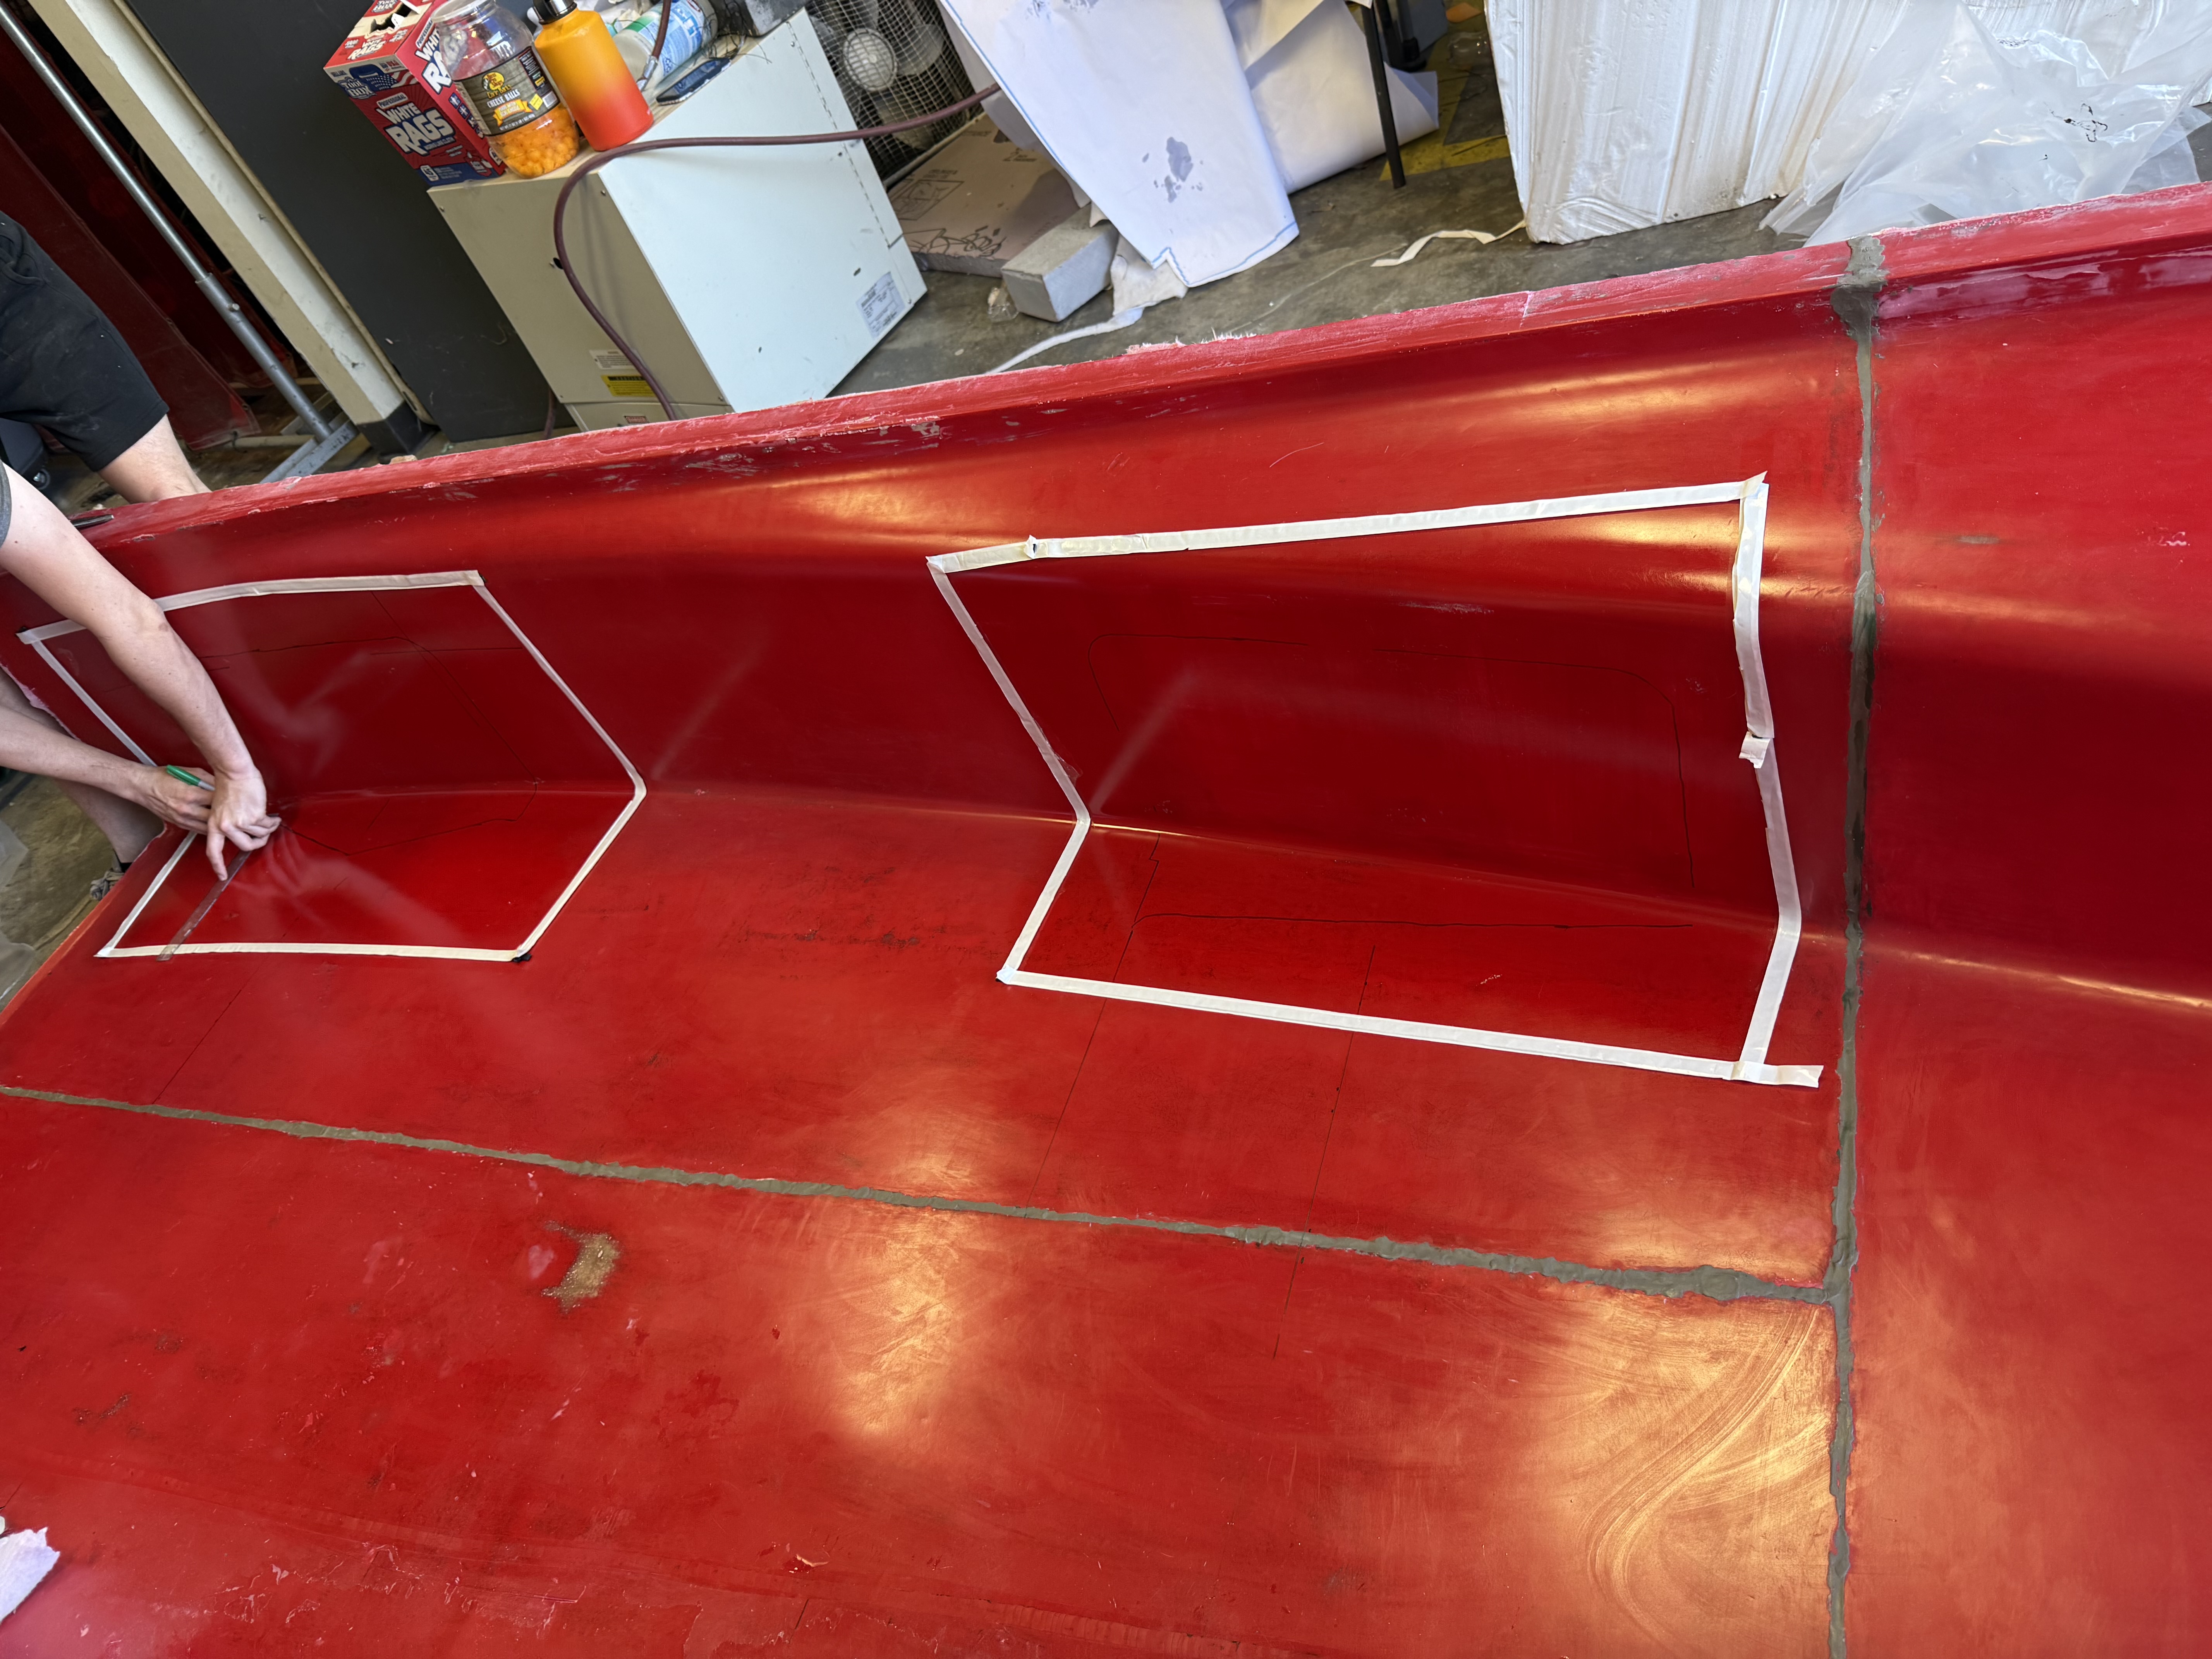
The amount of vacuum pumps depends on the size of the layup and the amount of potential leaks. Layups with large tacky tape perimeters have a higher chance of air leaks, and so more vacuum pumps may be desired. Most small parts will be sufficient to layup with just one vacuum pump.
Performing the layup
Once the setup is complete, the composite layup is ready to be performed. One last thing to consider before performing a layup is the manpower required to perform the layup. The vacuum bag of the layup needs to be working before the end of the working time of the resin used. Consider the size of the layup and the working time of the resin to determine how many people should be present for a layup.
Applying Resin
Once resin has been mixed with hardener, the layup has begun. The layup surface should first be coated in a layer of resin before any composite fibers are used. This will help ensure the fibers are completed coated in resin, since dry spots in the fibers can compromise the integrity of a part. Be careful not to remove any PVA on the surface of the mold or wrinkle any release film when performing this step. In general, a blotting motion with paint brushes is encouraged as opposed to a brushing motion.
Applying Composite Fibers
Once the layup surface has been sufficiently covered in resin, the composite fibers can be placed onto the layup surface. Ensure fibers remain woven tight while placing and applying resin the fiber. Again, a blotting motion with paint brushed is encouraged. Squeegees are fantastic at evenly applying resin across the whole area of the fibers, but must also be used with caution as too much pressure can compromise a fiber weave as well. 
Applying Core Materials
Composite layups with core need to be very careful with resin use. Any resin that becomes soaked into a core material adds unnecessary weight to part, defeating the purpose of the core. When using core in a layup, no resin should be directly applied to the core. Instead, a layer of fibers should be placed over the core and resin shall be applied to that layer of fibers. Ensuring this subsequent layer of fibers is properly wetted out with carbon is crucial, since it will be placed onto a dry core surface.
Peel Ply and Breather
Once the sufficient amount of fibers and core have been laid onto the layup surface and wetted out with resin, the layup will not be covered with peel ply and breather. The peel ply acts as a barrier between the resin and the breather, since peel ply is porous and does not stick to resin. The breather soaks up the excess resin that has passed through the peel ply. Important to note: the peel ply should be slightly larger than the breather and completely cover any parts of the layup that contain resin. Since breather will stick to the layup, any breather that is in direct contact with the resin will stick to it and cannot be removed later. It is common practice to cut breather about an inch in from the edge of the peel ply during a layup. Extra breather should be placed in spots where vacuum pucks are going to be used to ensure no resin gets sucked into the vacuum line.
Vacuum Bag
Once the all the parts of the layup are in place, the vacuum bag can be attached and hooked up to the vacuum pumps. Ensure vacuum pucks have been placed on the layup before sealing the vacuum bag. The masking tape covering the tacky tape should be removed carefully as to not accidentally move the tacky tape or come into contact with resin. The vacuum bag should be completely sealed using tacky tape. A pleat may be needed to ensure a vacuum bag conforms to the shape of the layup.
Attaching the Vacuum Pump(s)
A small hole should be cut into the vacuum bag in the center of where the vacuum puck has been placed. The vacuum line can now be sealed onto the vacuum puck to start to removal of air. Monitor the pressure of the vacuum and fix any potential leaks in the vacuum bag. A proper vacuum should a pressure >25 inHg to maximize removal of resin. Add pumps/fix leaks until a sufficient pressure has been reached.
Post Processing
After a Layup is done, the vacuum pump should continue pulling for 4-6 hours, or until resin is set. After turning off the vacuum, leave the part in place until resin is fully cured, generally 24 to 48 hours. The remove the layup from the layup surface and remove the peel ply. Trim the part to final size if needed.
Congrats! You have completed a composite layup.