
New Page
The following document is for setting up a file for Water jetting (WJ) at MAE C. To send a file to be WJ you can contact Jeff Bielling Waterjet Software Instructions.docx. . The main difference between this document and the one linked above is that you do most of the work at the machine in MAE C. Here we will just set up the dxf.
After following this short guide, use this AWJ guide to go WJ at MAE C.
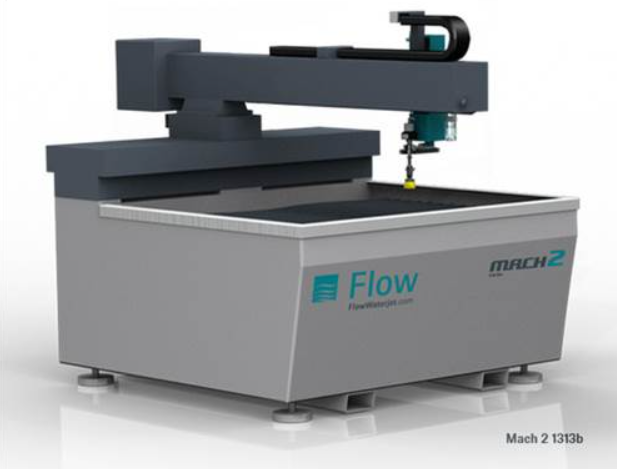
Step by Step
First open the file you want to WJ in SolidWorks and look normal to the face you would like to WJ. Remember the WJ can only cut out 2D contours.
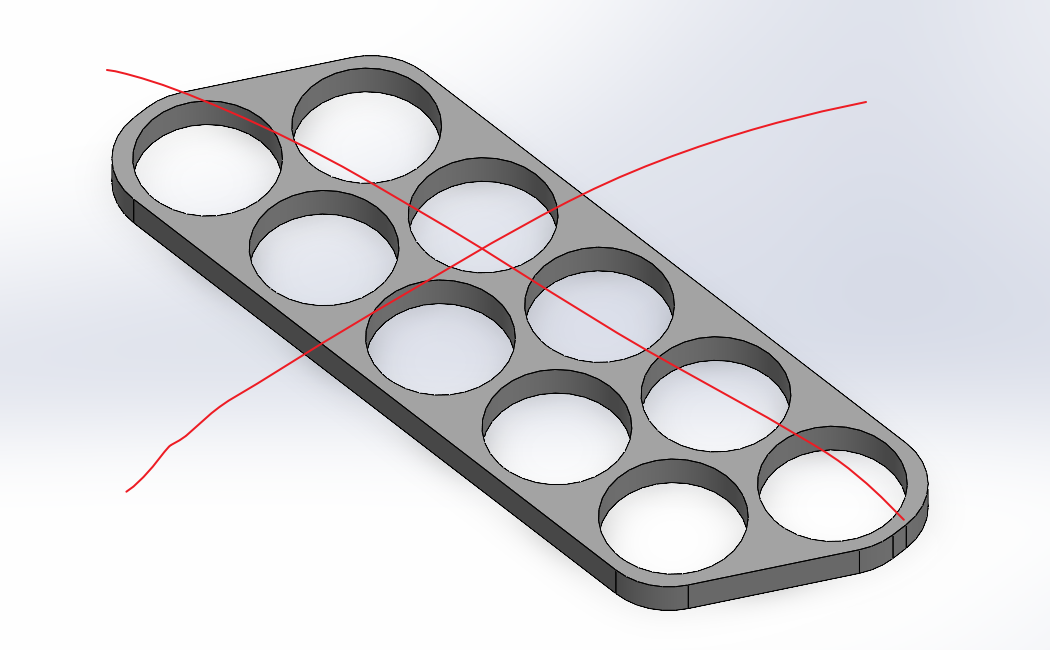
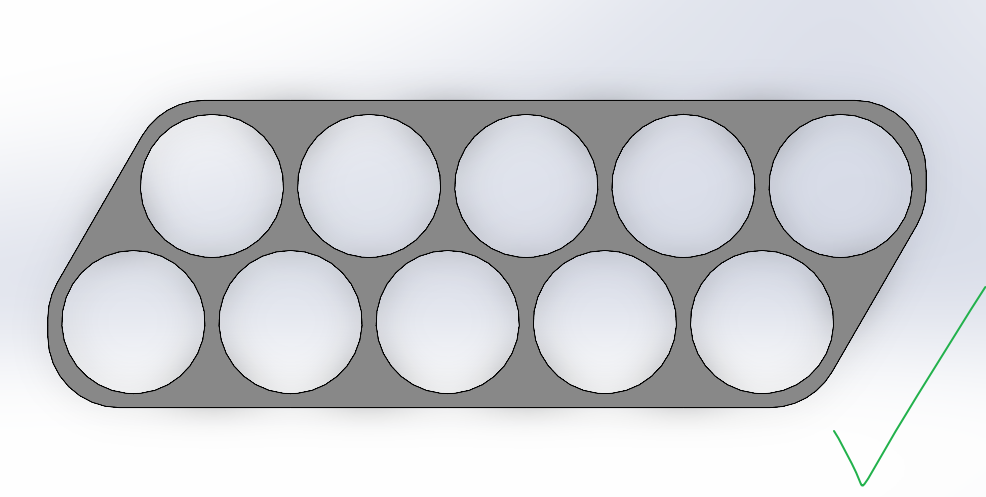
Then go to “Save As”
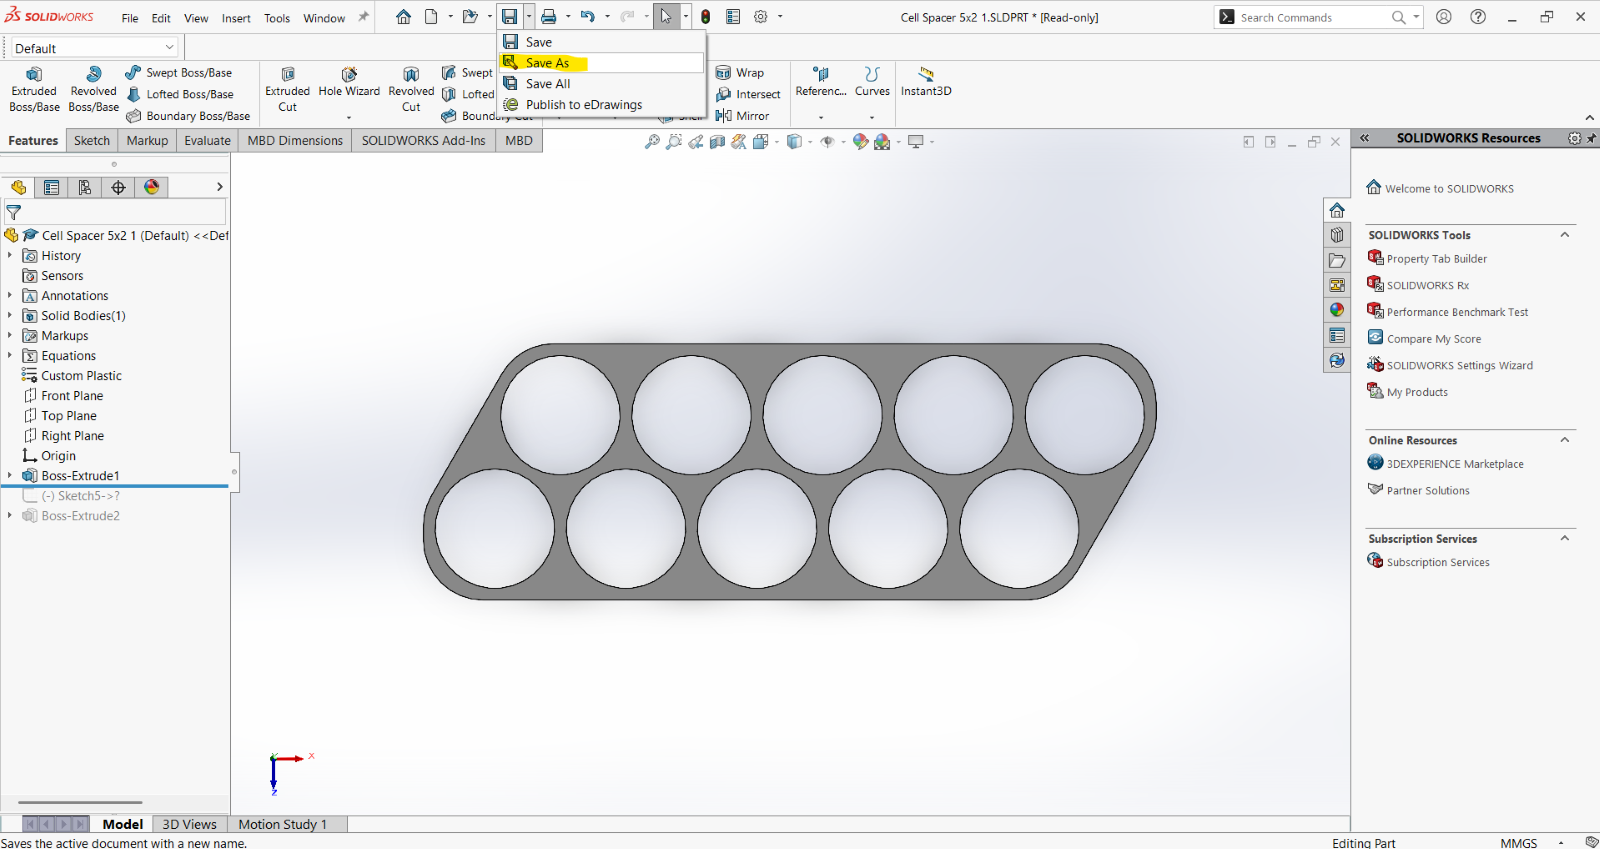
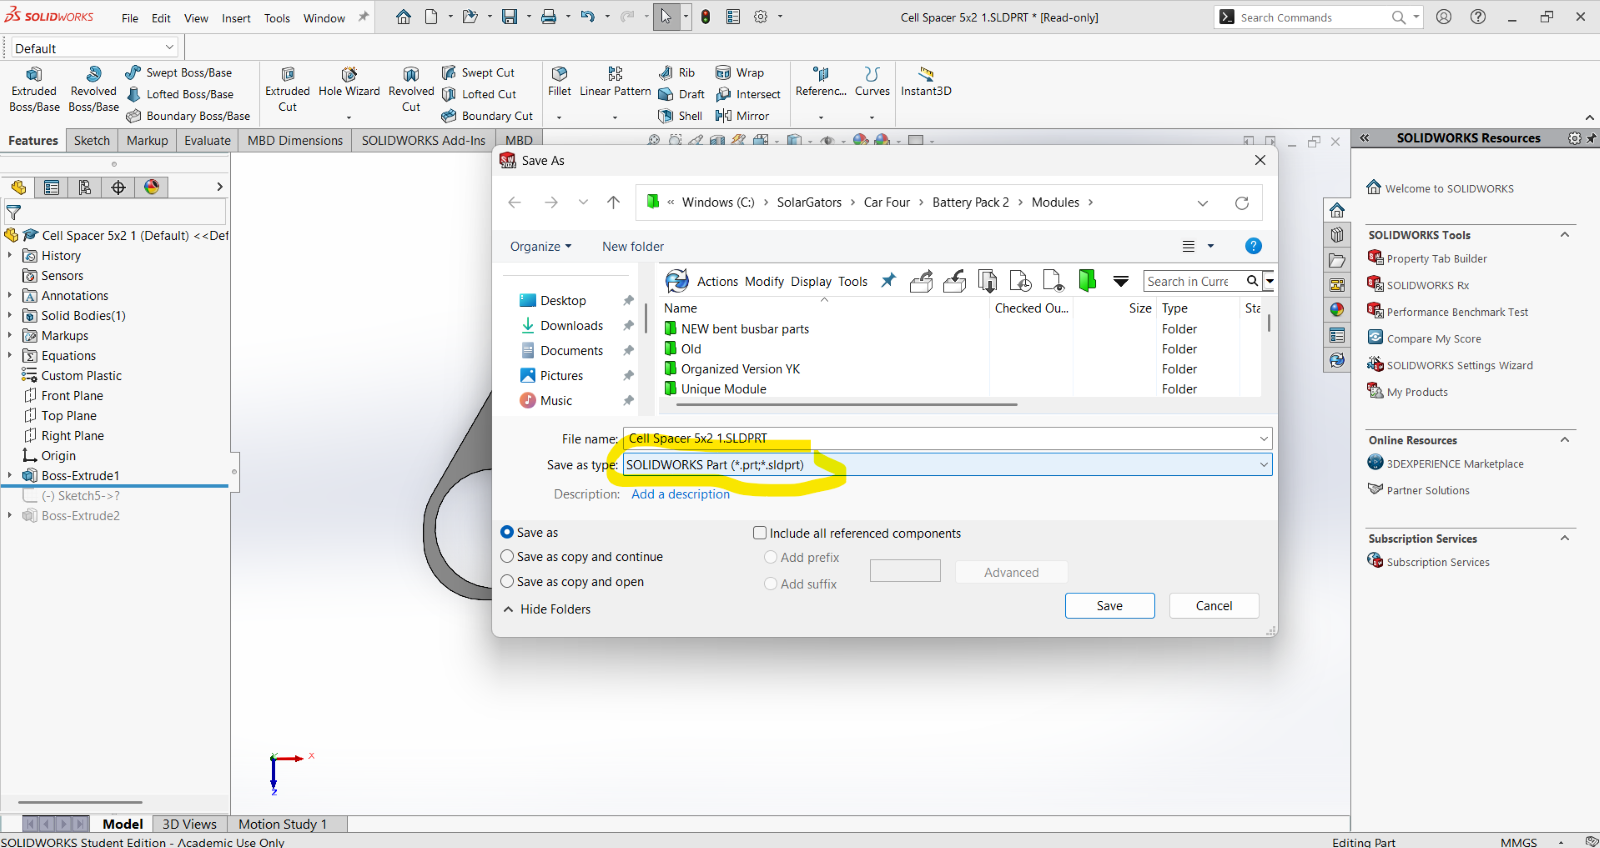
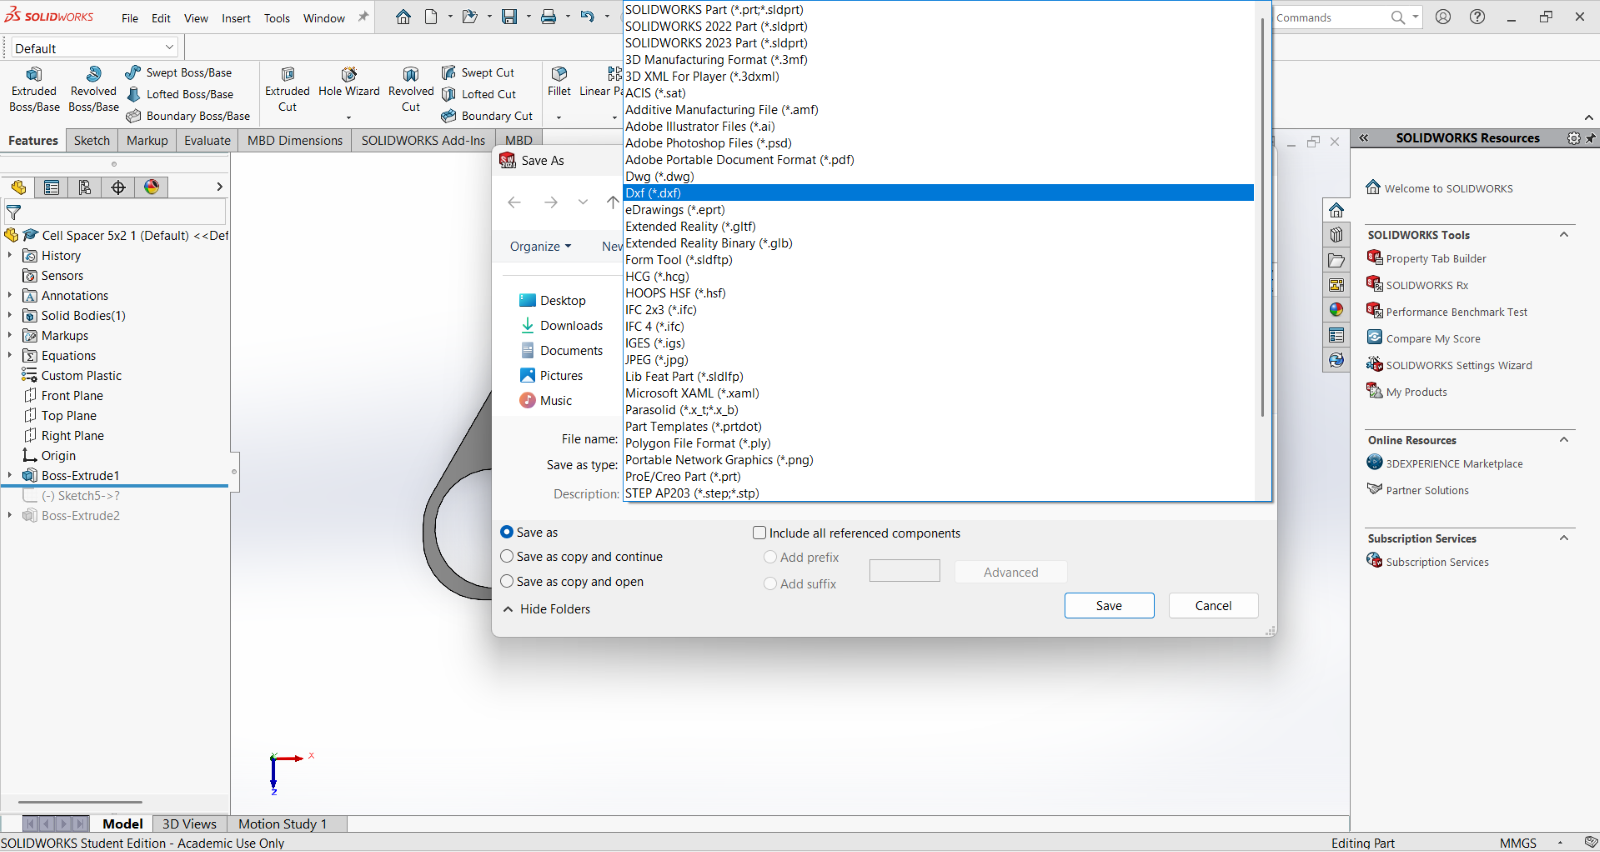 Save as a .dxf
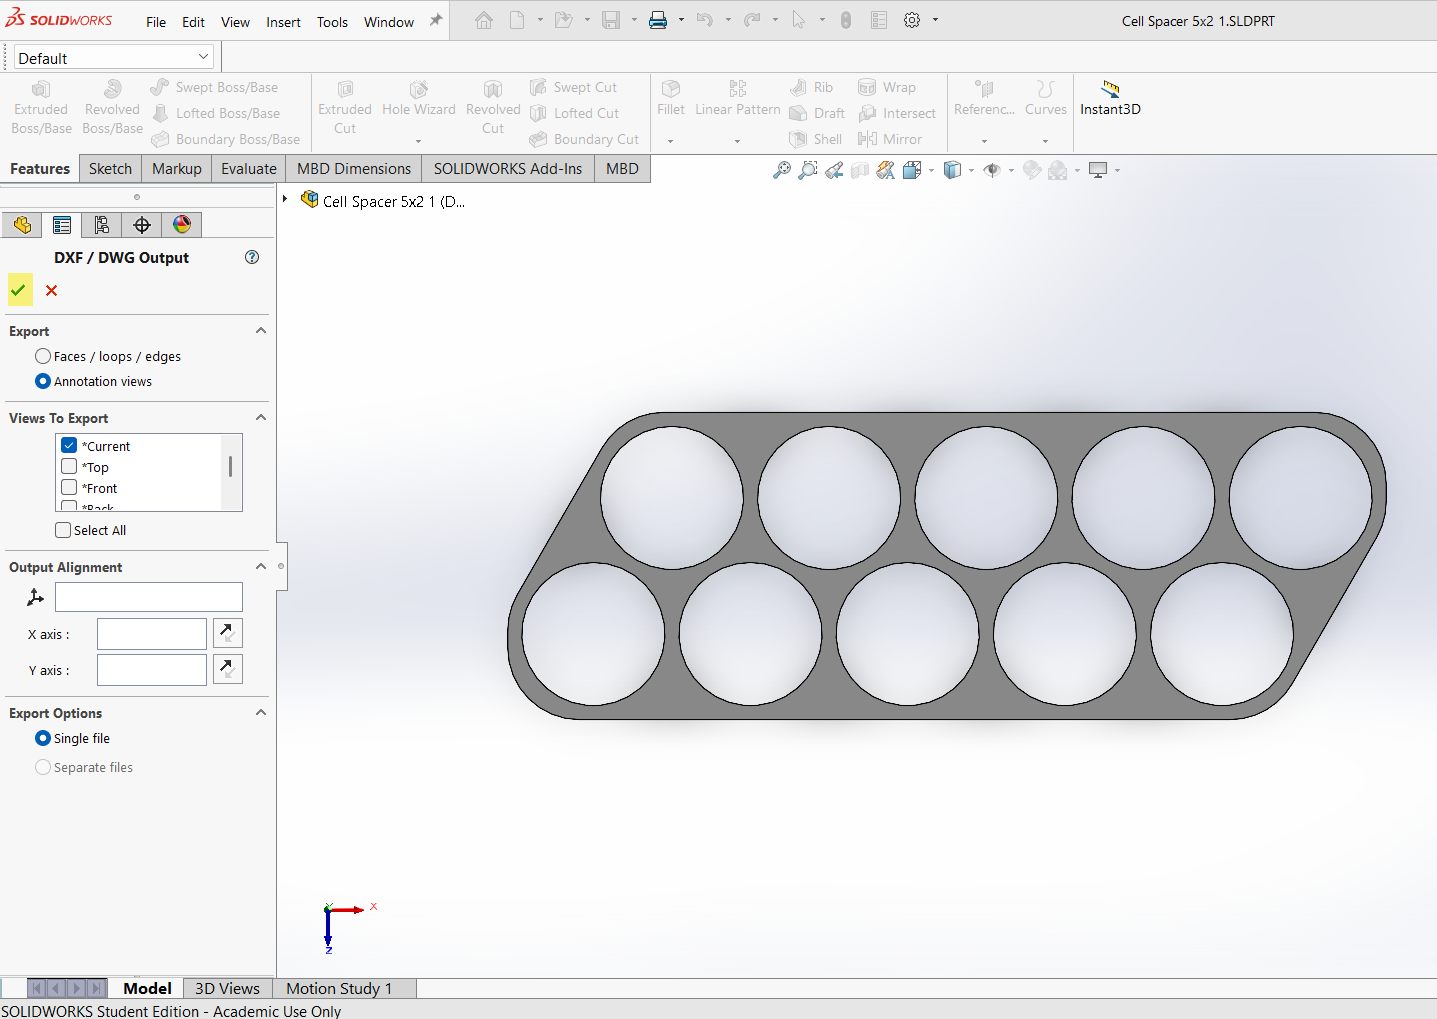 Click the checkmark. Here you can also change your orientation, but you should not need to if you were already looking normal to the face you want to WJ.
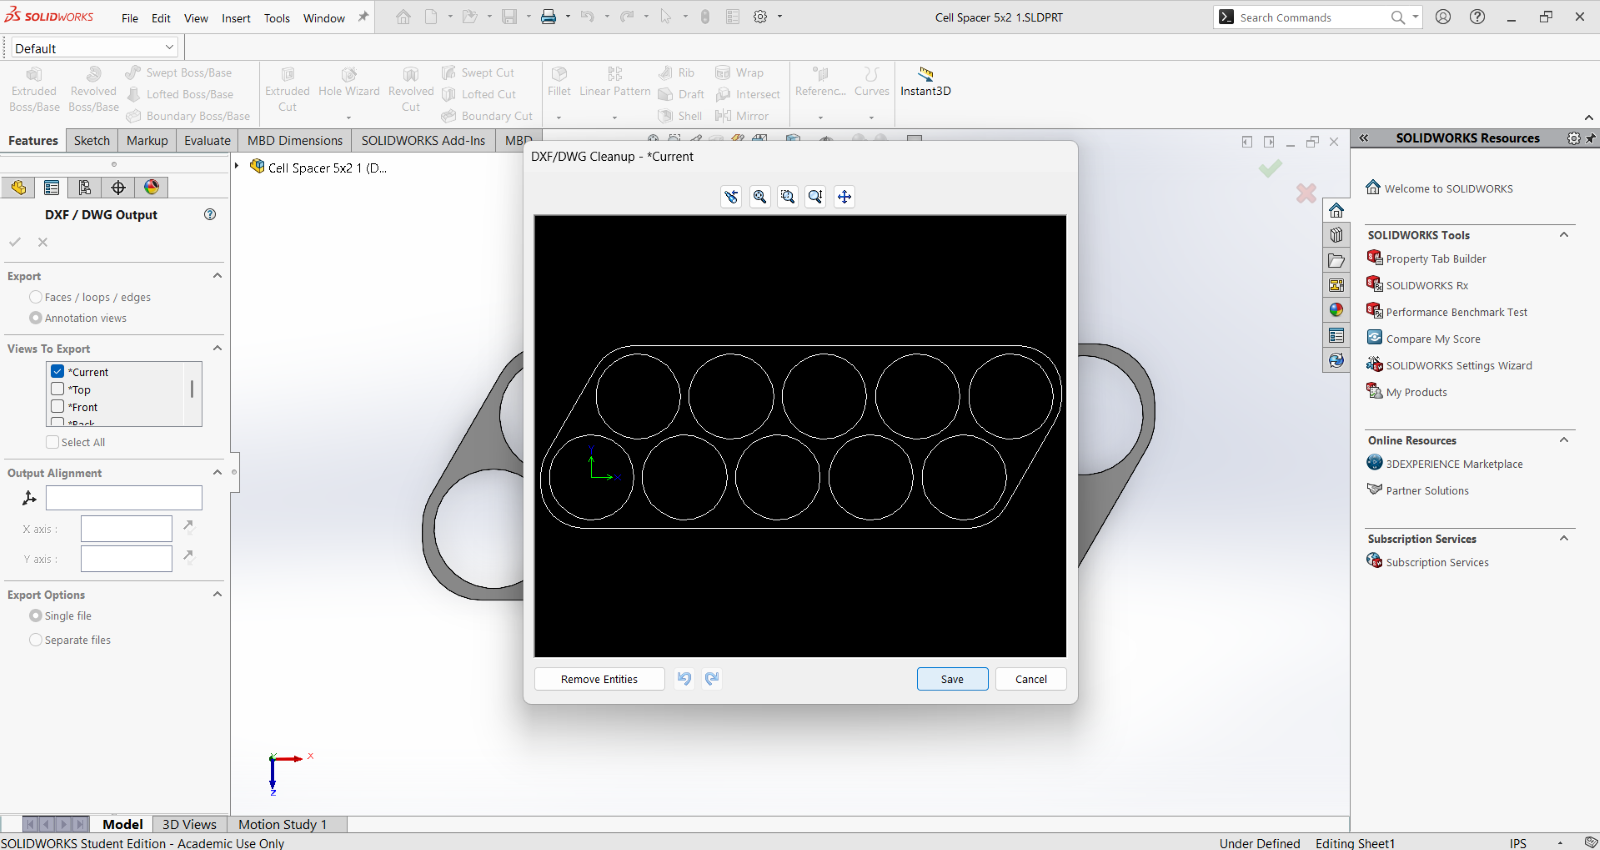 Now click ”Save”. Here you can ”remove entities” if there is any text or lines you do not wish to cut. The origin does not need to be removed. To double check that the dxf looks how you intended, use the Omax software (download link in the WJ software instructions) to do so.
Now that you have saved the dxf, it is ready to be placed onto a USB drive and taken to MAE C to WJ. Follow the linked guide at the very top to see how.
Unique Sheets or Multiple Parts with Protomax
You can also use the software to place multiple parts onto a unique sheet to save space instead of using the FlowNest software at MAE C. Although the FlowNEST at the WJ is good for many parts, its programming for optimizing the space does not always seem the most efficient. So, shown below is how you can do the same process but on your own before going to MAE C.