
Car 4 Chassis Manufacturing Timeline
Introduction:
This is documentation of the chassis manufacturing process, method, and failures from our 2025 monoquoce chassis from the prespective of me, Bragg Farmer. The person writing this documentation was the chassis/structures lead of 2024-2025, Bragg Farmer. Here's the document about what happened.
Structures Team 2024-2025:
Jean Bonet
Gabriel Brazzeal
Jacob Cleveland
Jeremy Delgado
Allison Donald
Nhan Hoang
Richard McCreary
Callie Monville
Noah Murphy
Thomas O'Berc
Anand Patel
Joel Reyes
Henry Reyes-Perez
Natalia Oliver Sampaio
Emi Sanchez
Kurt Smith
Nuvini Wijesundara
Jody Zhu
- - -
We cut the foam entirely out of single sheets with no dovetails.

Gluing them together took 2-3 days, i forgot, but the very top piece of foam had to get redone due to regulation mistake. I hadn't glued the top block on yet, so it worked out. I then sanded the glued together foam block with 220 grit sand paper, i believe, and filled as many gaps as I could with spackle.
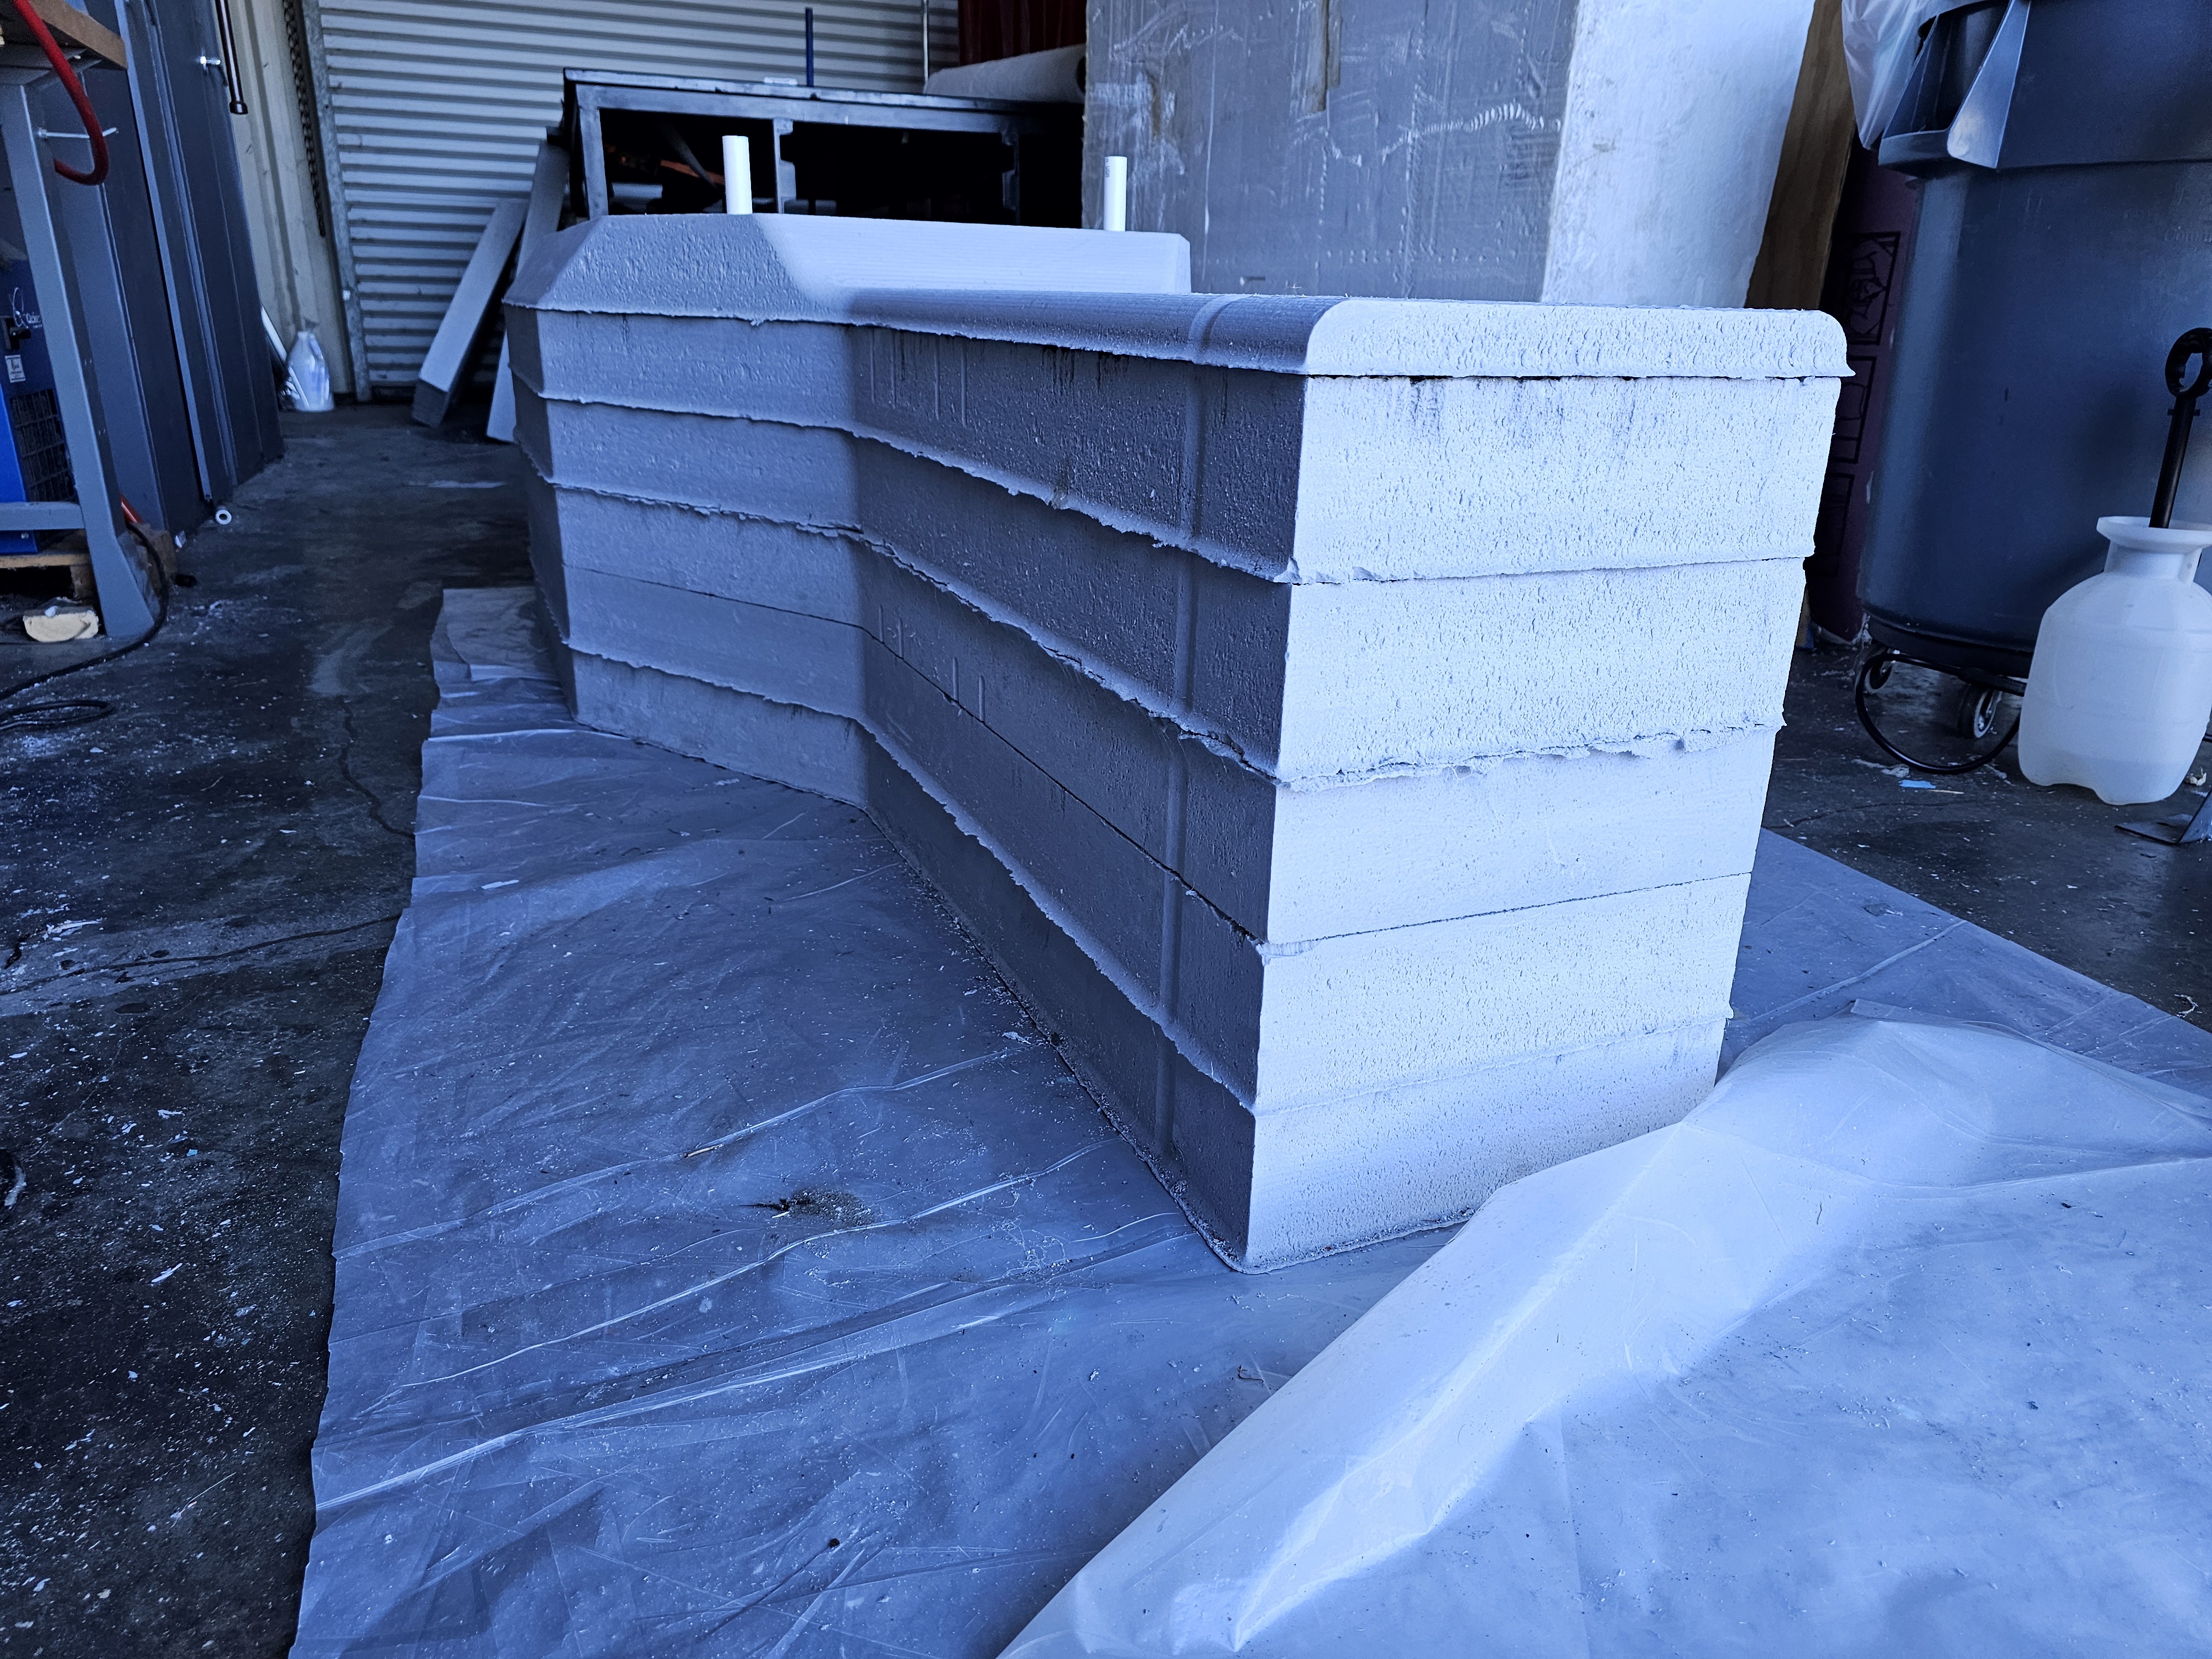
The mold got spray painted and I hand sanded the mold starting at 220 grit then progressivly going down to 60 then back up to 220, I wanted to make sure not to remove too much material. I would use a bubble level to make sure each side was flat, also would check with all the lights off and light.
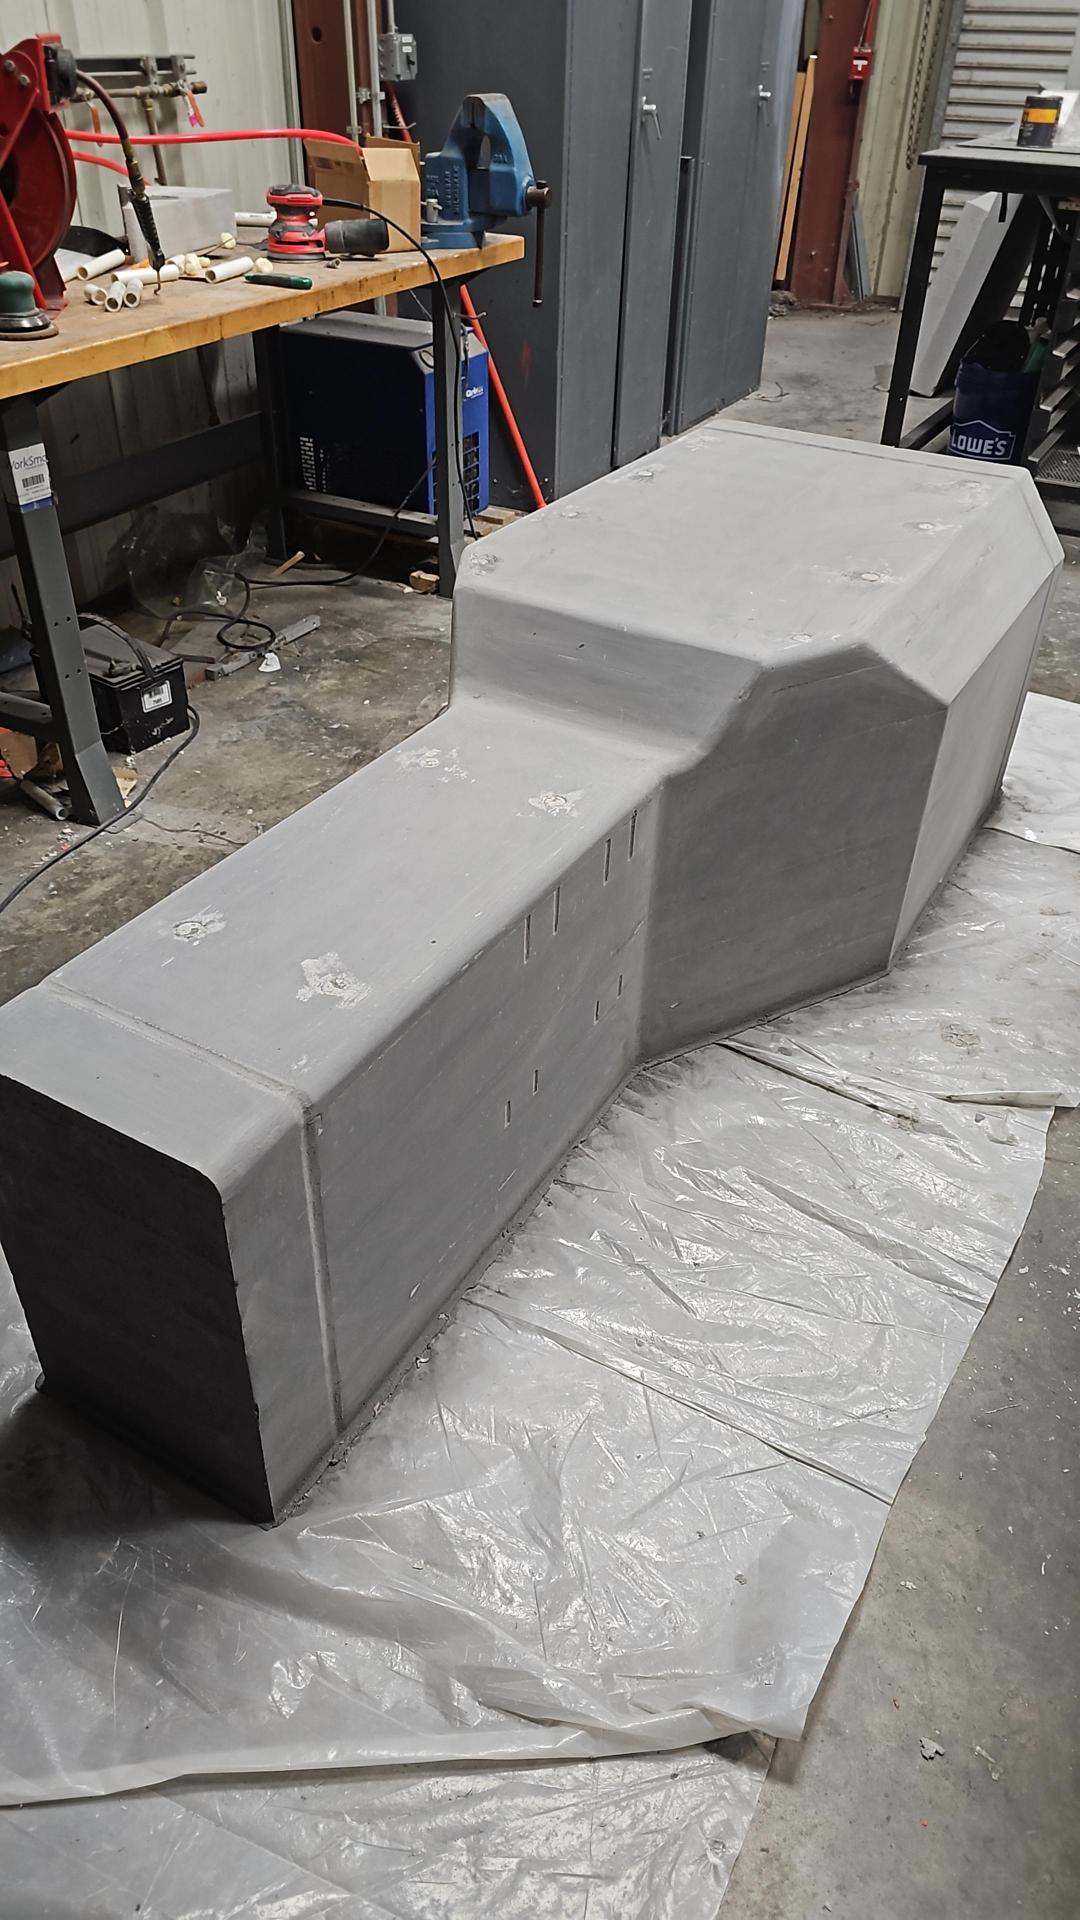
The mold had defects so I then would use fairing compound
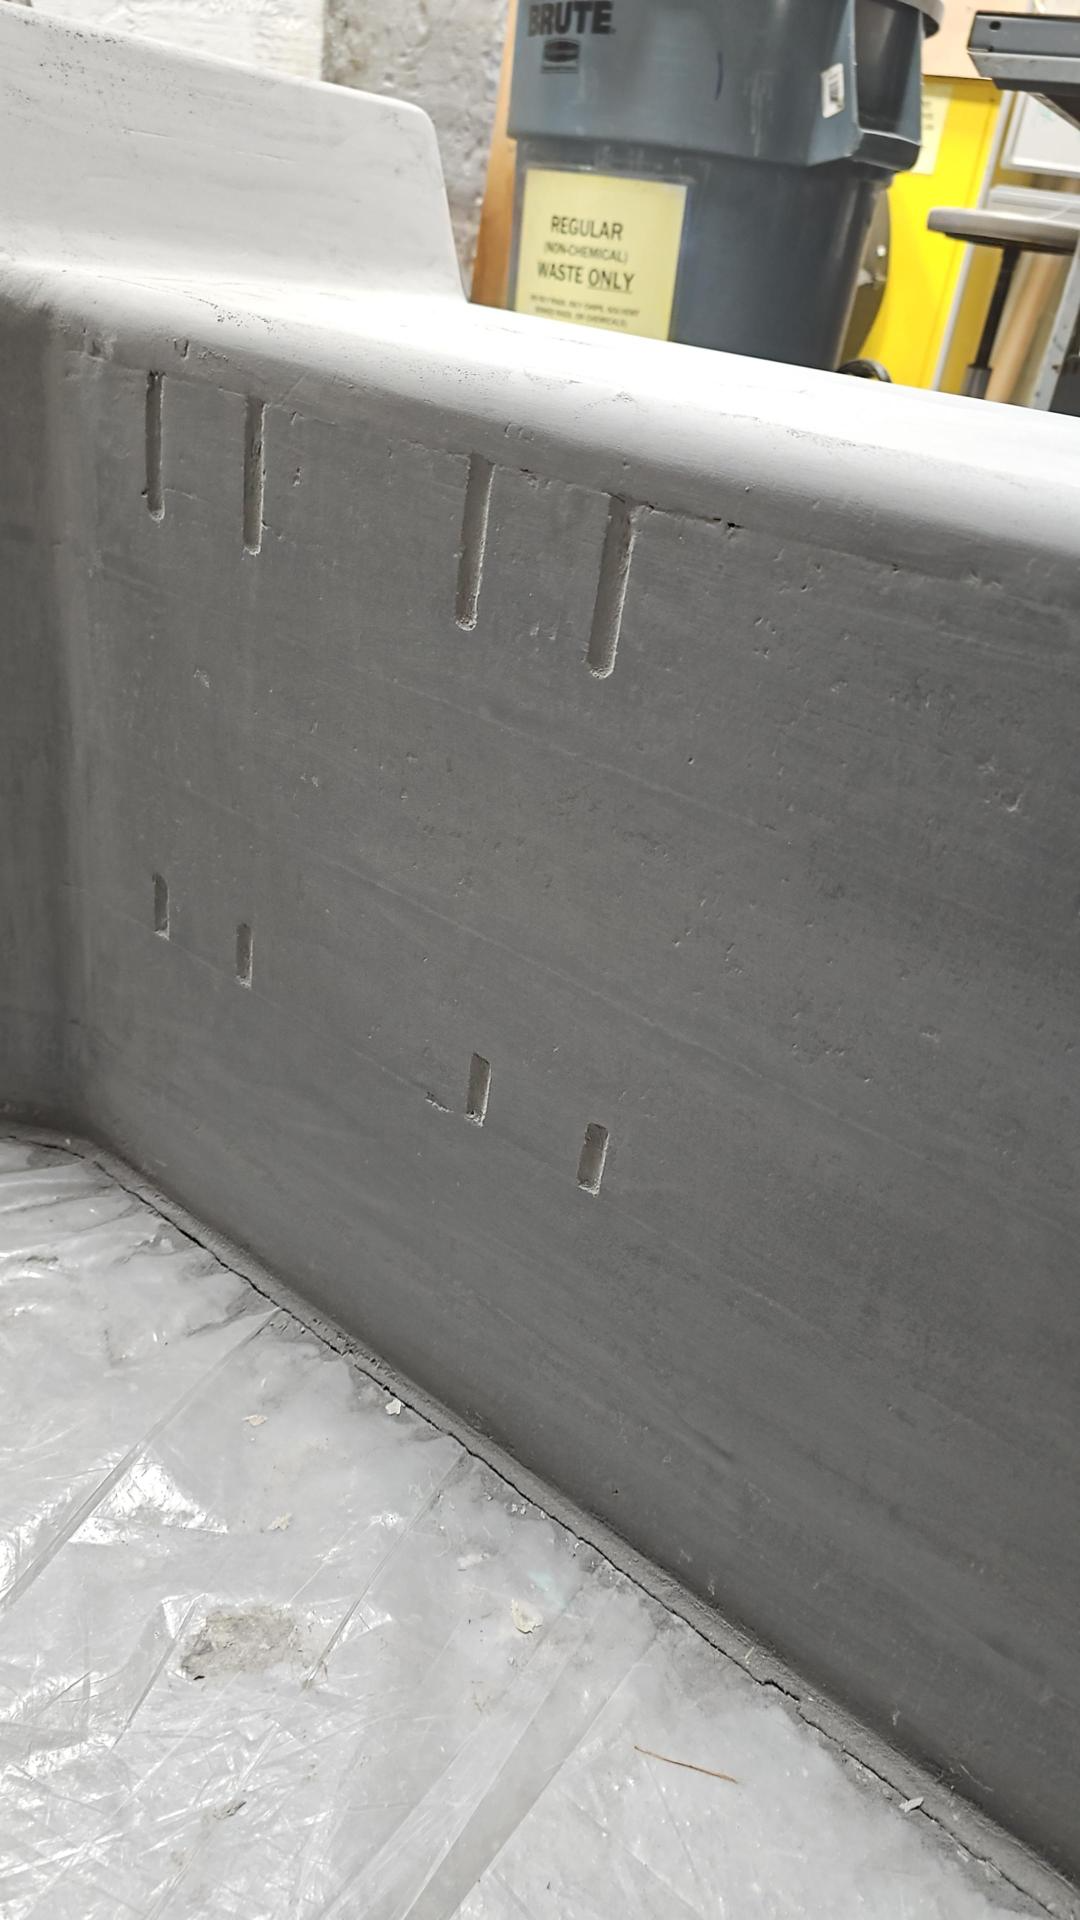
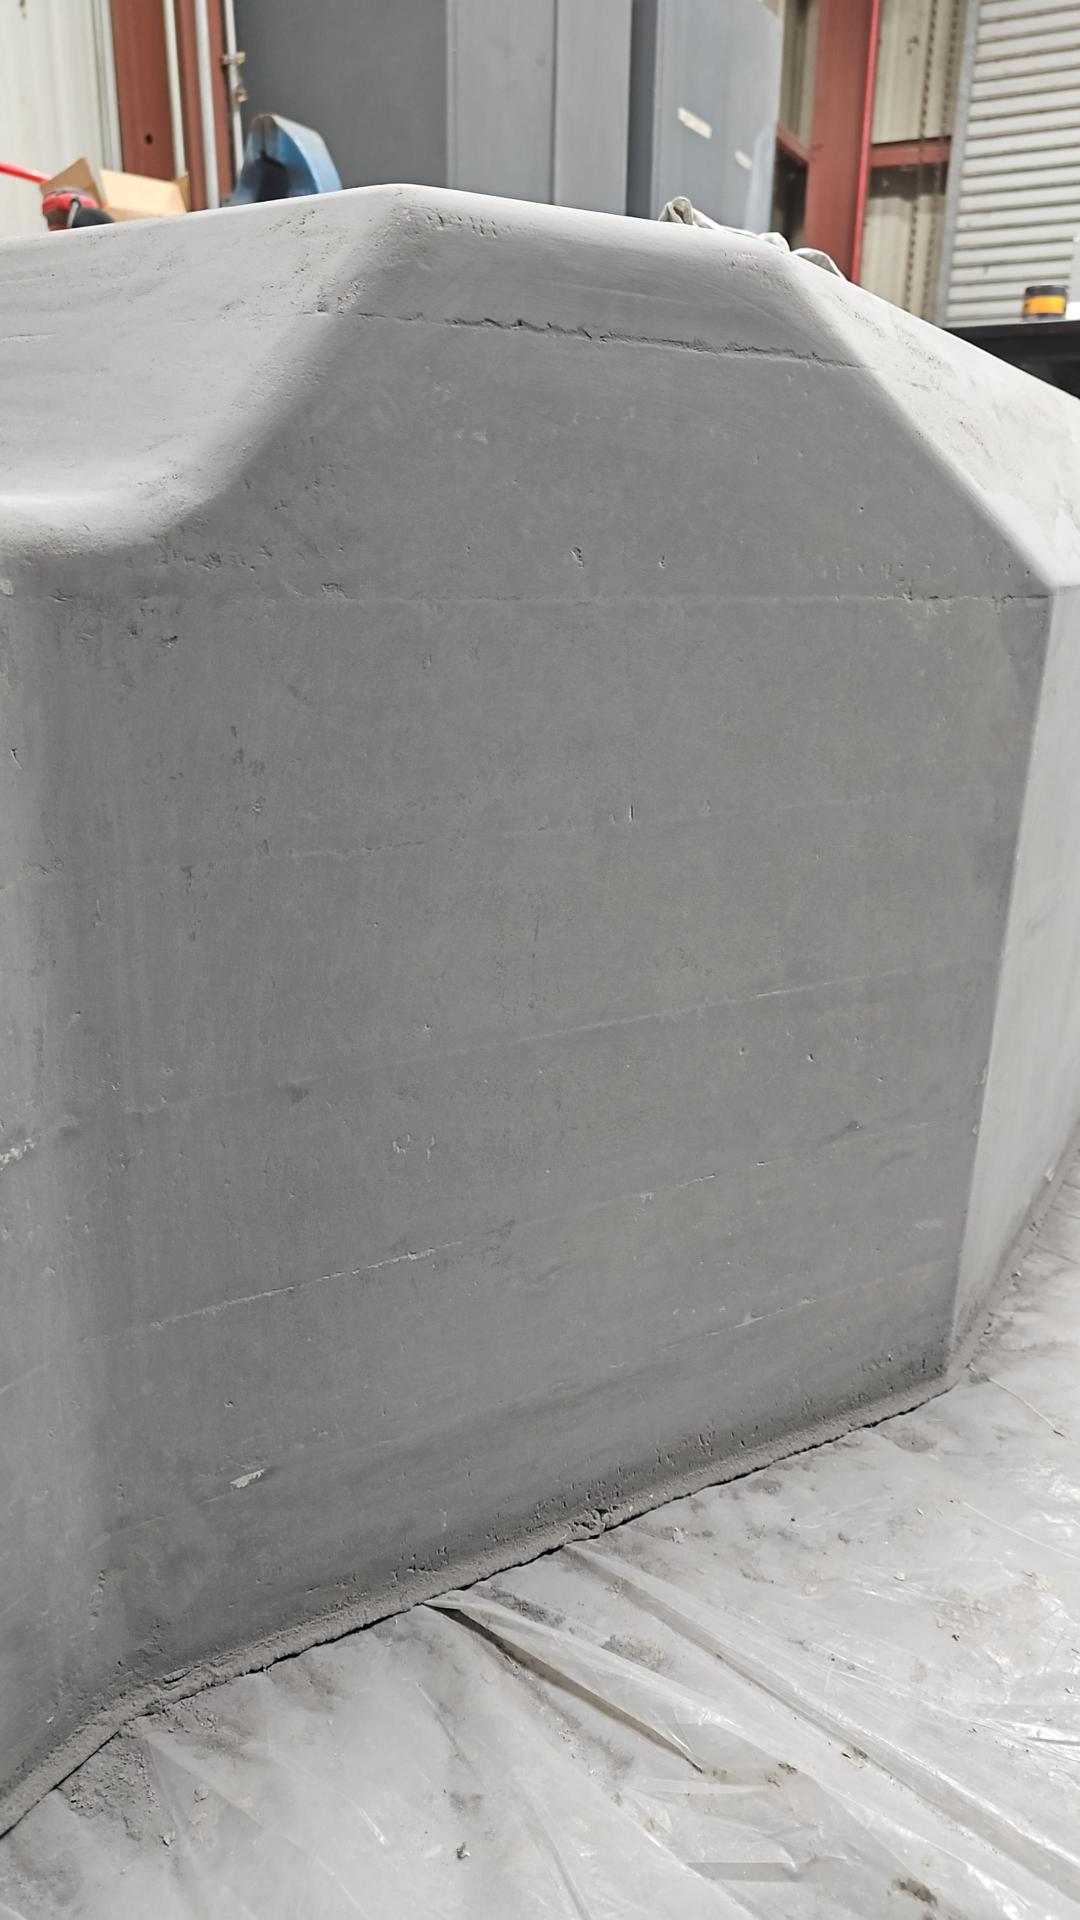
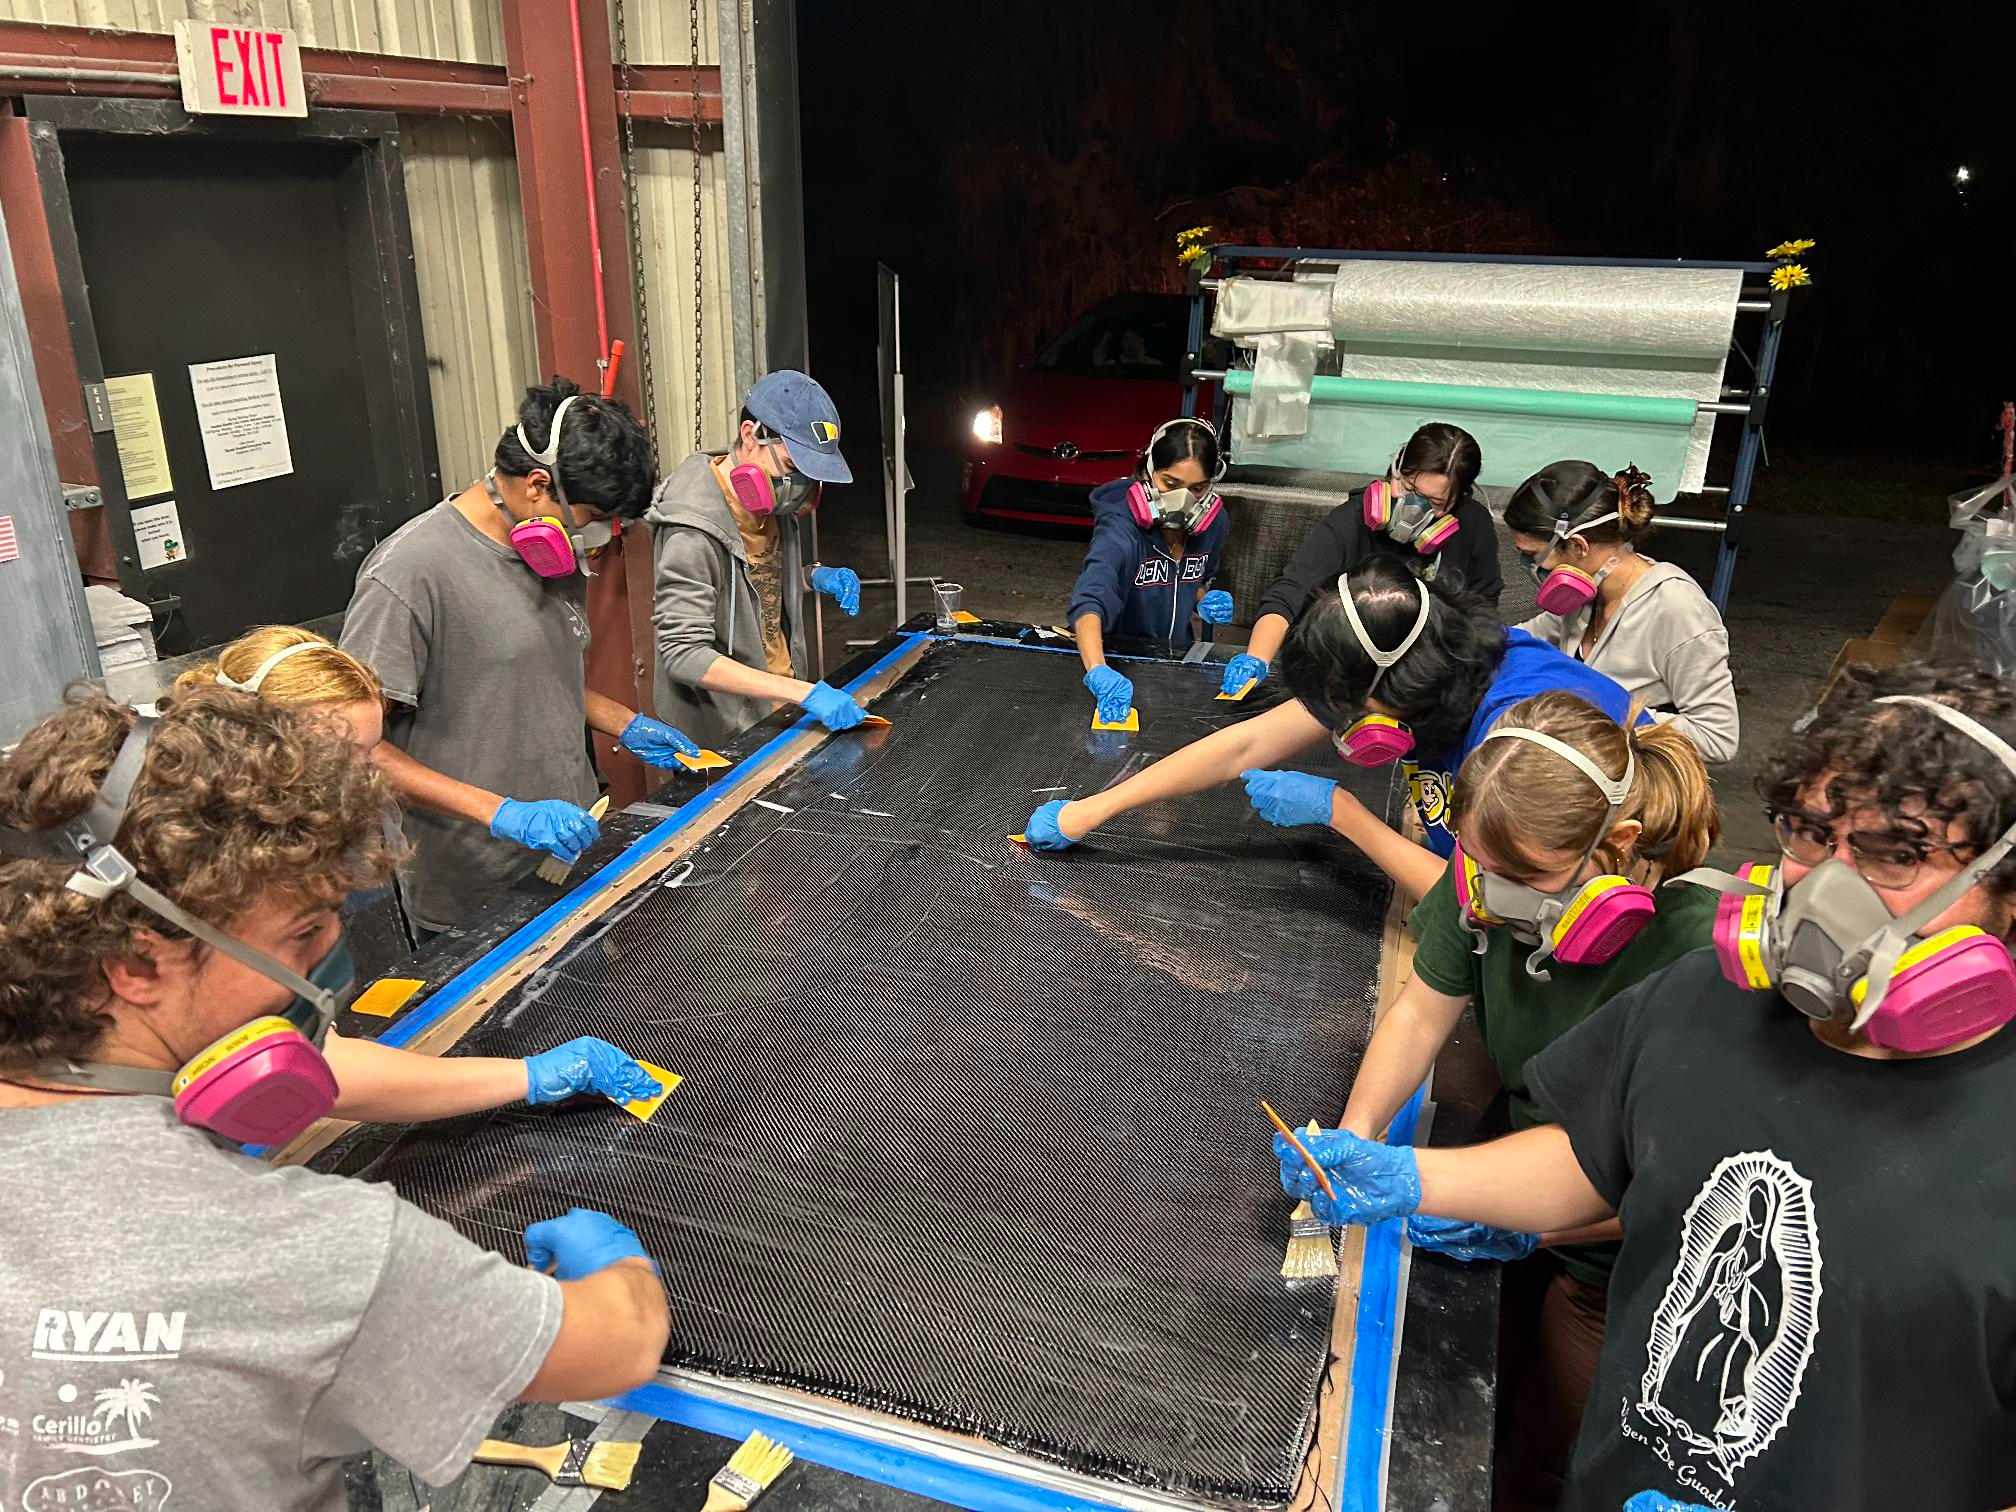
I would work well into the night... and morning to keep on schedule which resulted in the night time photos seen, but this one is of the mold covered in fairing compound. I had to make sure the fairing was actually filling in the defects and not just covering a surface, much attention should be put on this step.
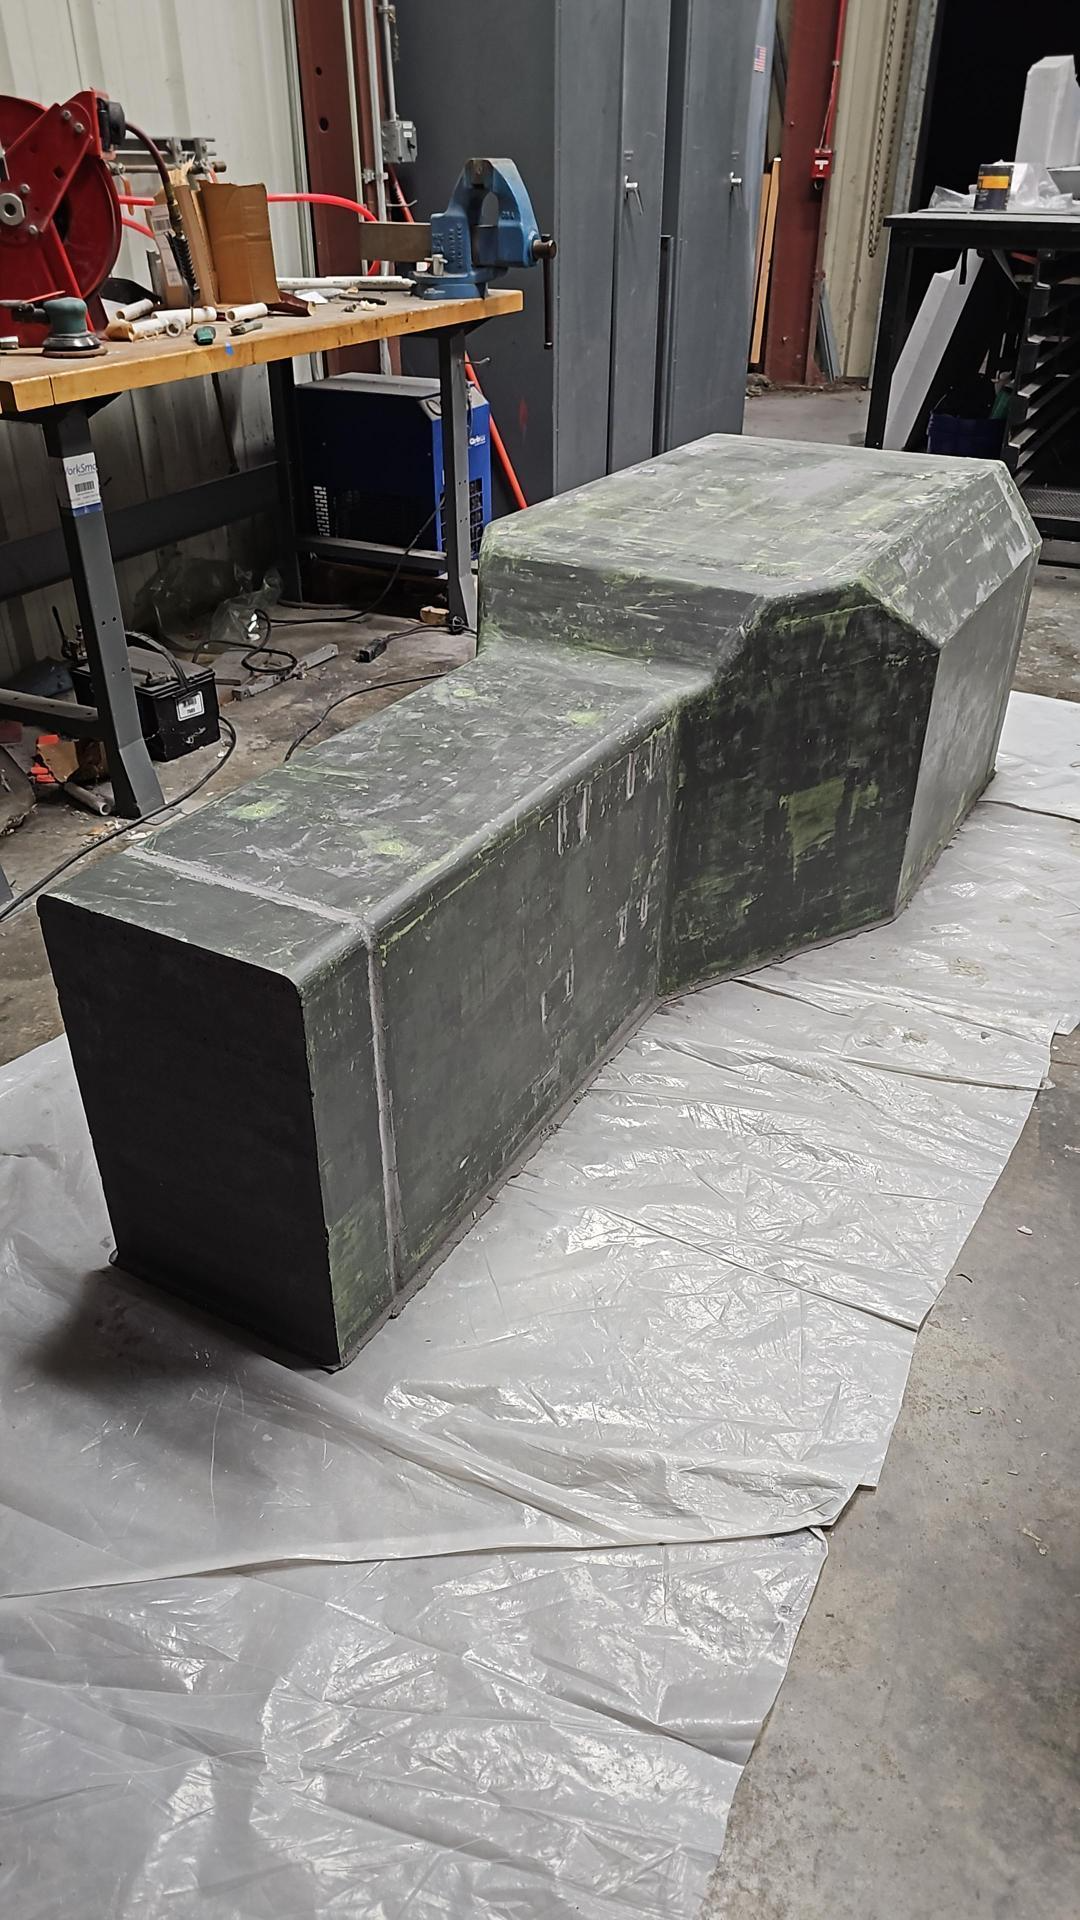
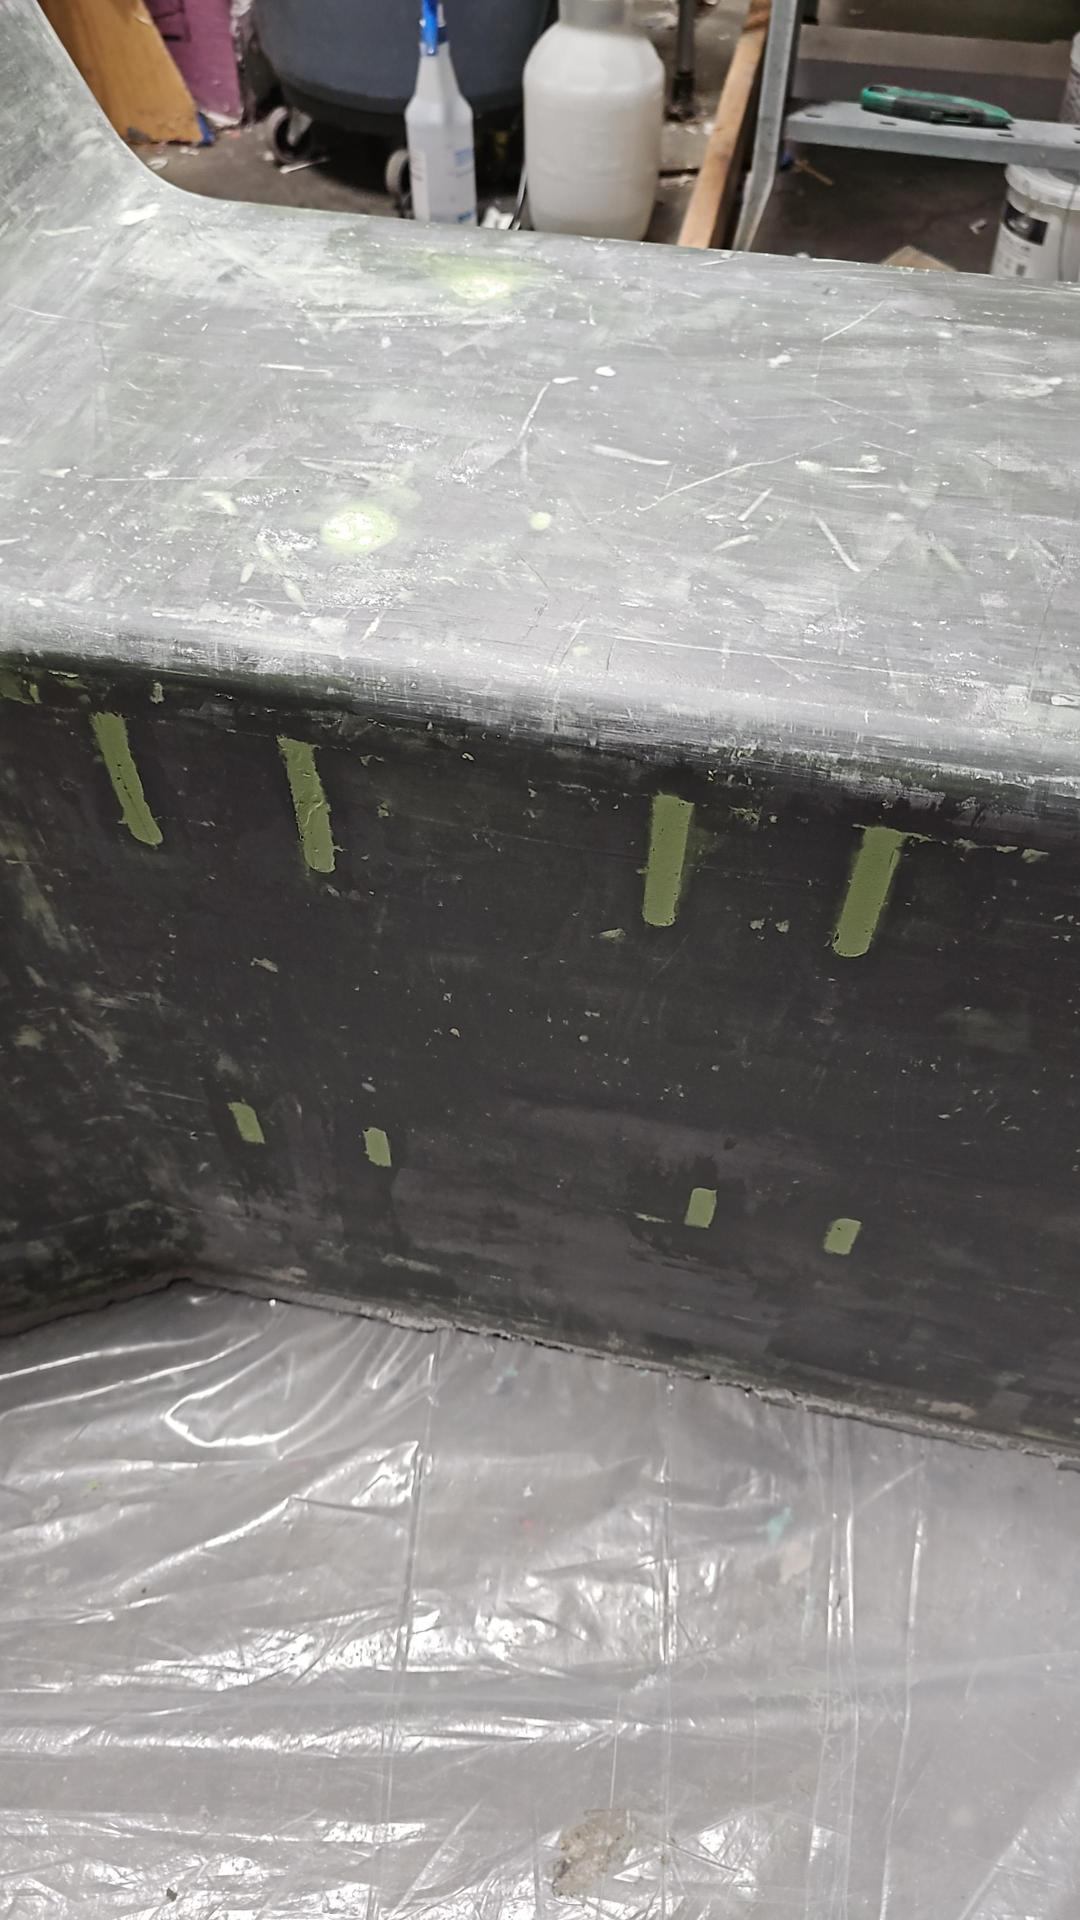
Foam started peaking out in a good amount of spots so I repainted it and didn't use enough hardener so I had to wait a bit to finish (went home for christmas).
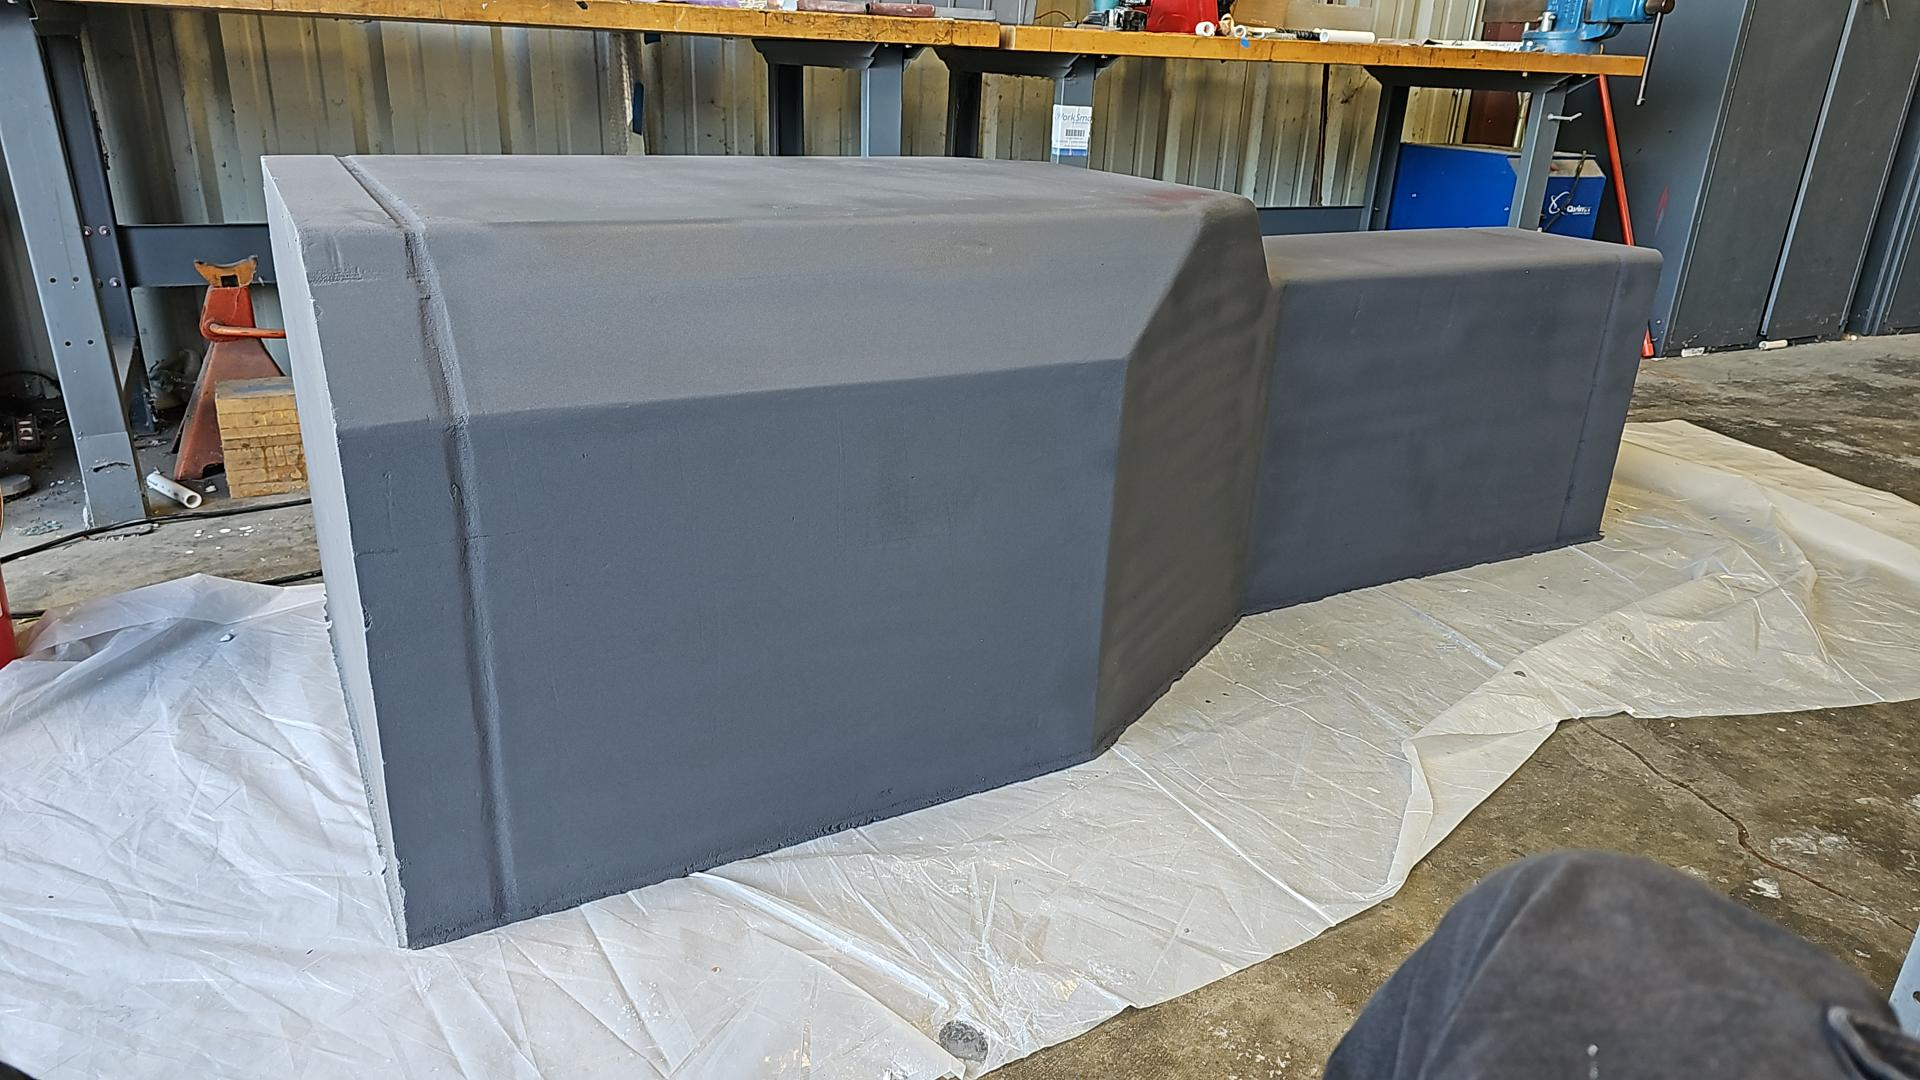
Resanded and removed any not yet 2 week paint, came out alot smoother than it looked
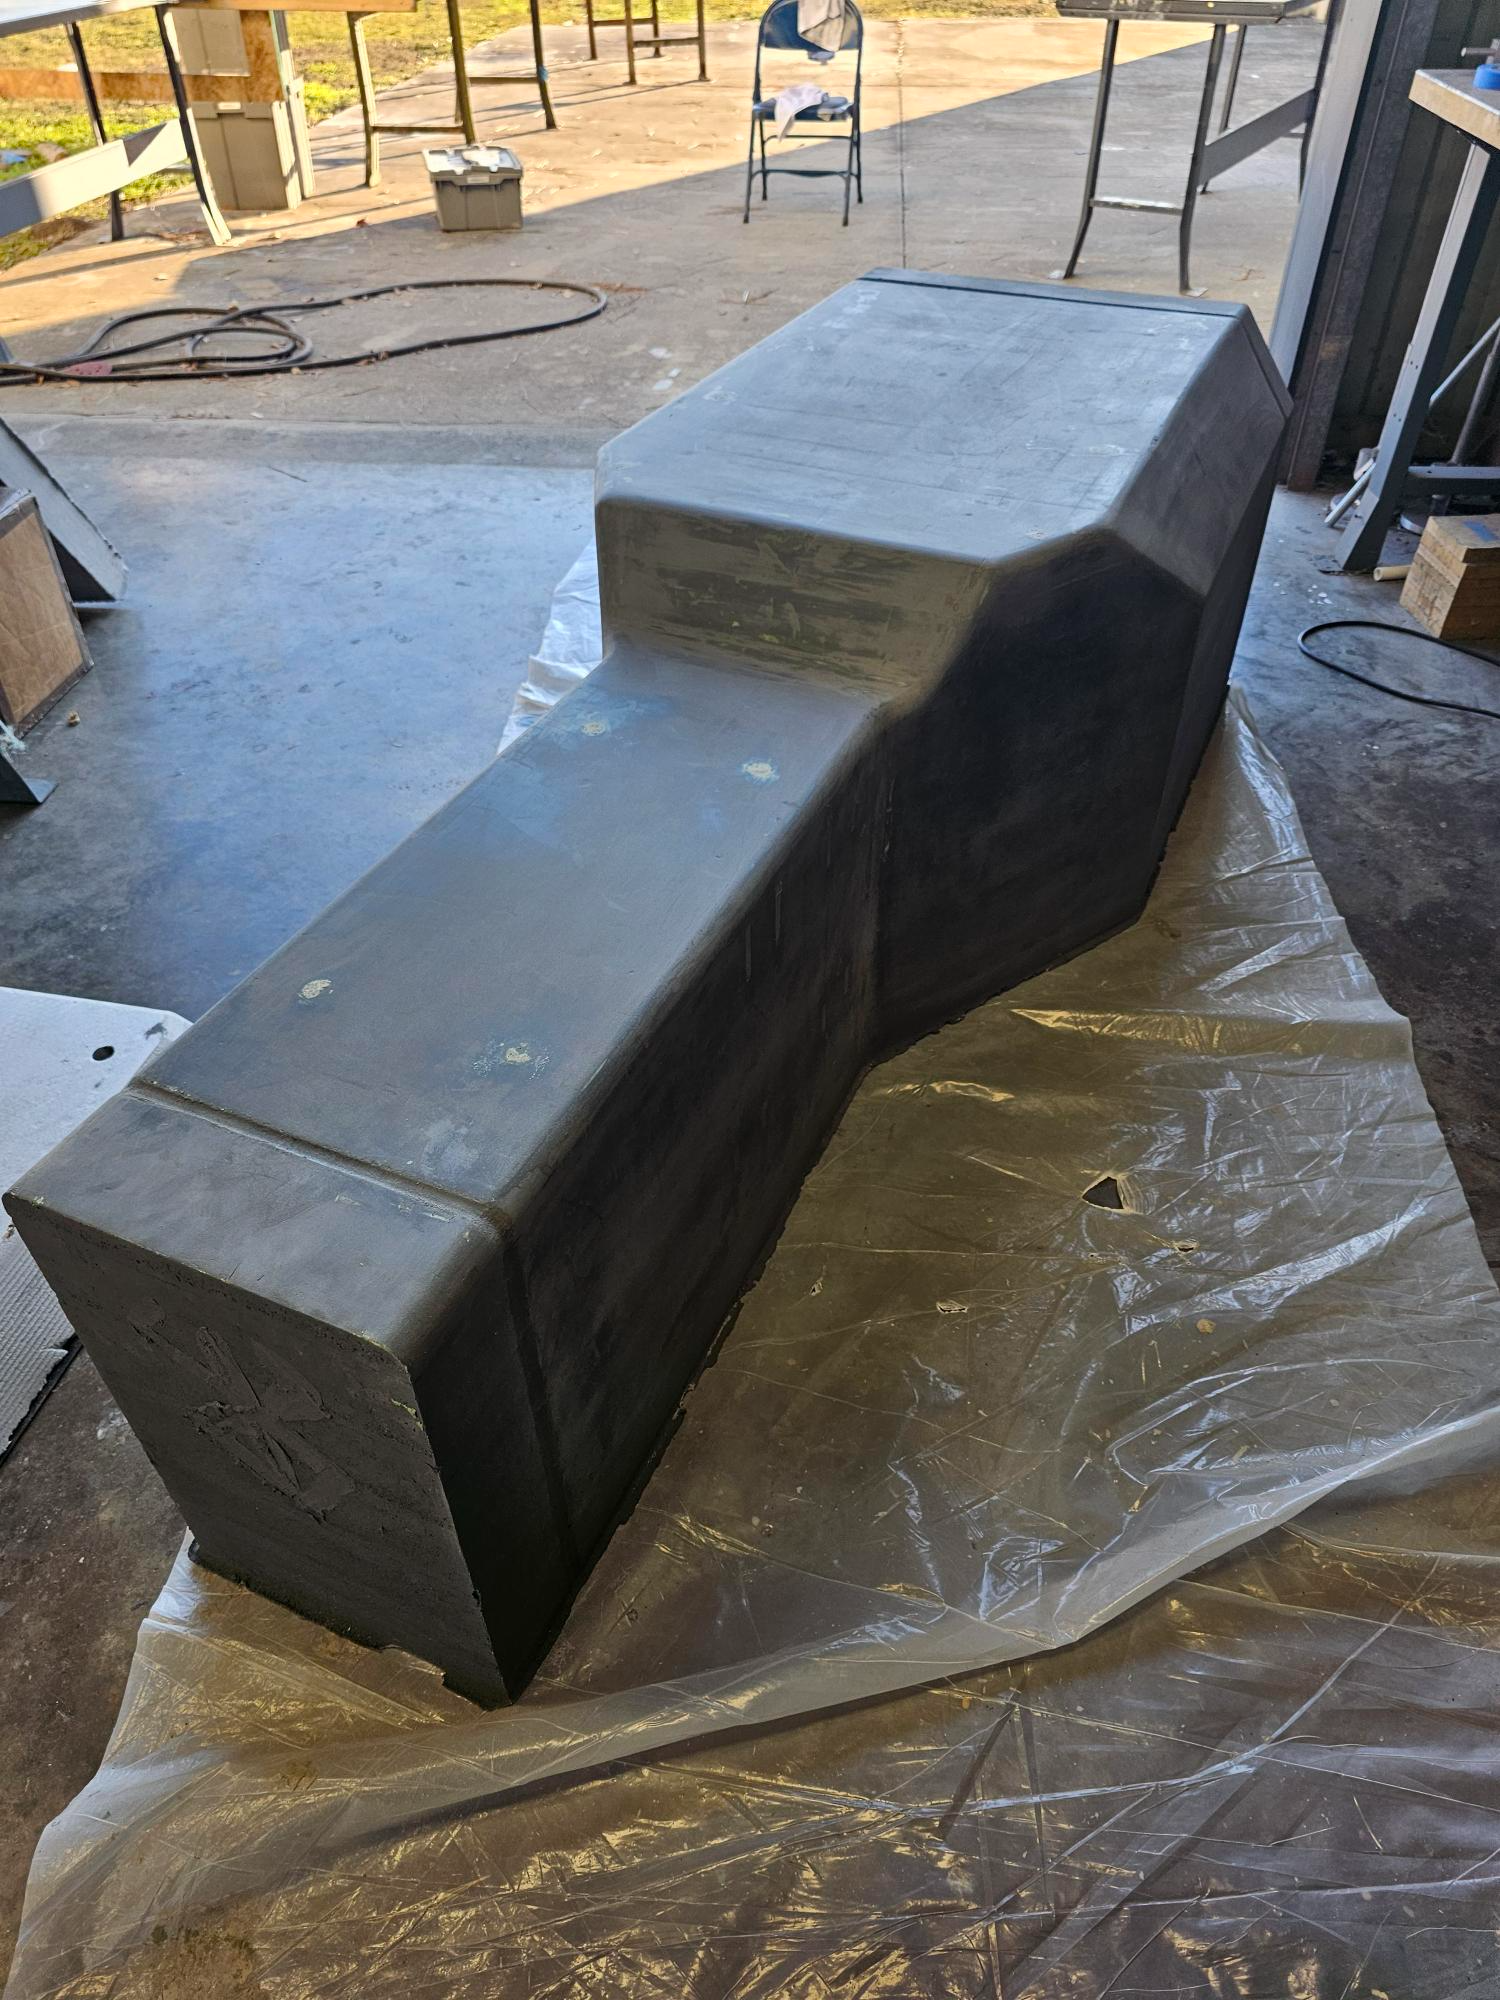
The suspension holes were meant to be made in the mold then a bolt would be put in to ensure suspension mounting locations would be correct. This did not work due to the paint not puncturing like expect.
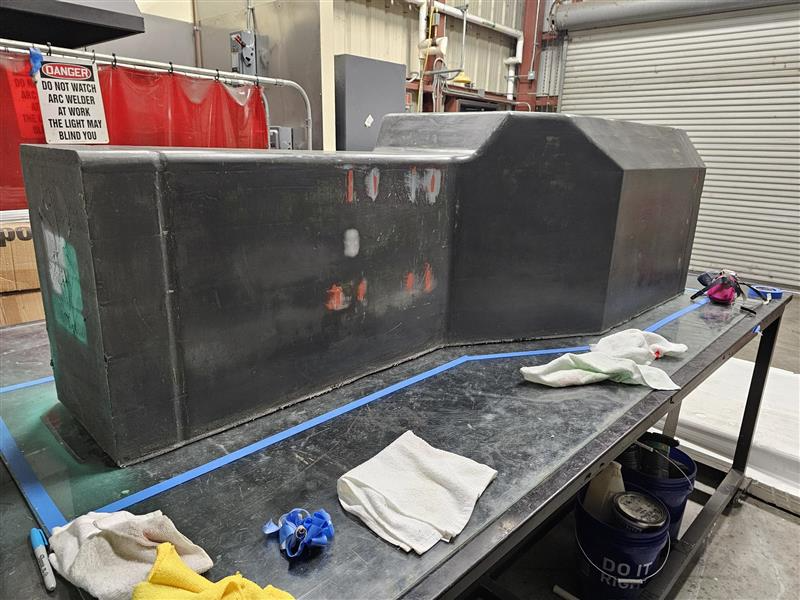
The first layup began an hour before I arrived and was done improperly - never do anything without your lead knowing. The carbon was very dry and heavy.
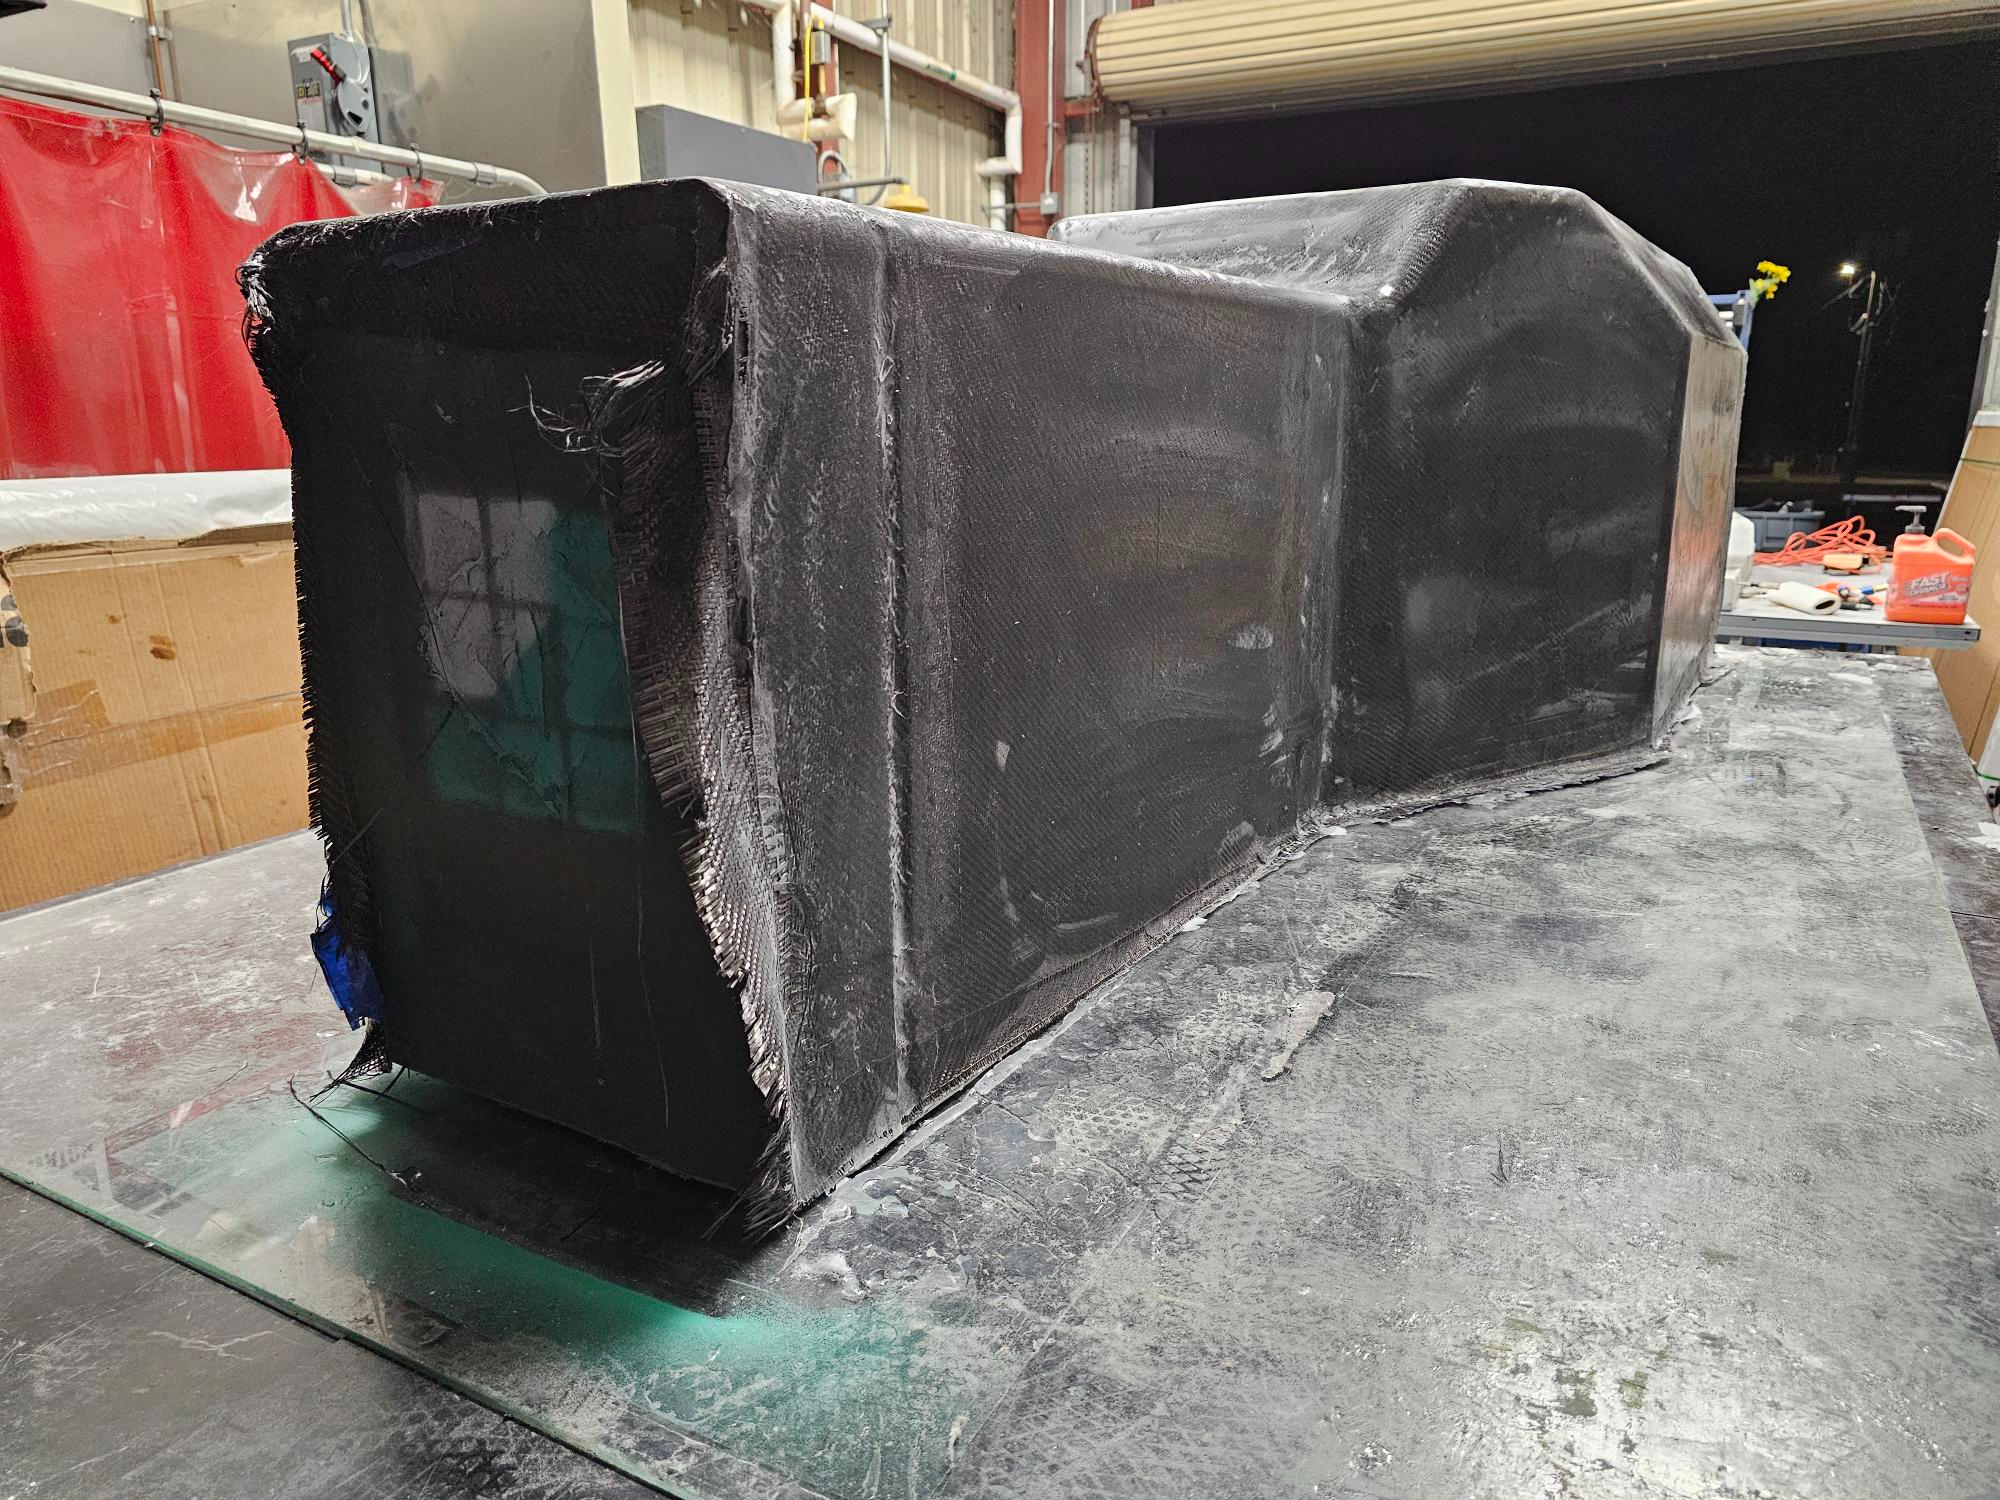
The carbon was kept as we could obtain full vacumm off of it, negating an issue found regarding doing a vaccum bag over a large foam mold - the foam mold has leaks and is mostly air/ lets air in.
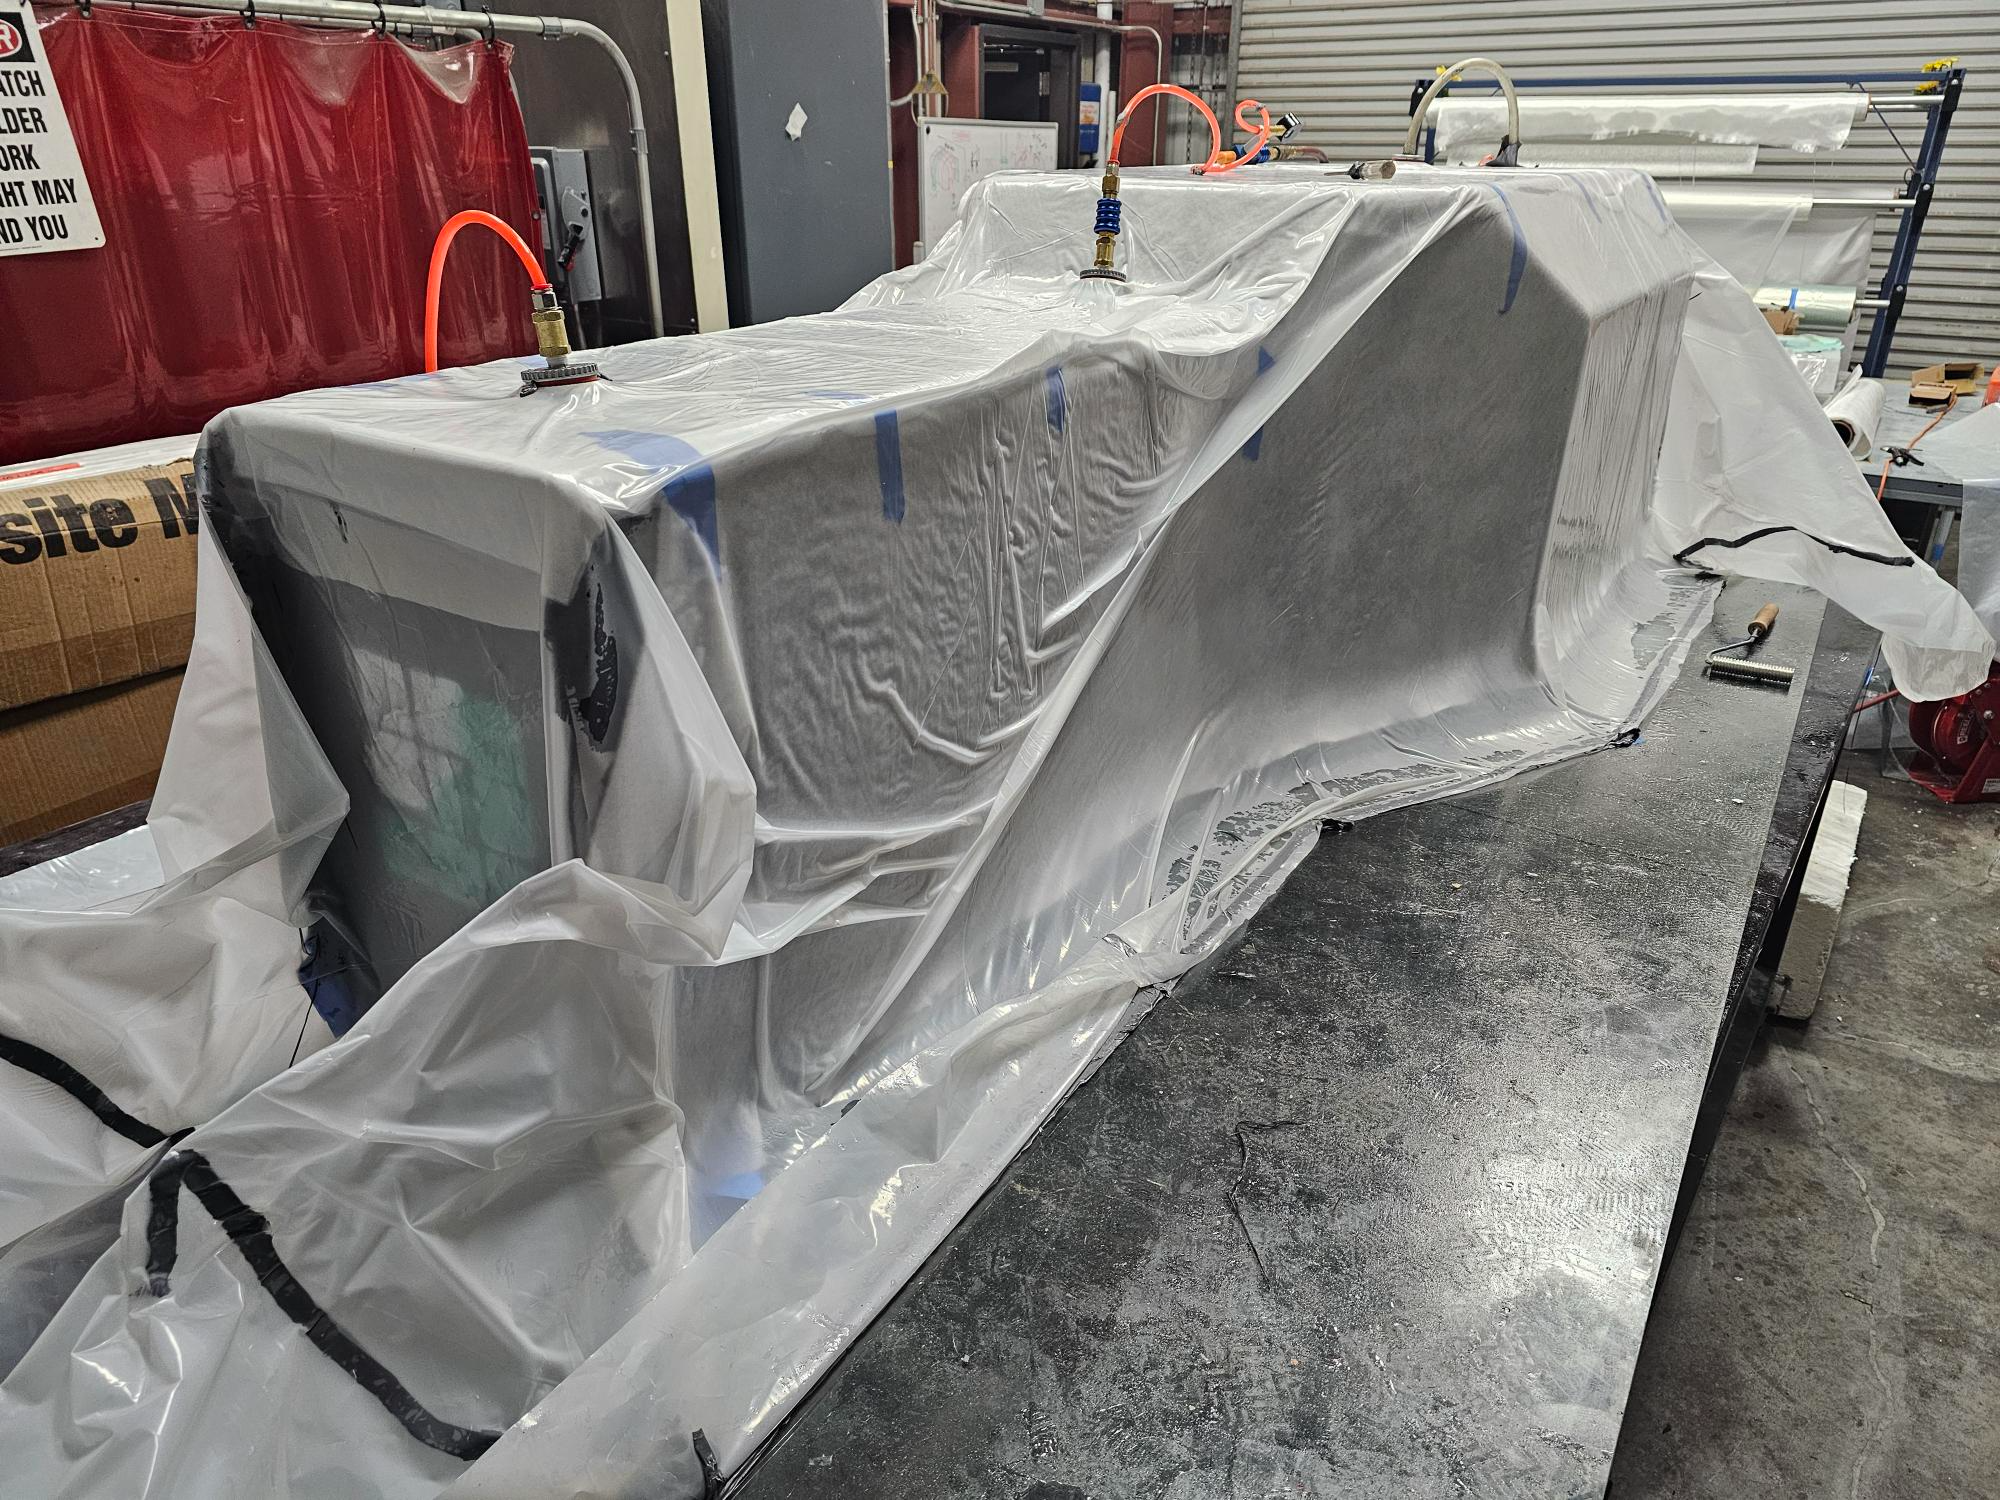
The carbon mold was painted with epoxy paint and sanded back up to 220 grit
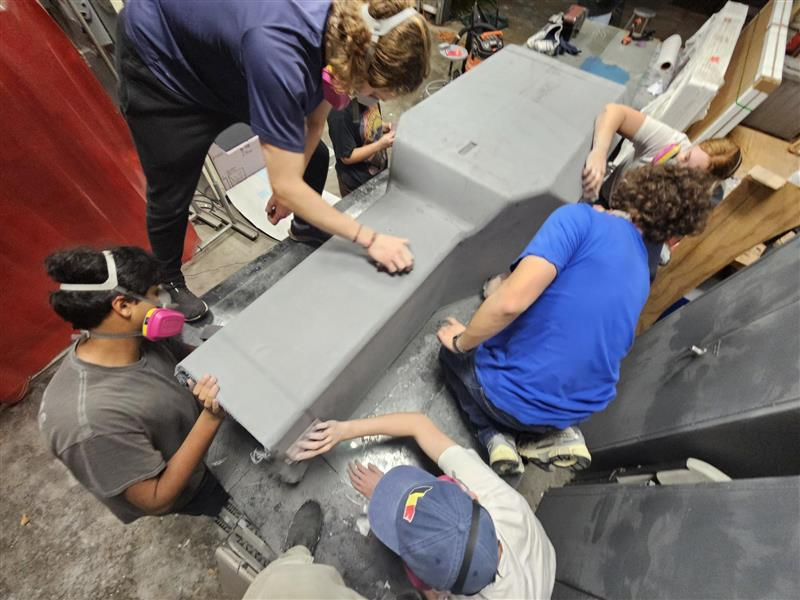
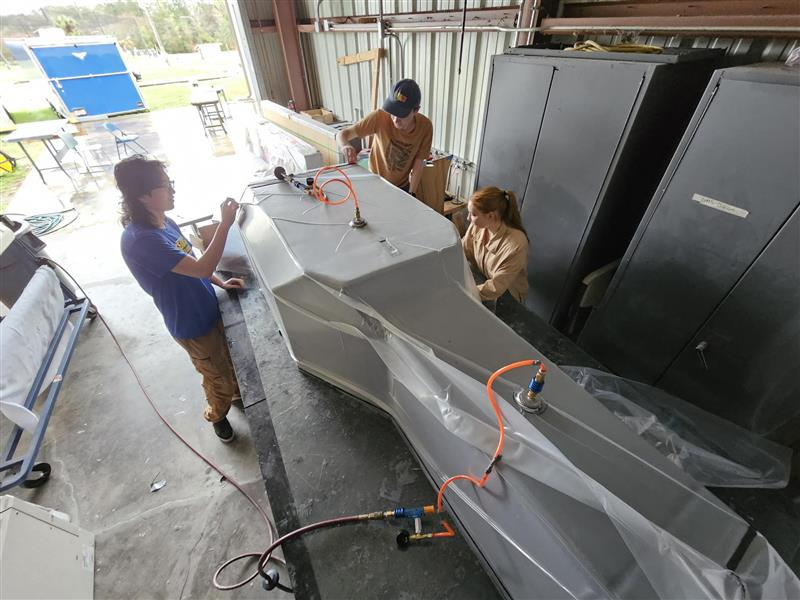
full vaccum
Prepping materials
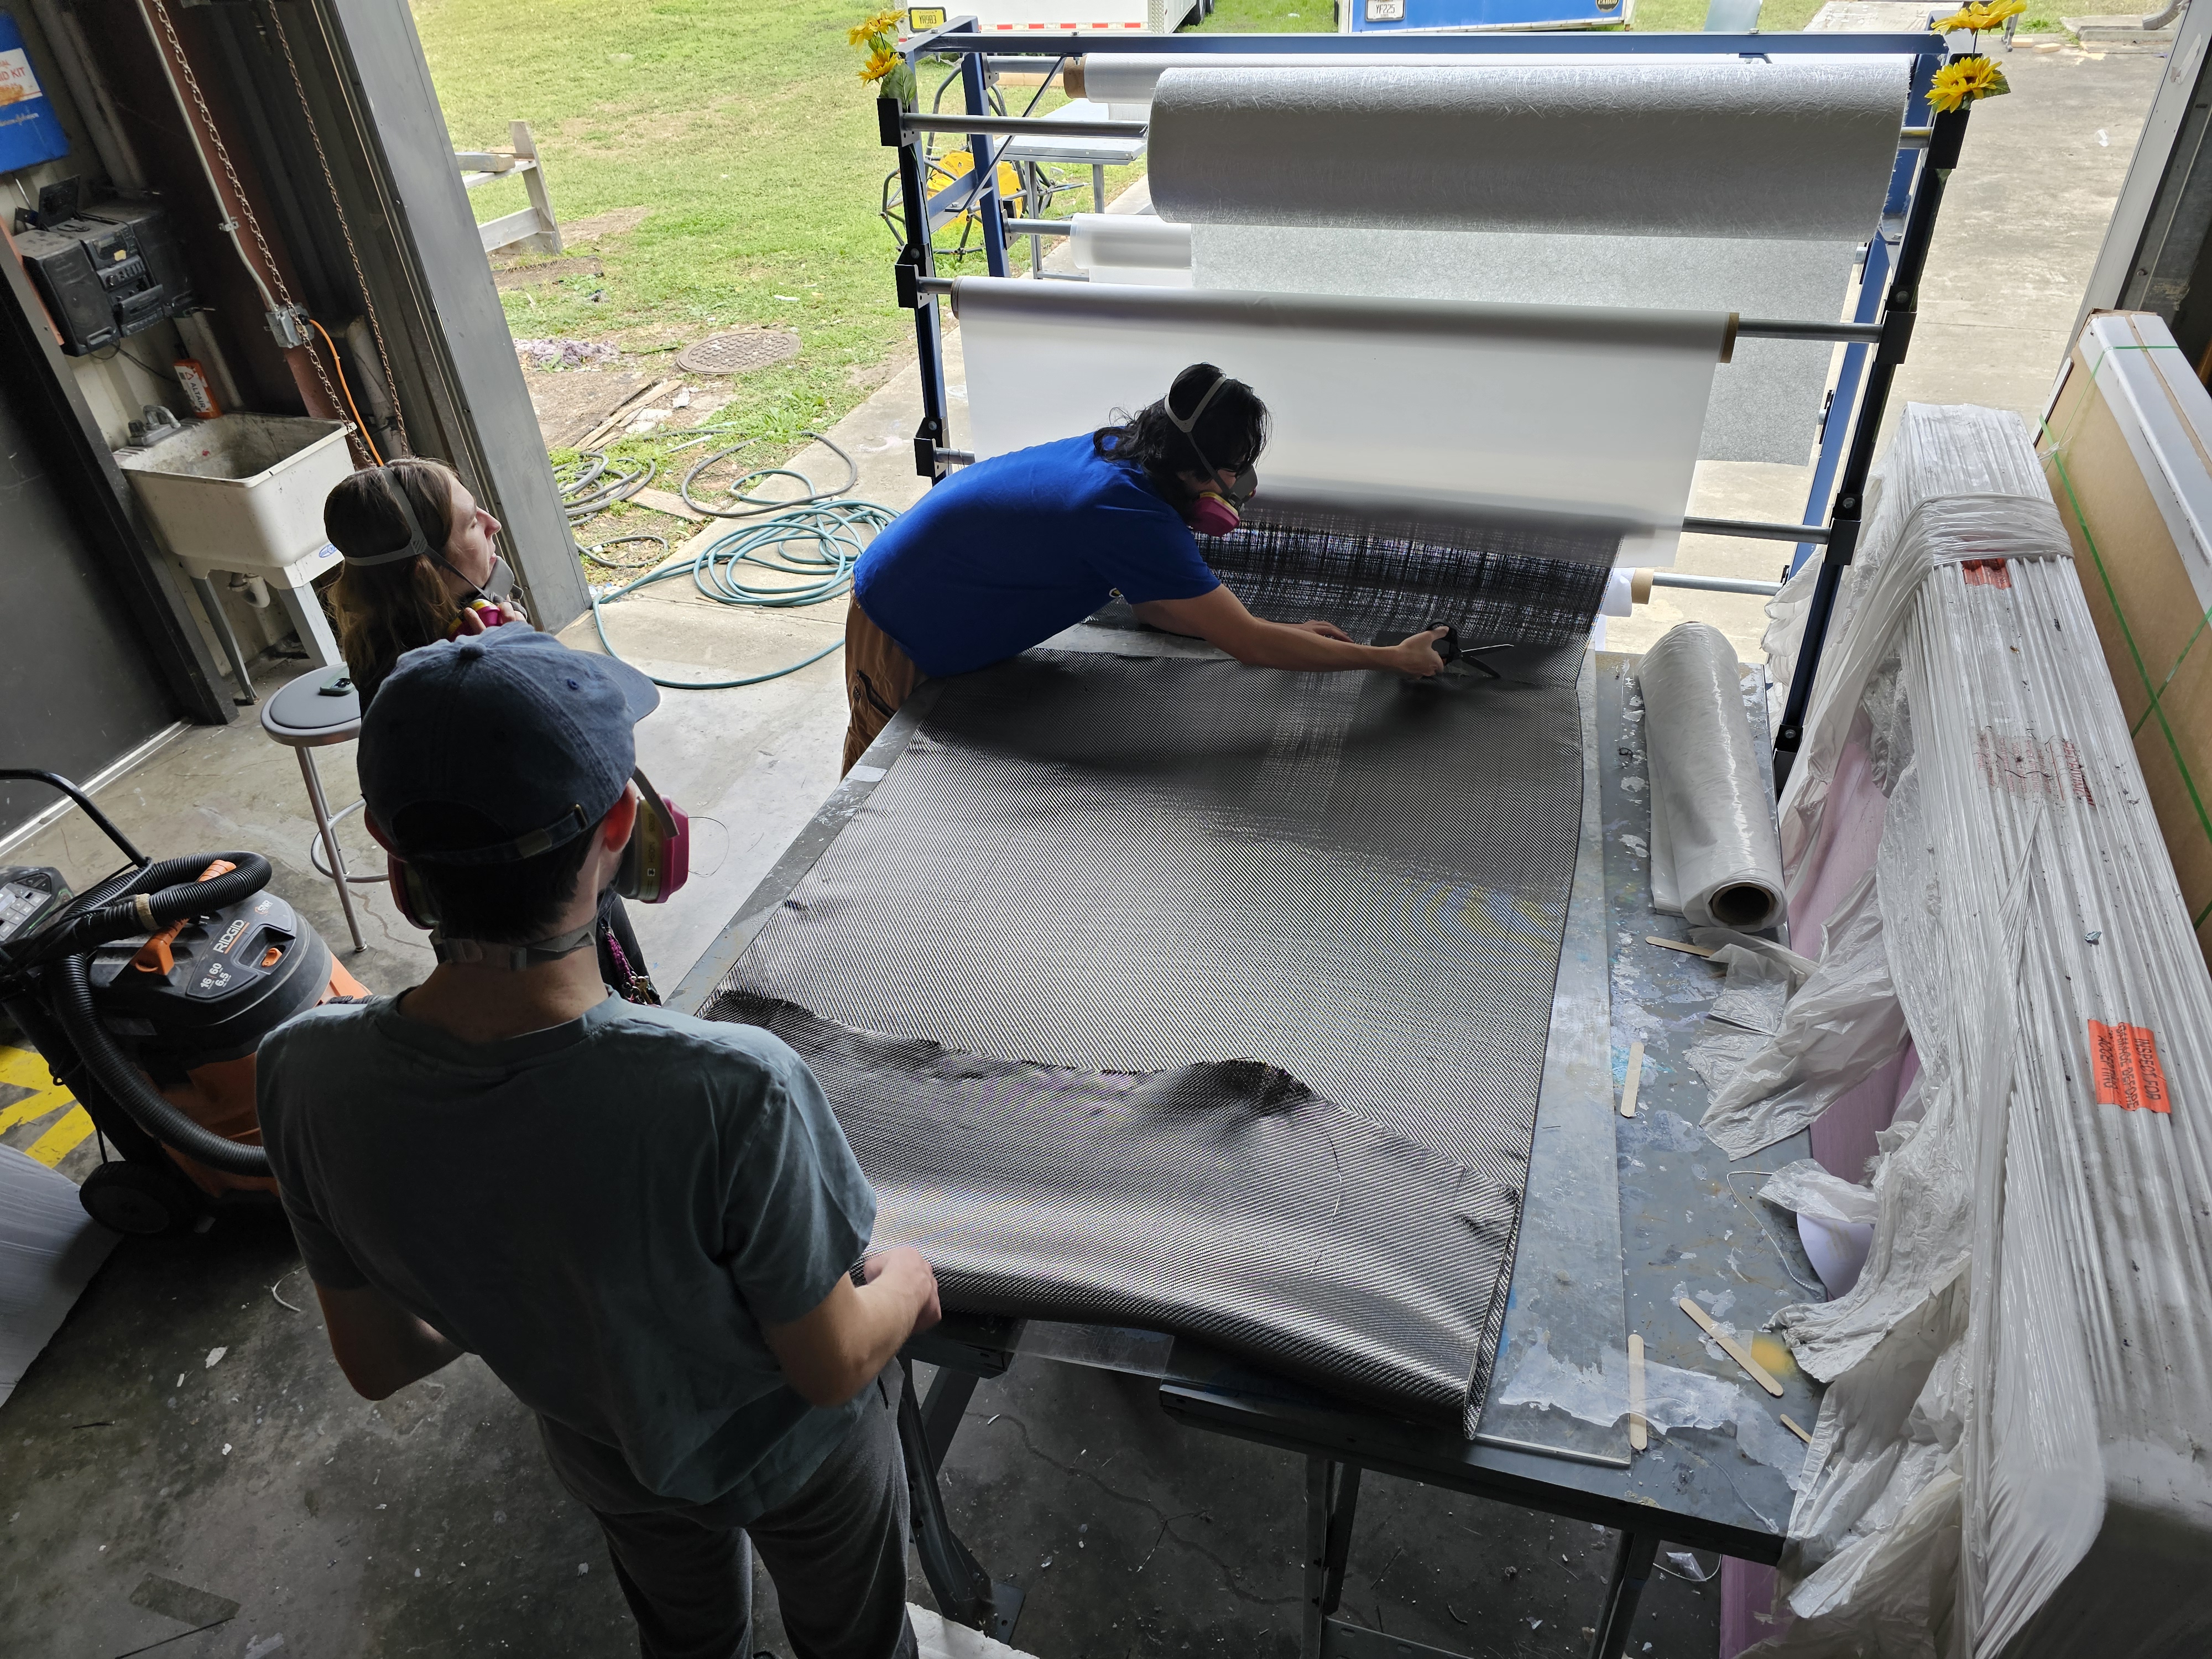
prepping layups were done extensivly before the layup
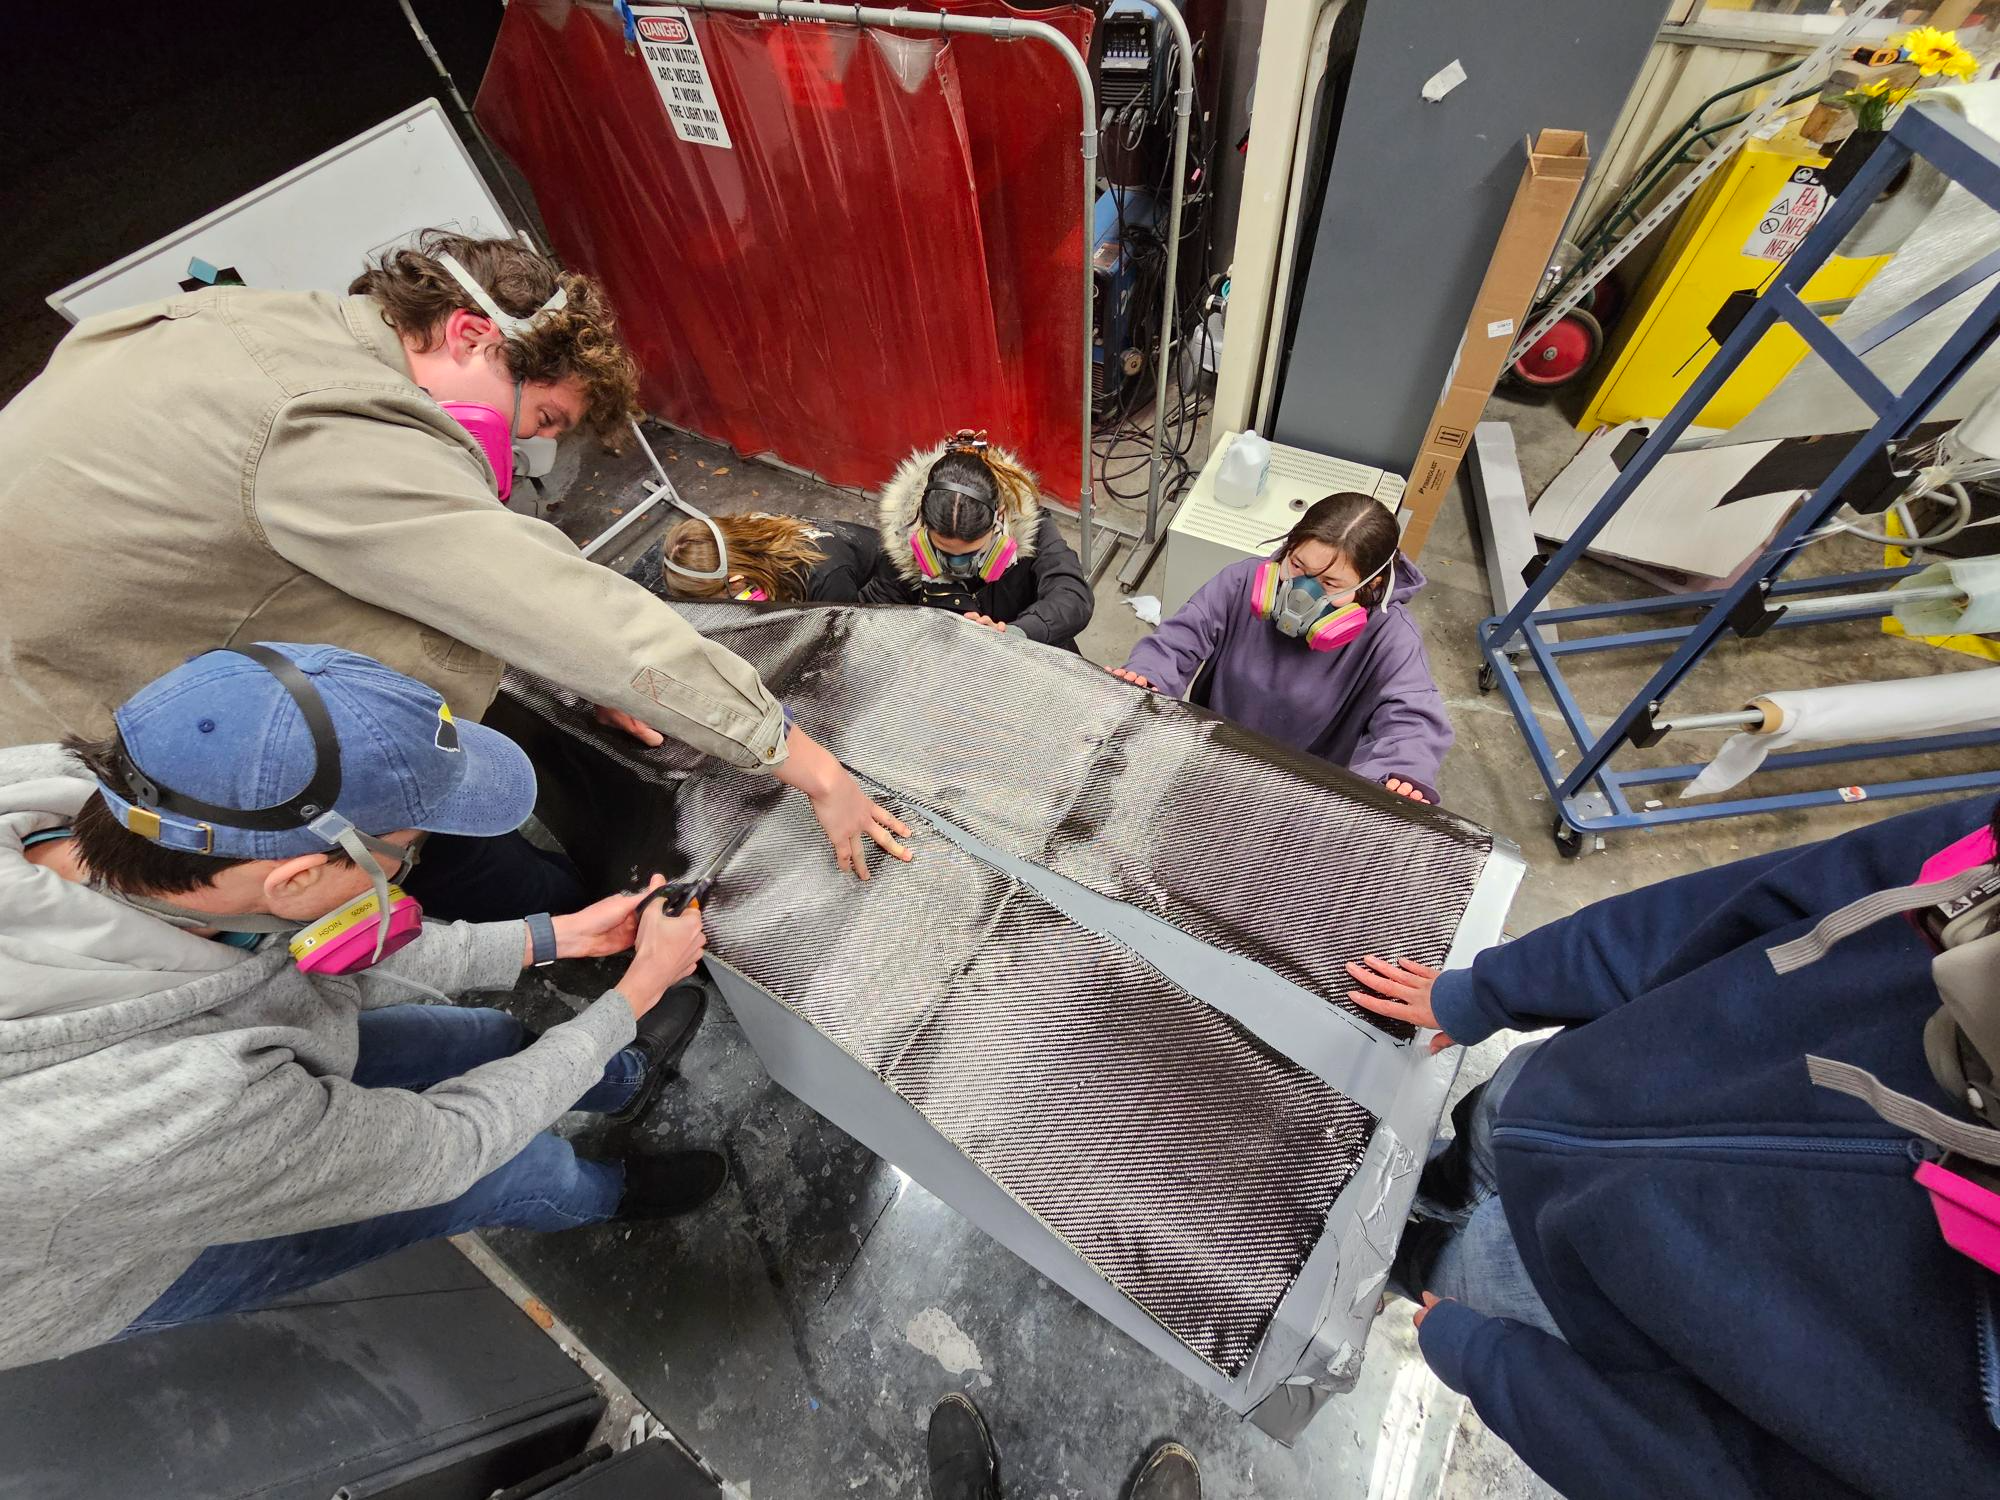
The inner 4 ply was successful but left frog prints and was fixed by cutting out or filling over them
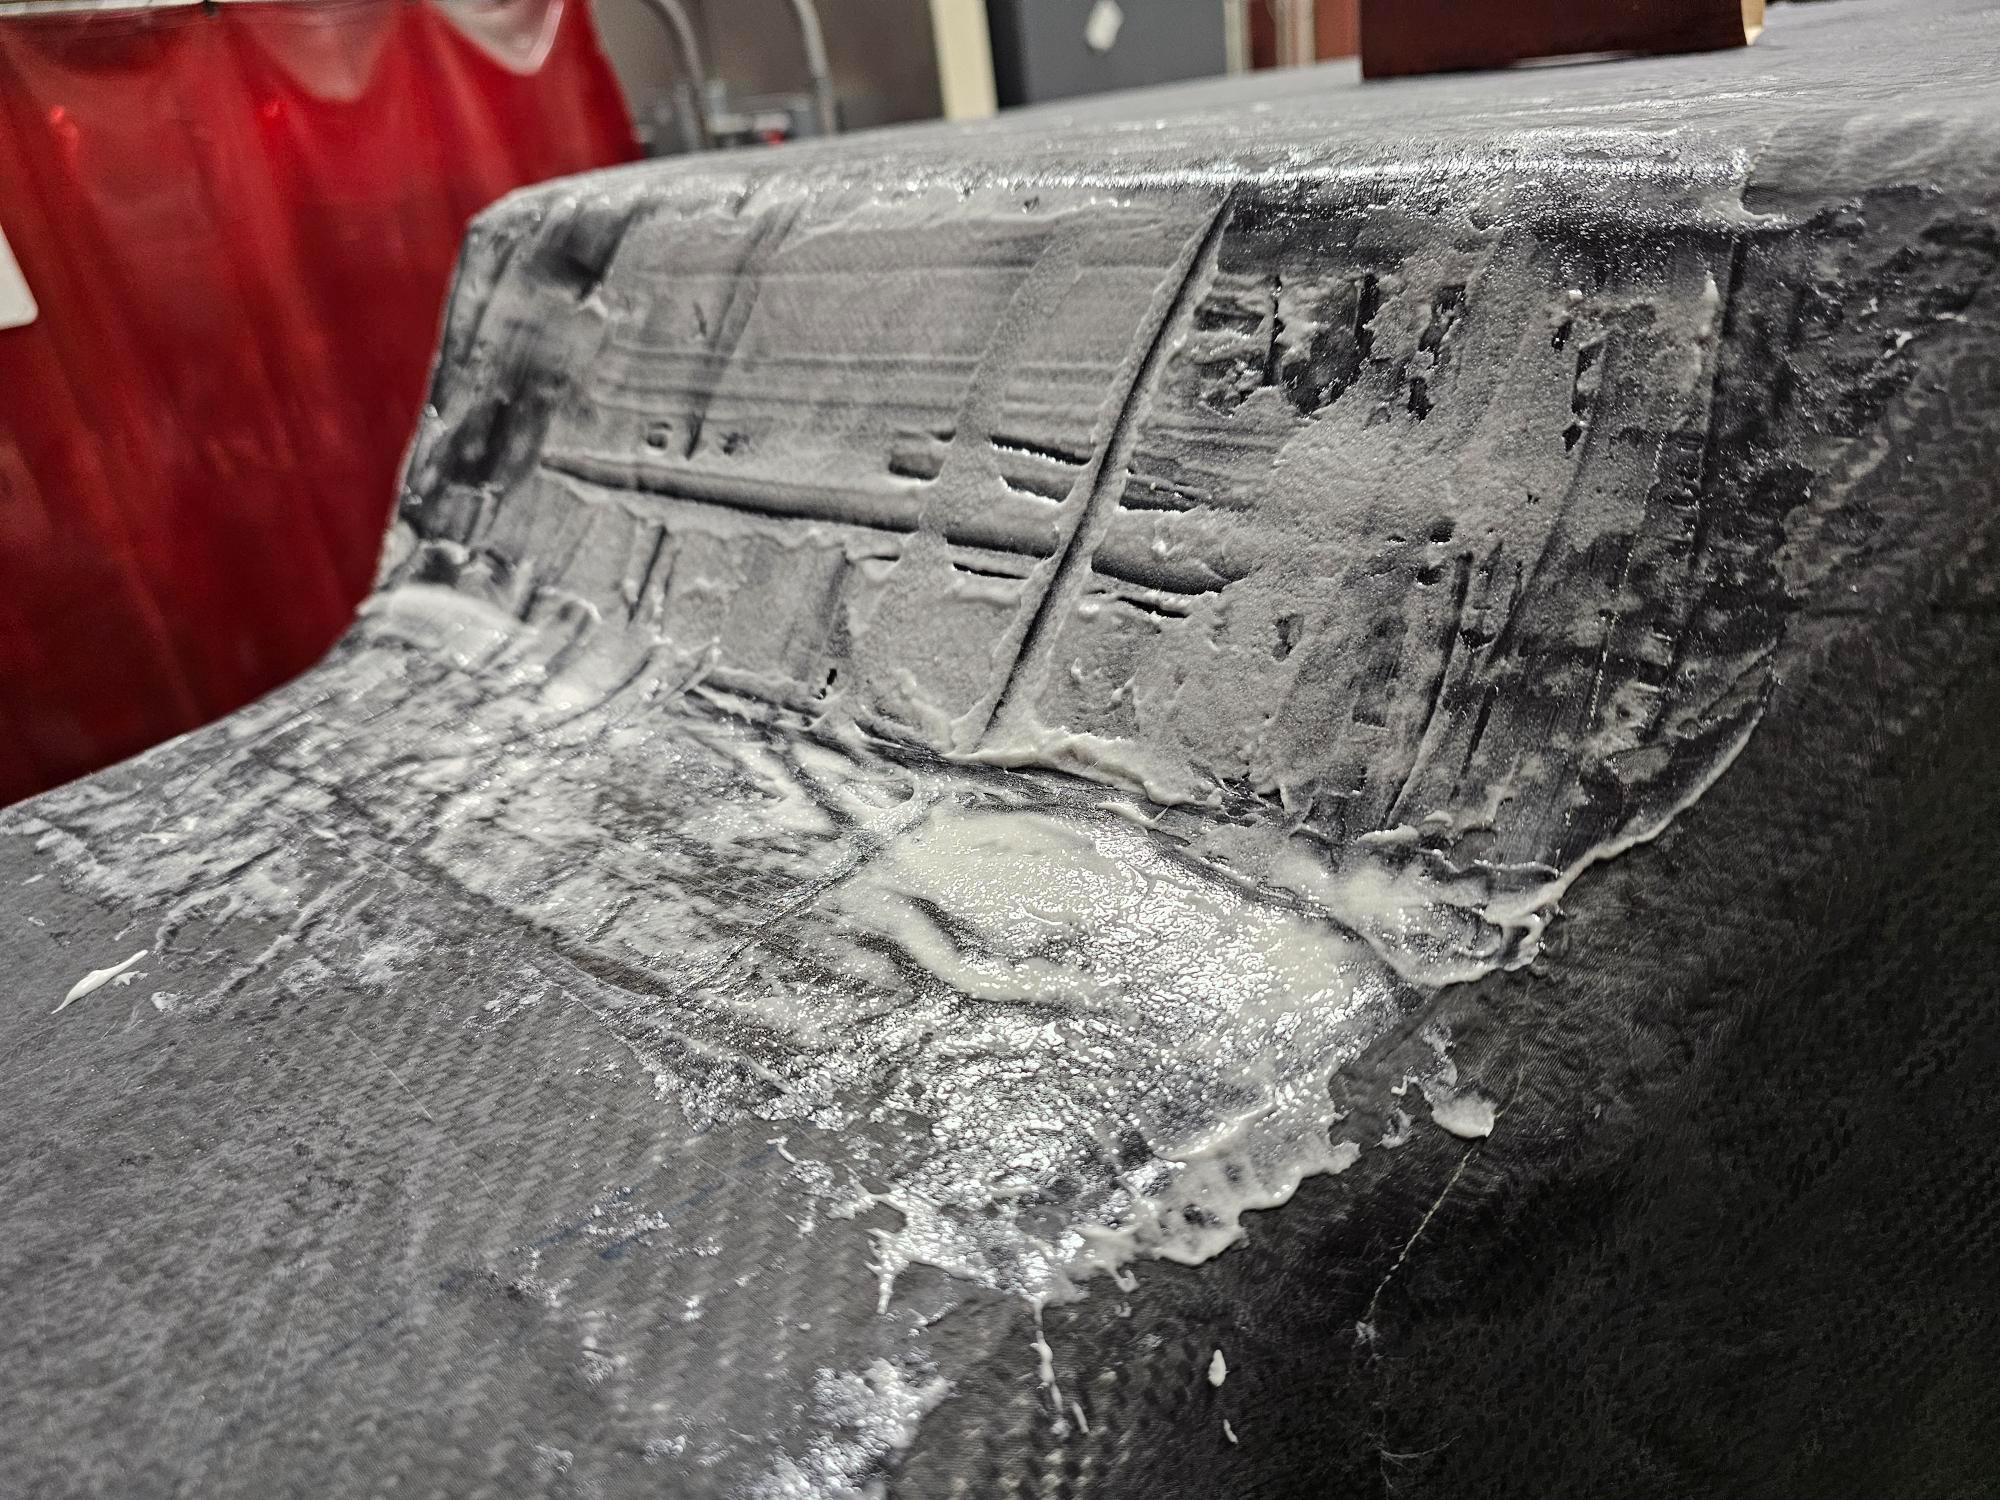
large failed plate layup, don't do vaccum bag over cardboard
First core was placed with breather and would later be sanded off, big mistake, glued to the chassis. Looking back at it, a heat gun would've been better to remove the breather. This mistake would not be made again
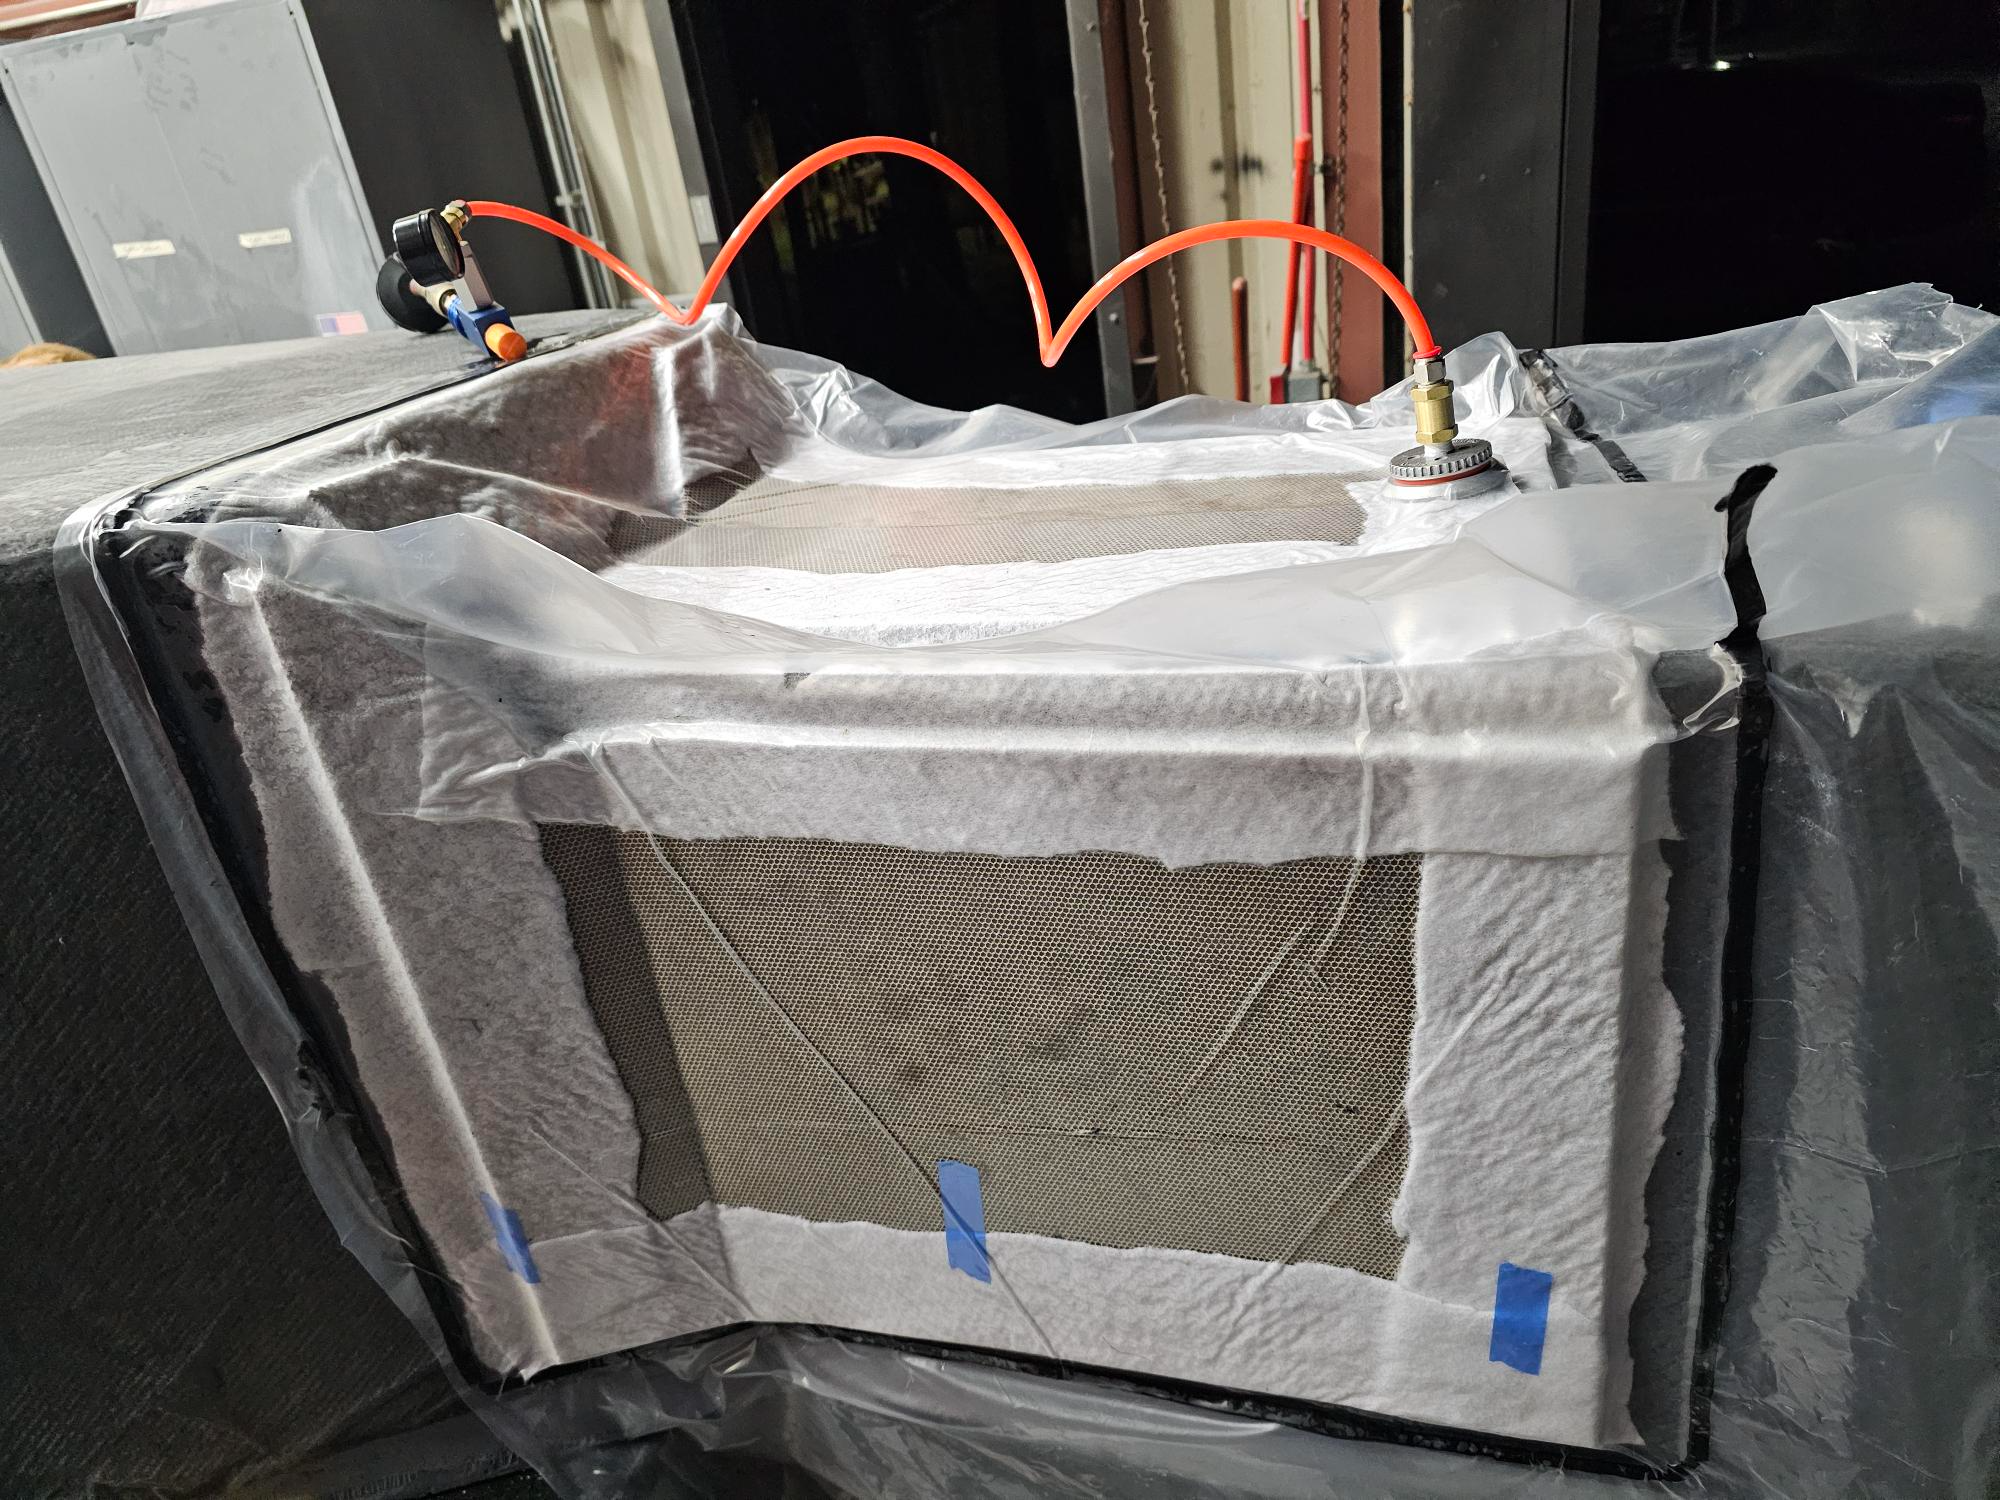
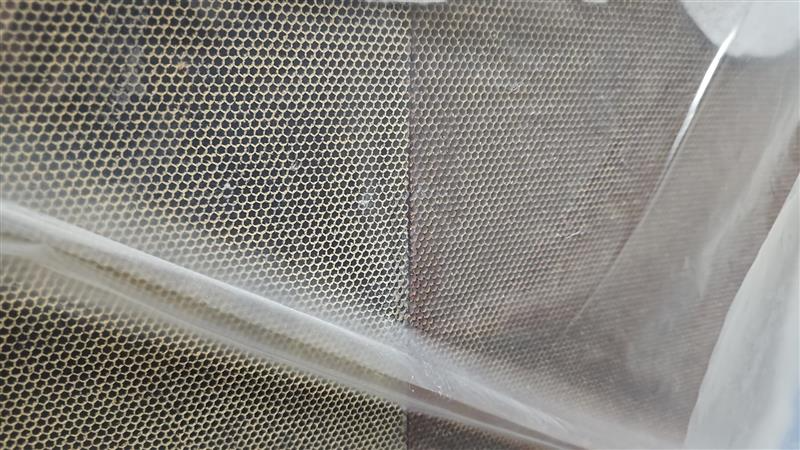
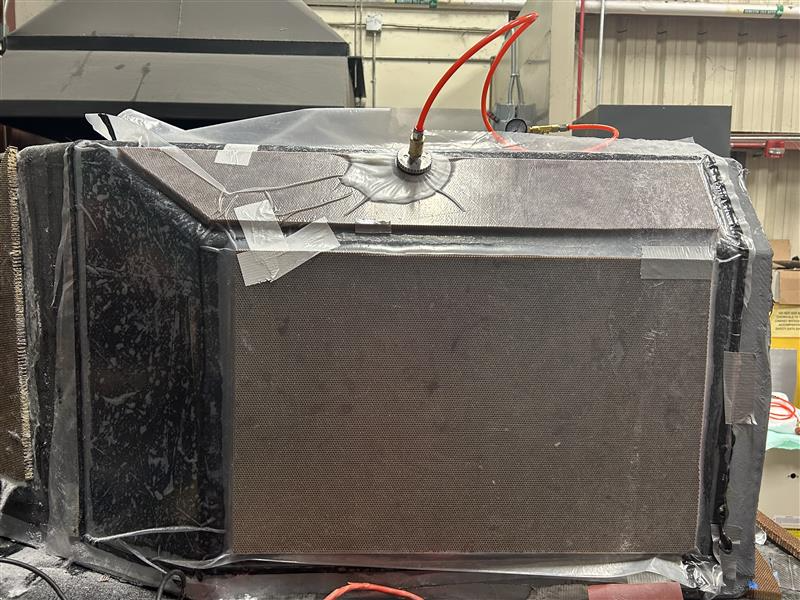
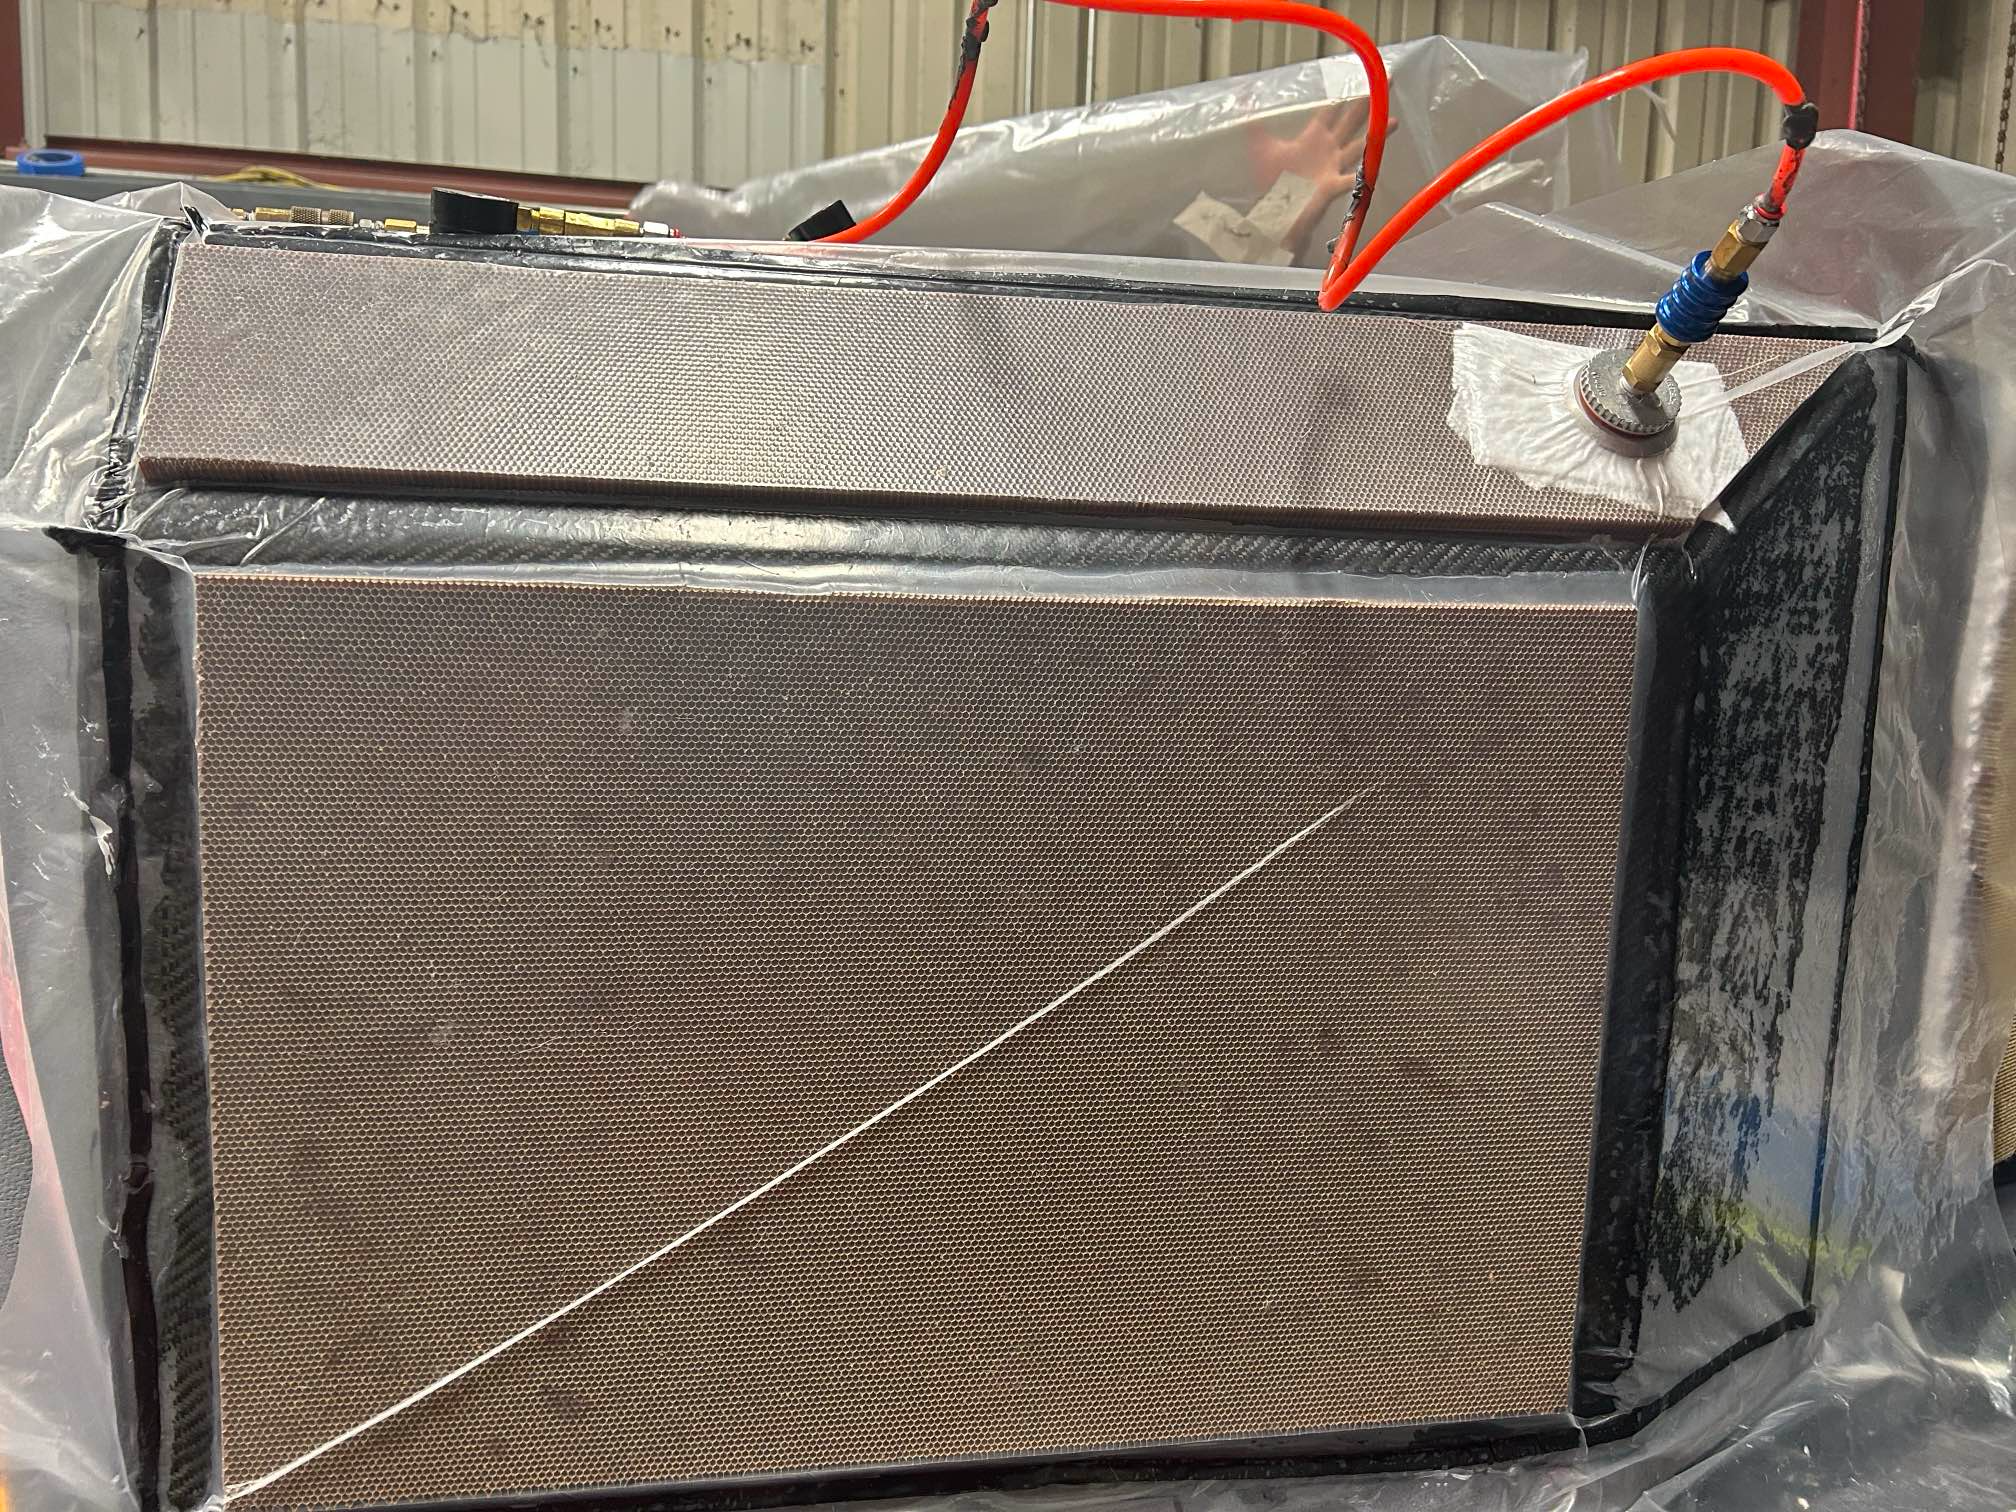
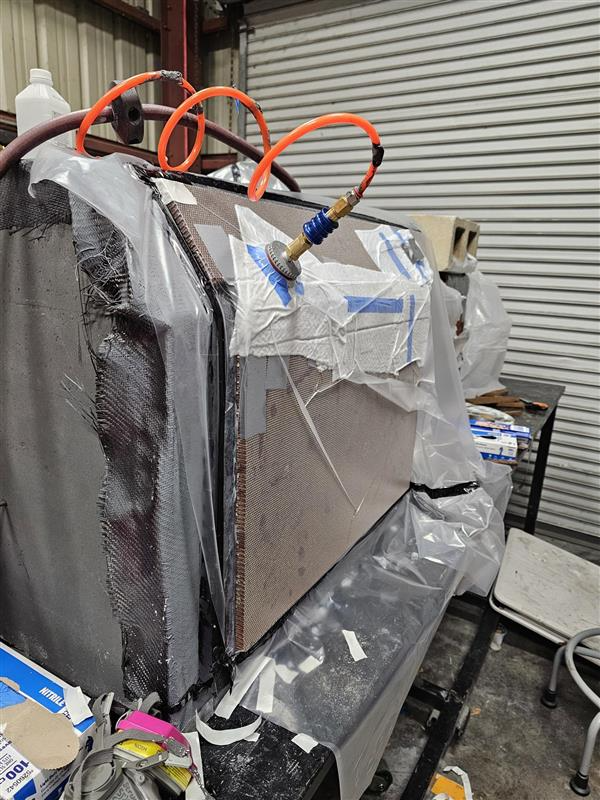
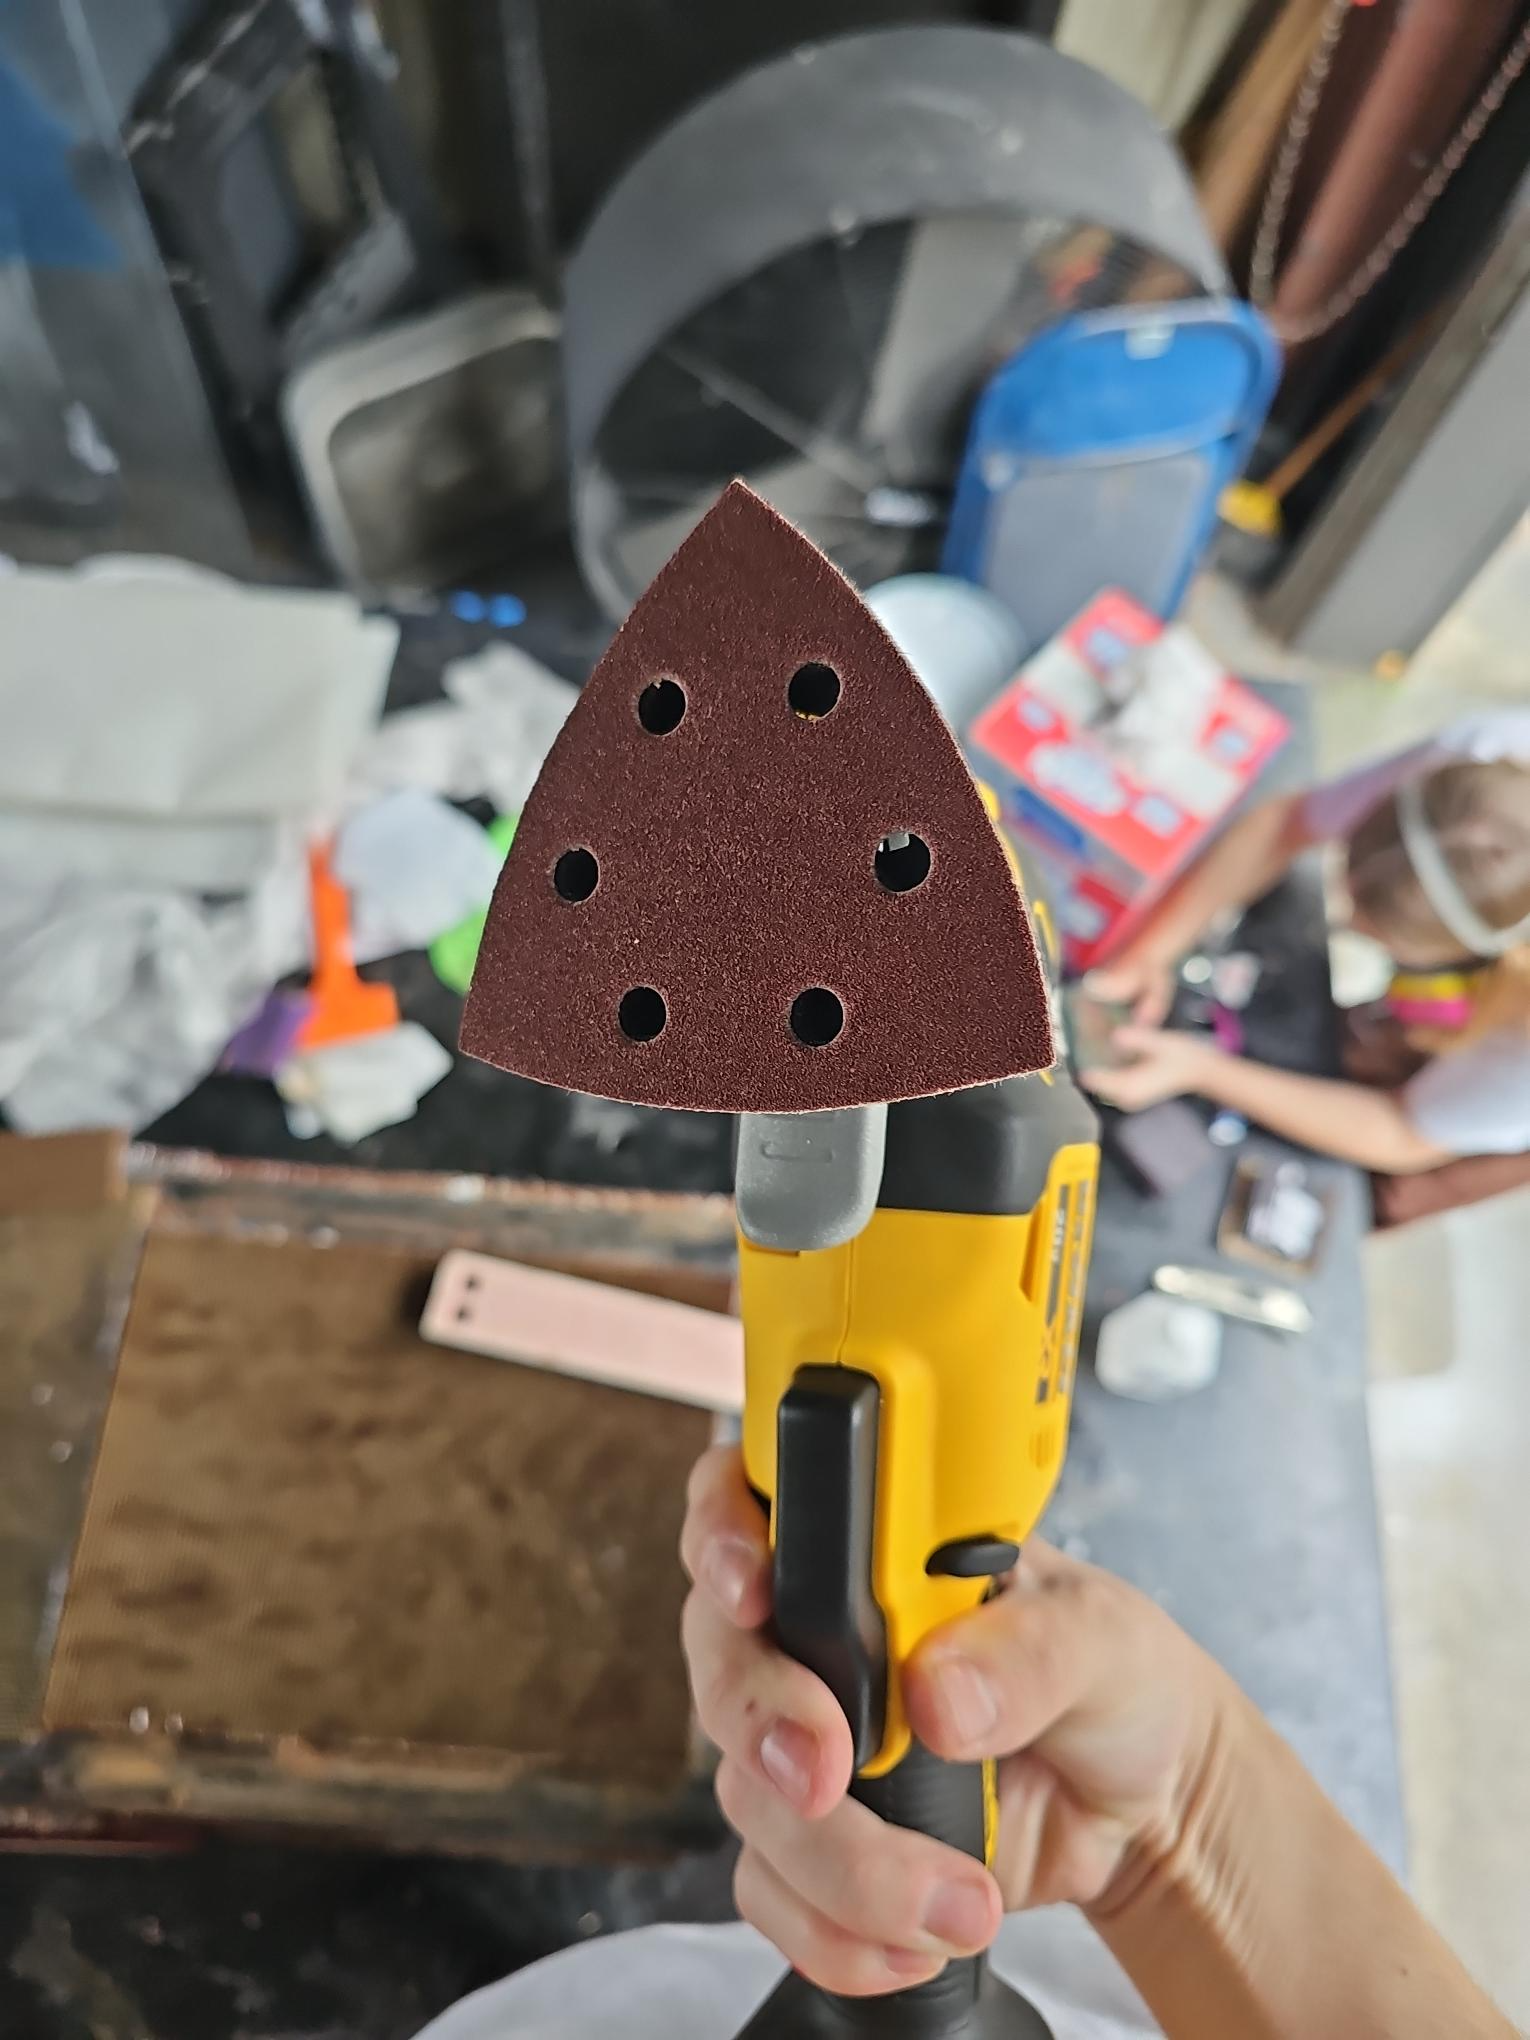
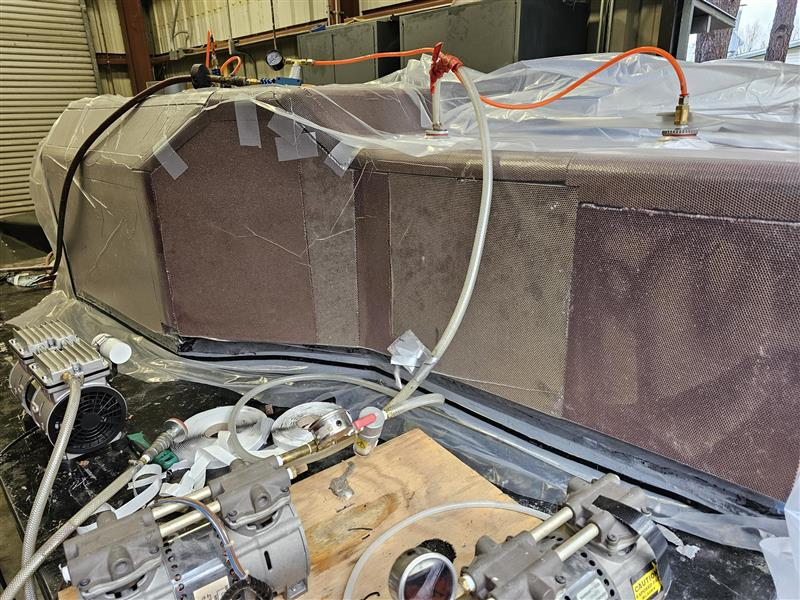
The cores were spliced using EA9430 with equal parts Qcell and Milled Glass, these would help with dynamic and static viscocity. There were some locations with small amount and some entirely filled, this can be seen in the front of chassis's exposed region if you're curoius.
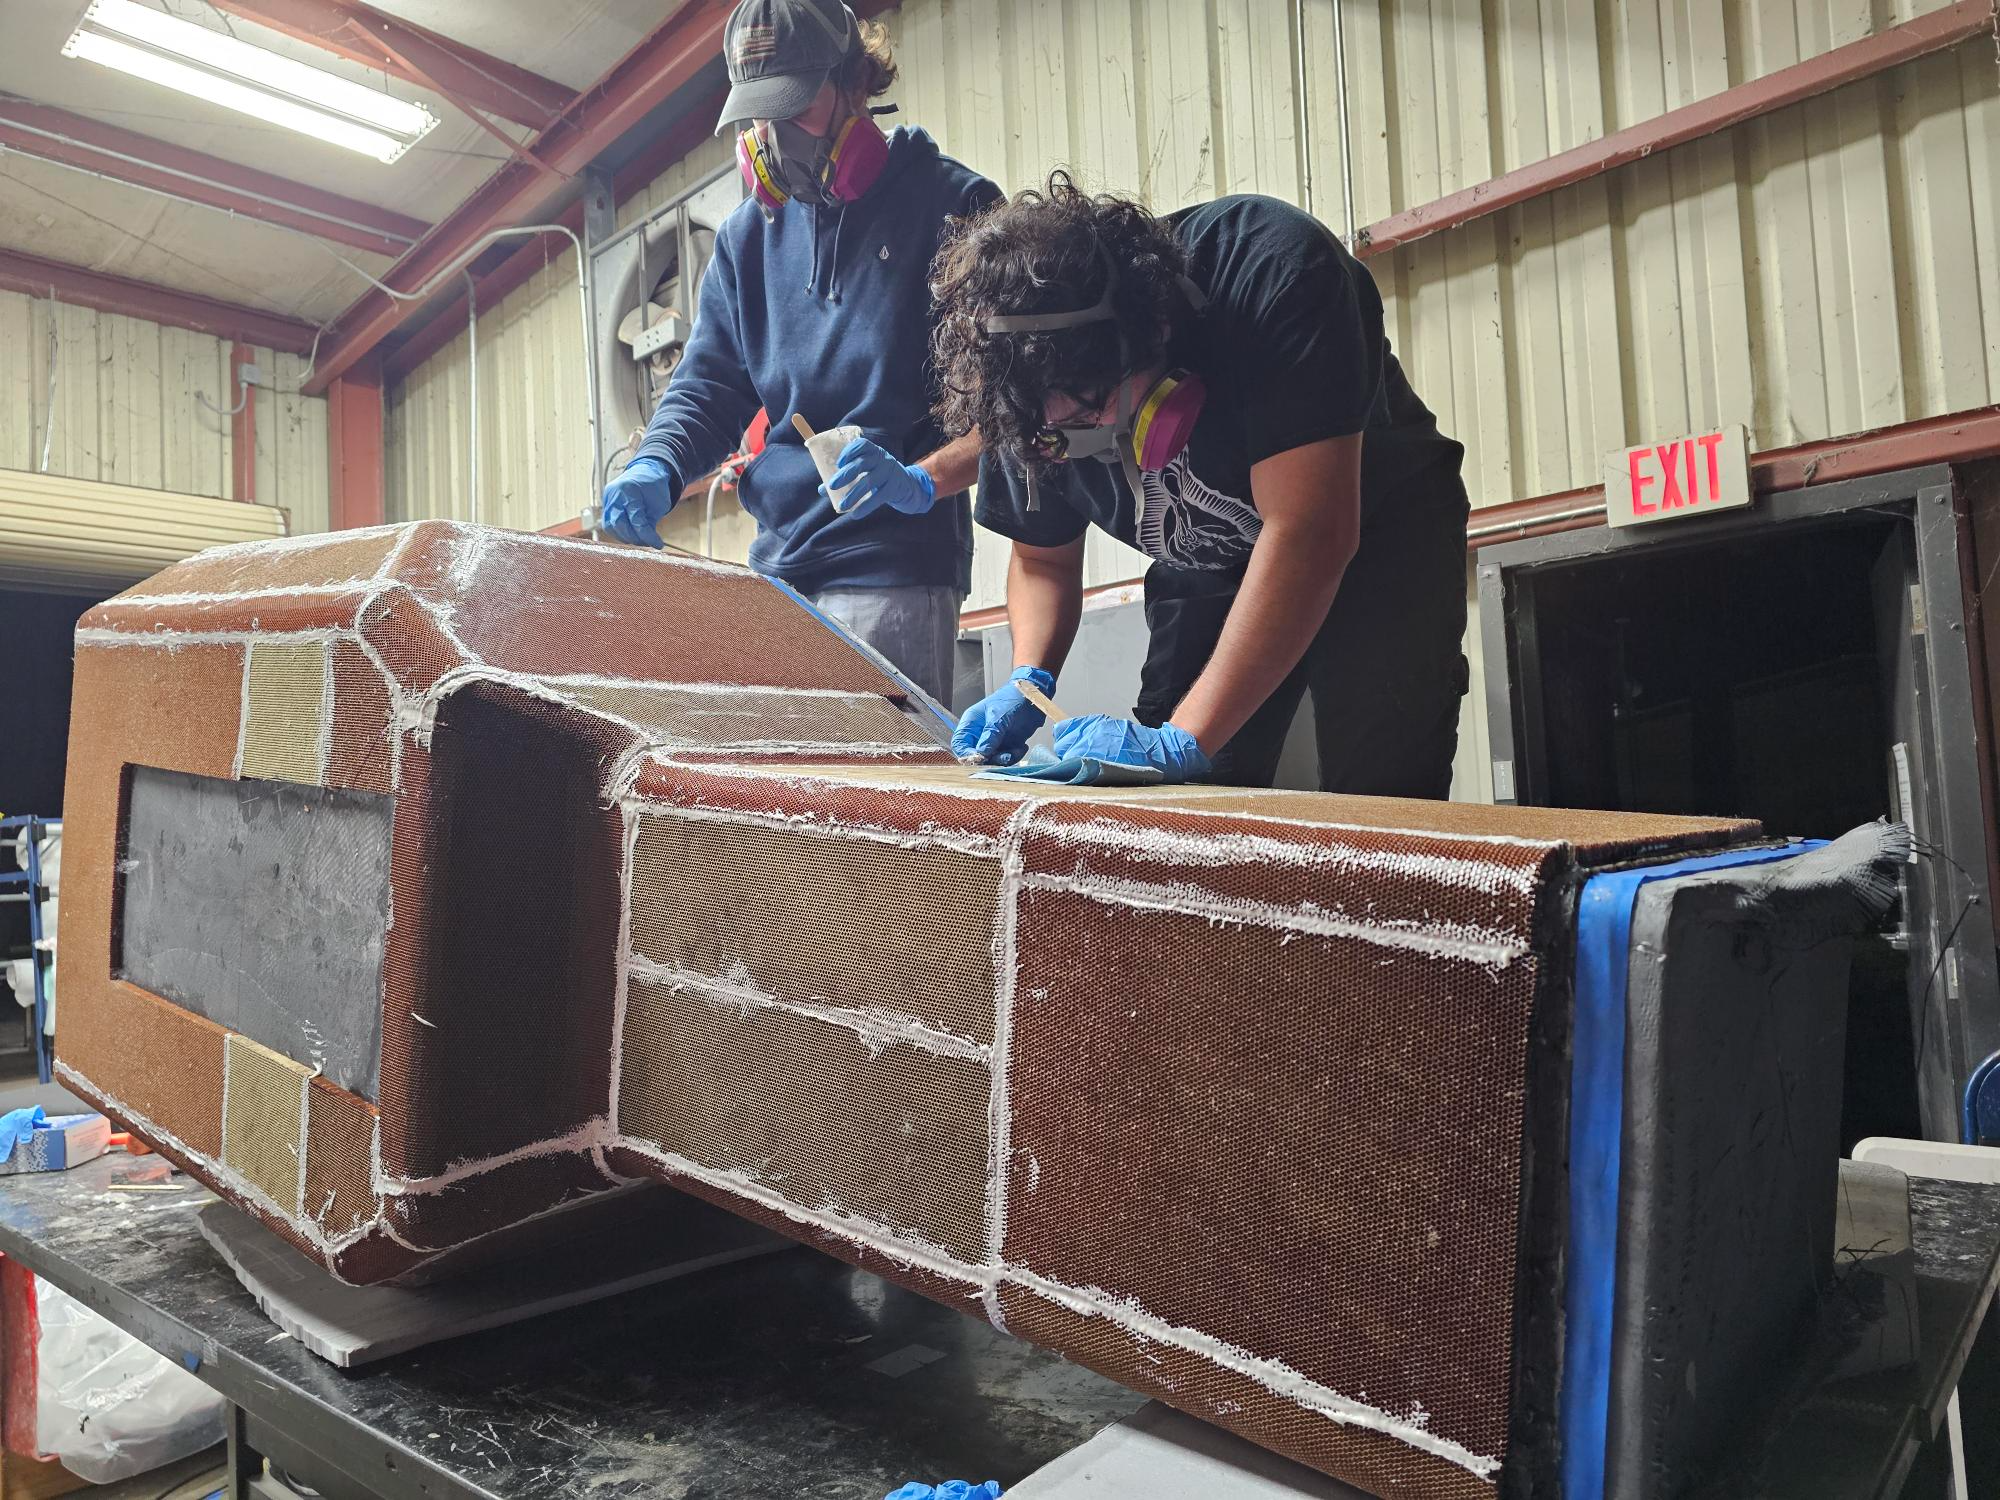
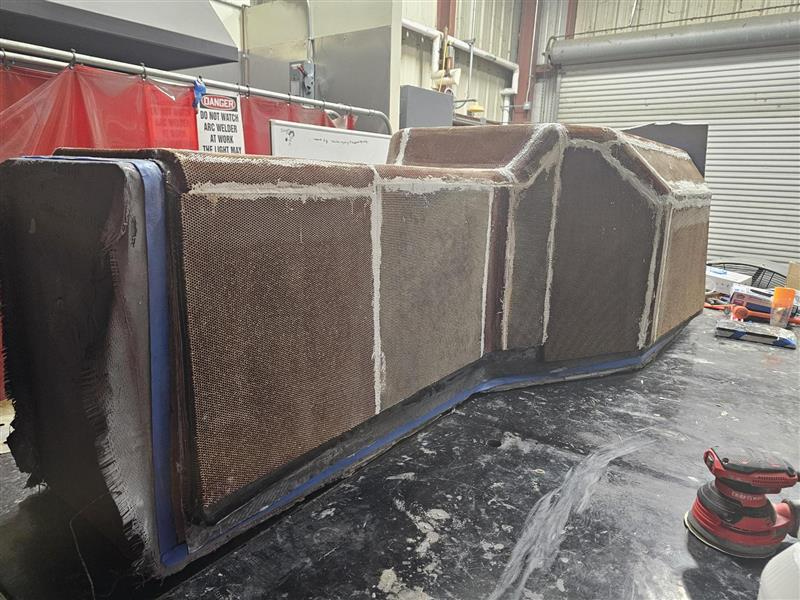
The core with splices was sanded down to be level
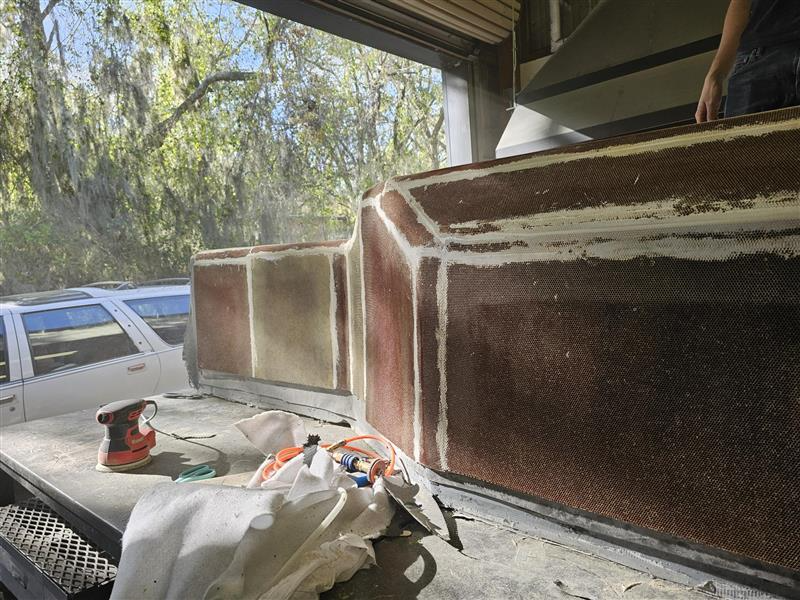

The first outer ply was wetted out then applied to the core via a vaccum bag, without vaccumm bag can be seen in the photo below - had to be redone.
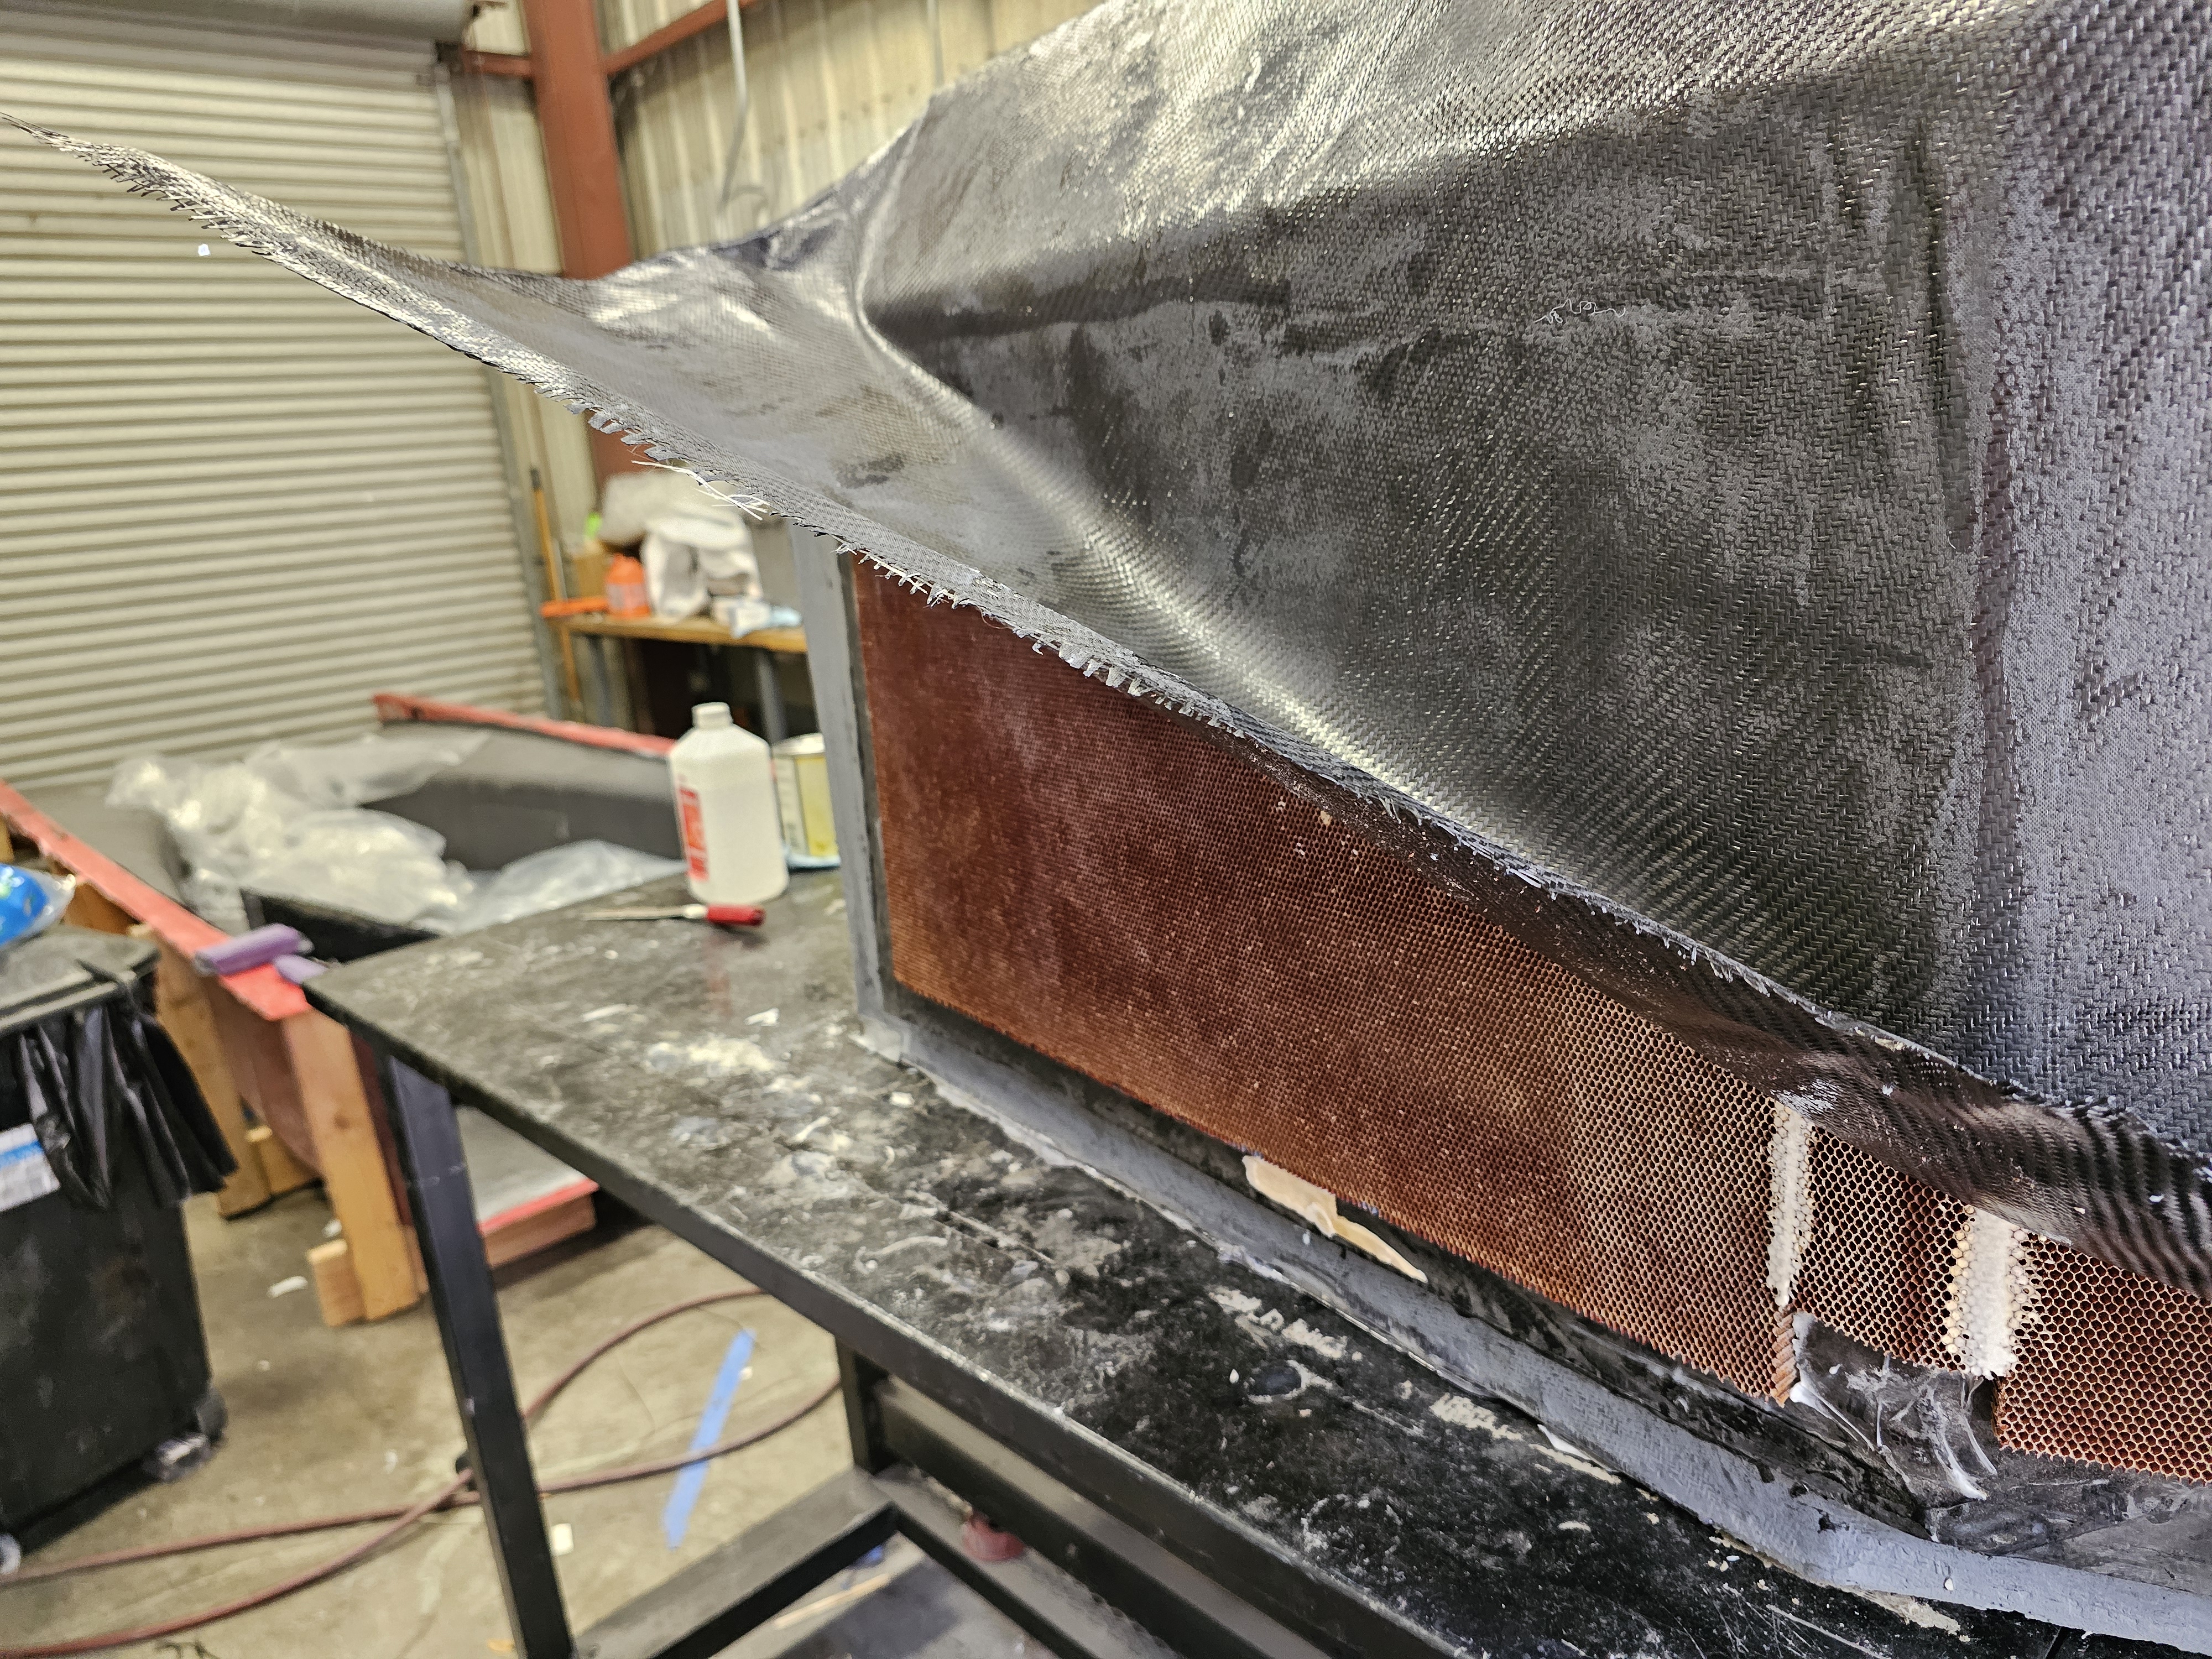
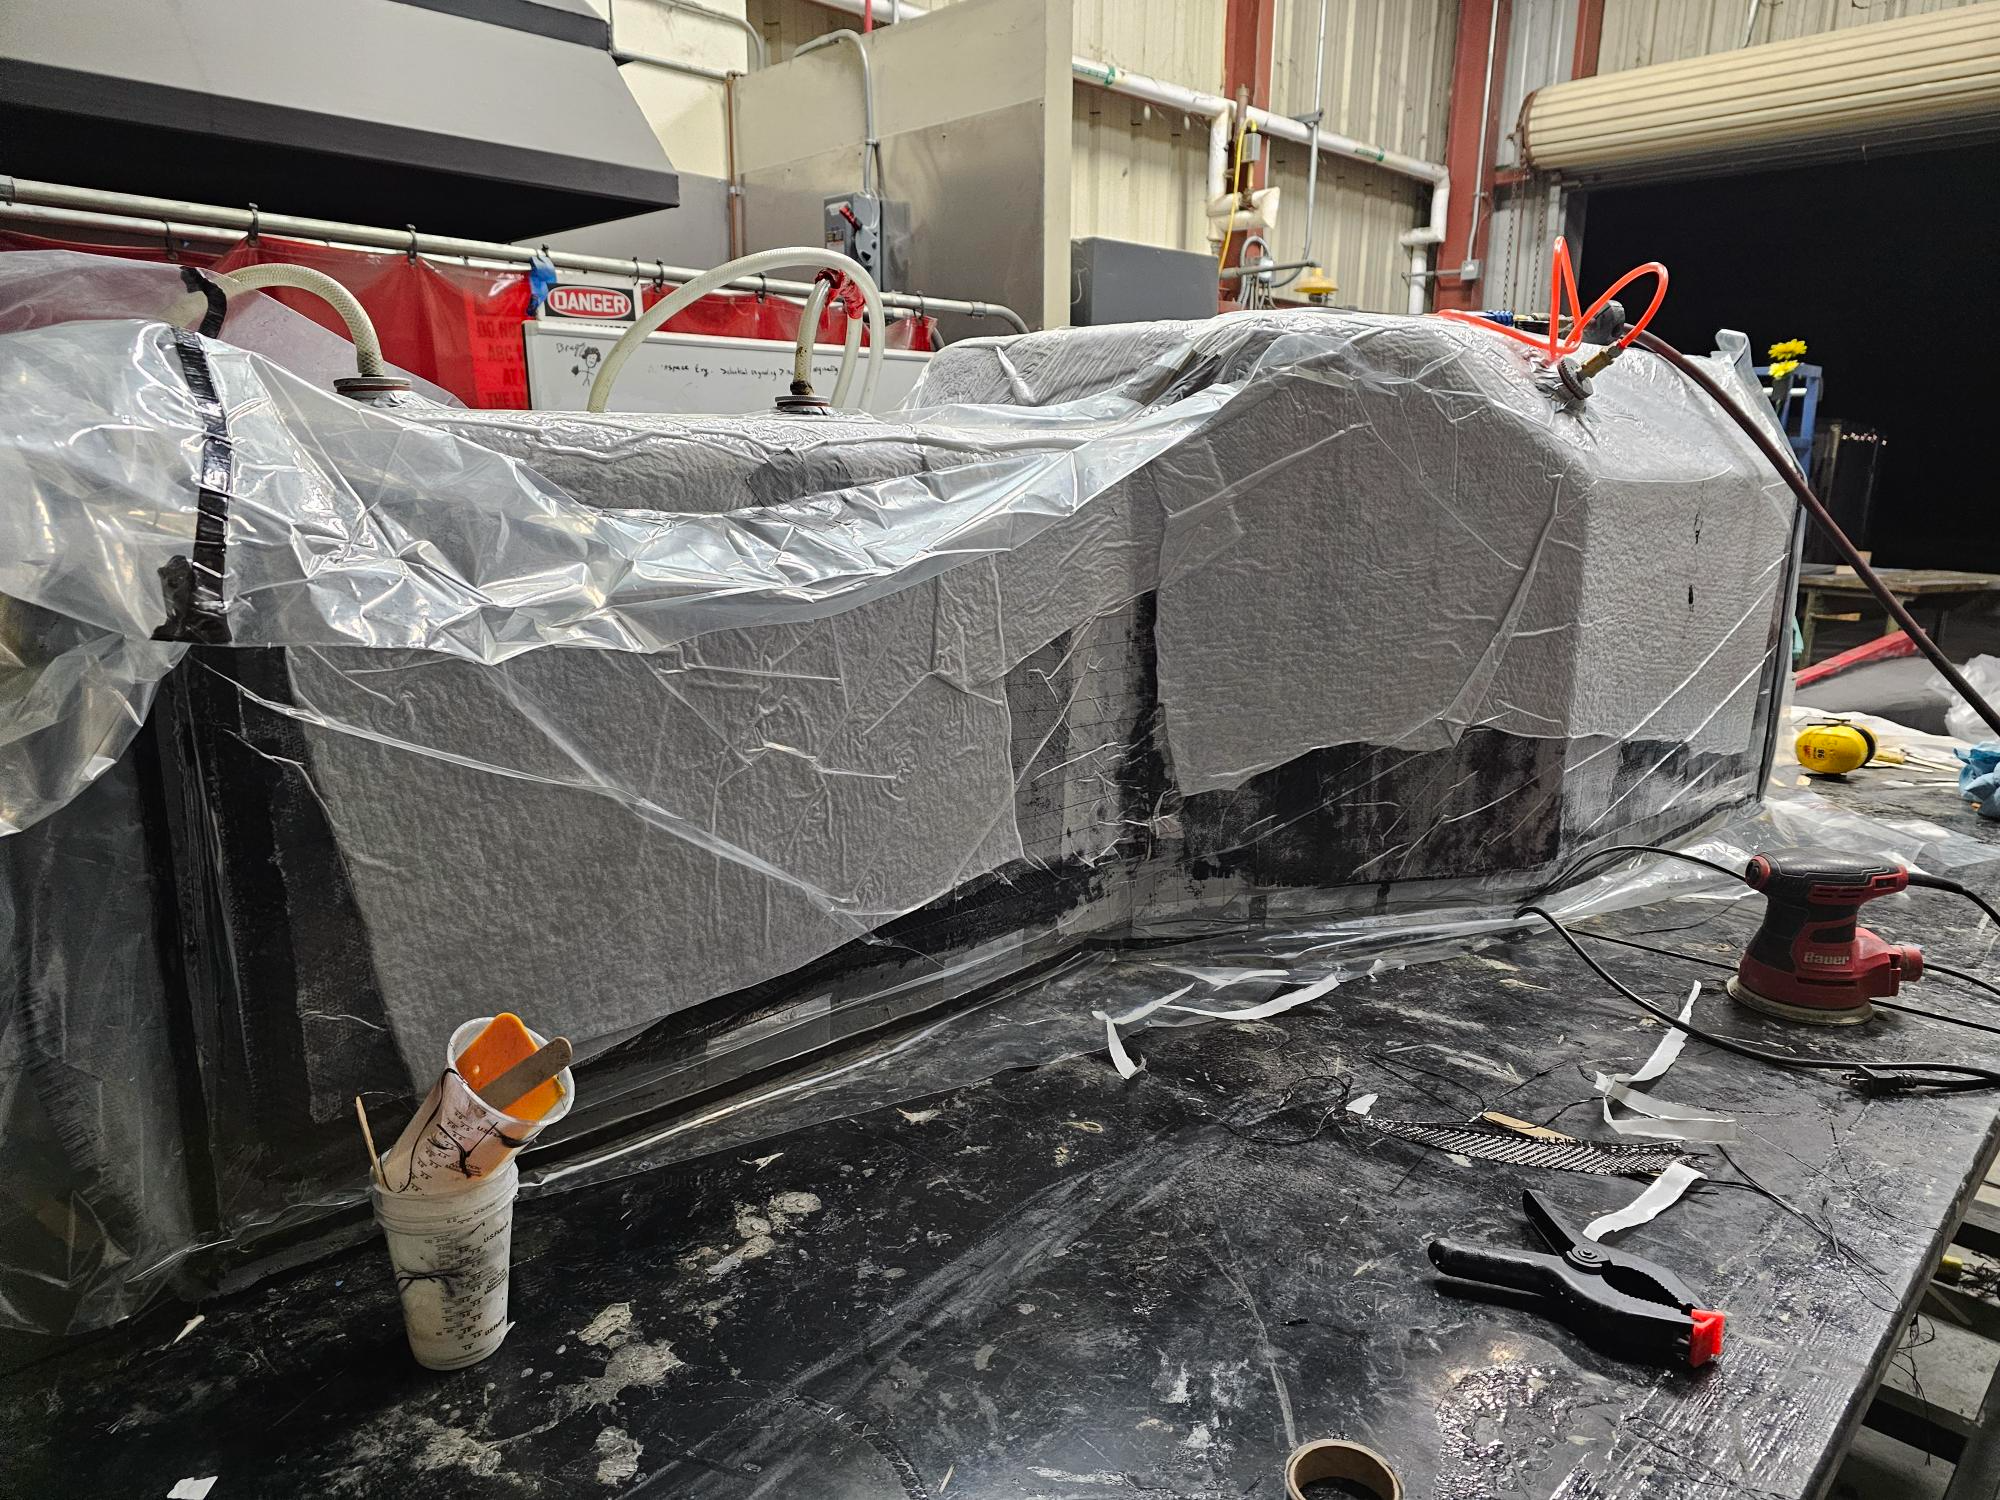

SUCCESS, 30 lb+ psi all around, pretty perfect. I was in a haze during the layup, locked in like kyrie on game 7.
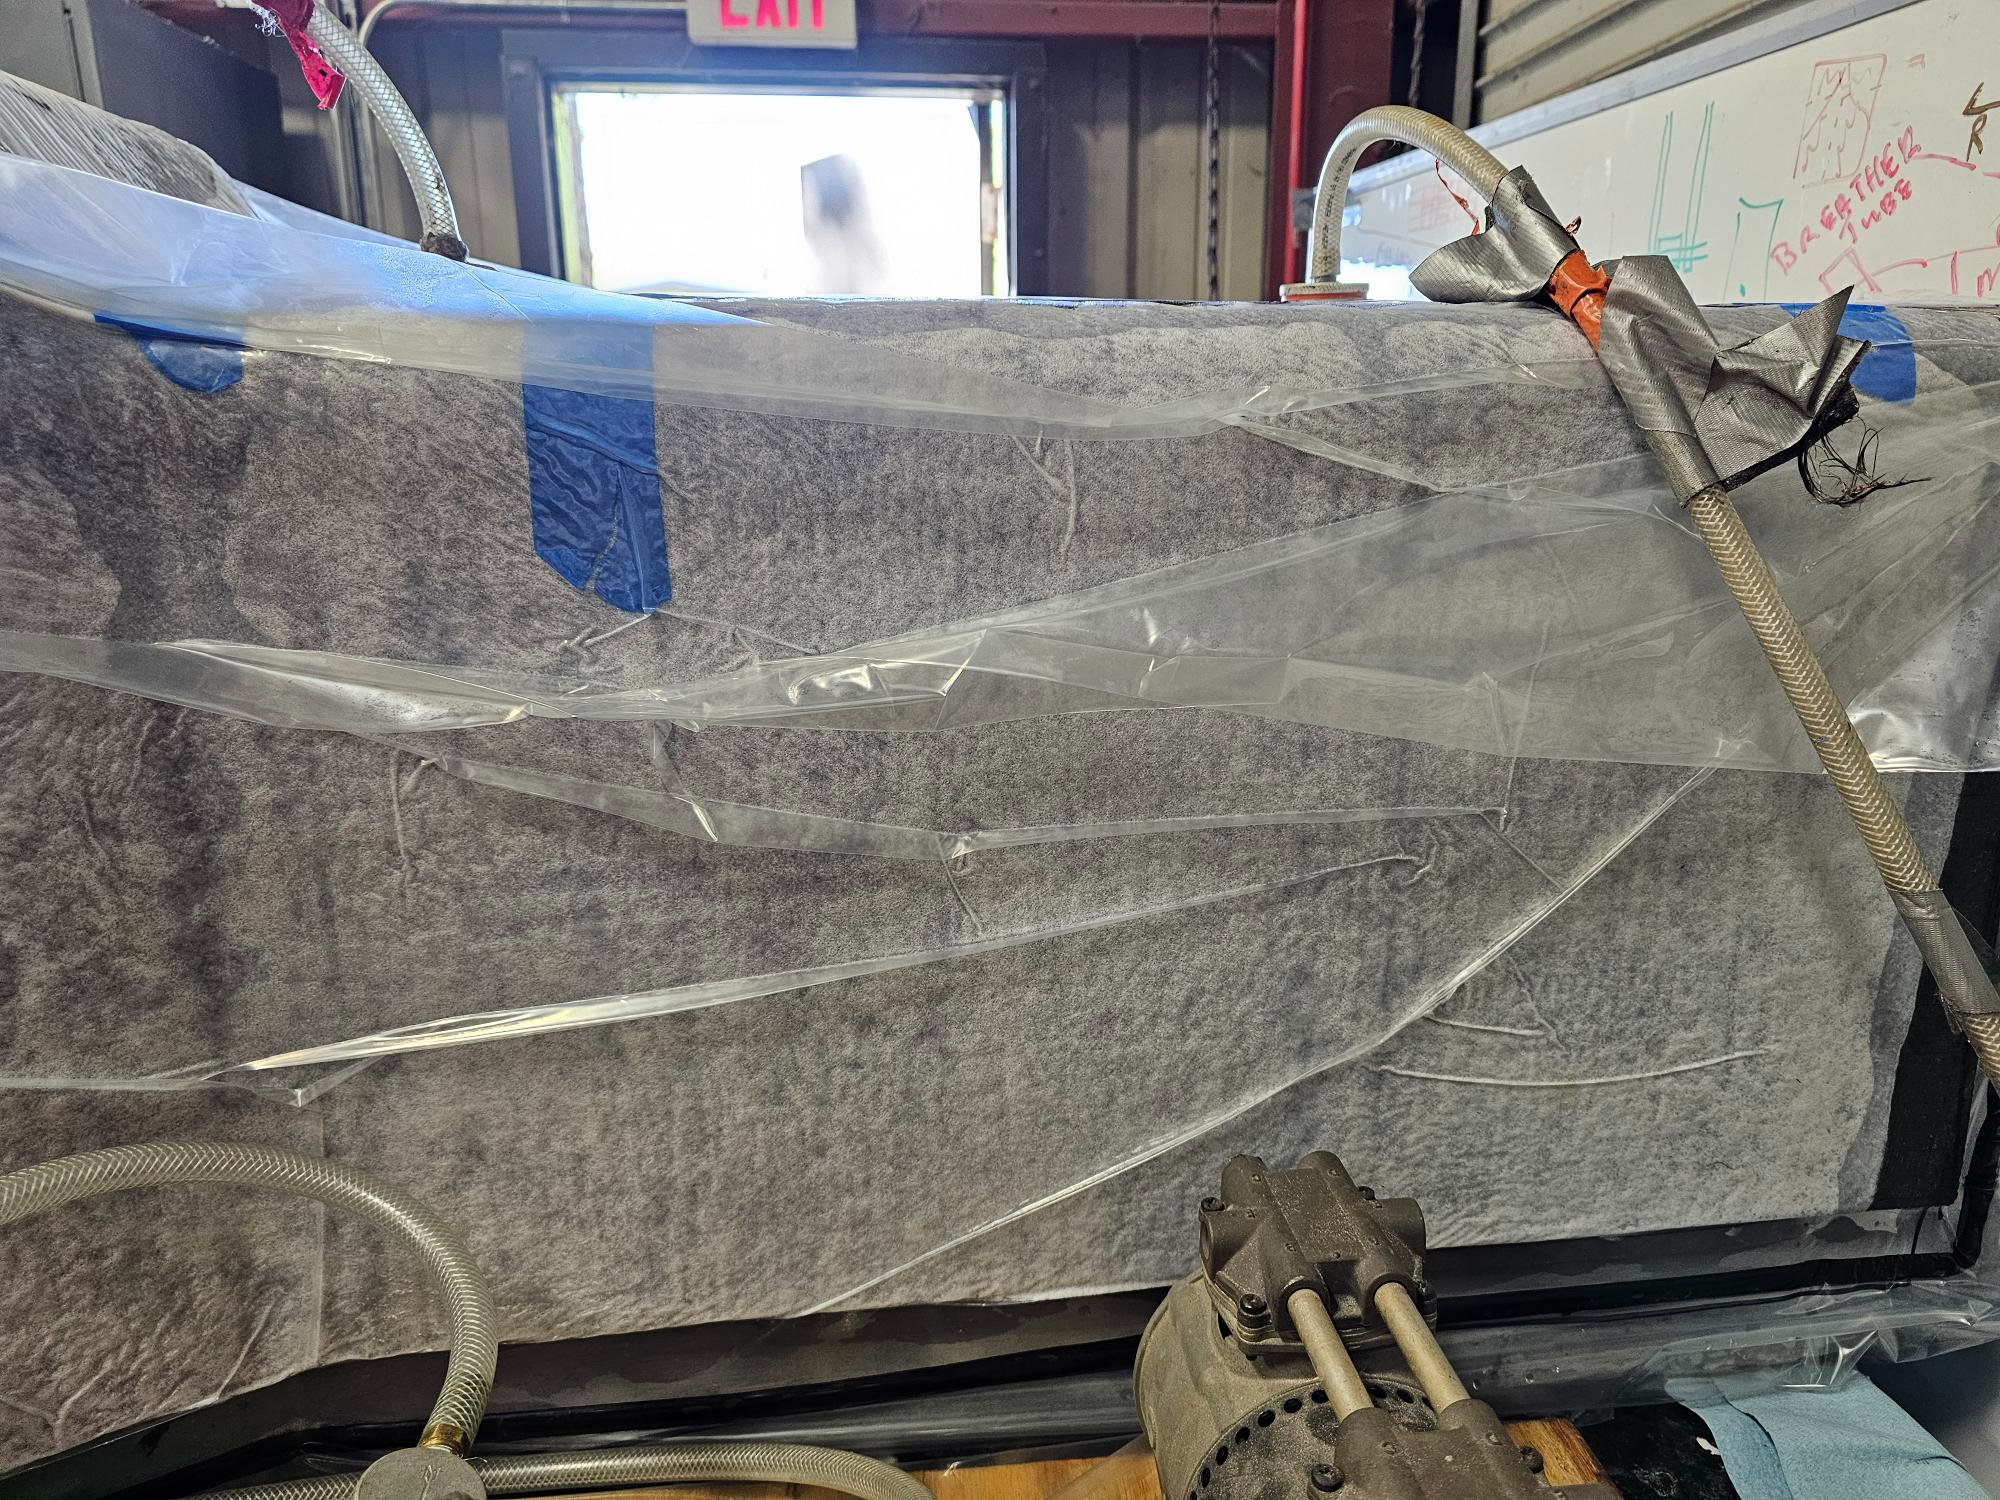
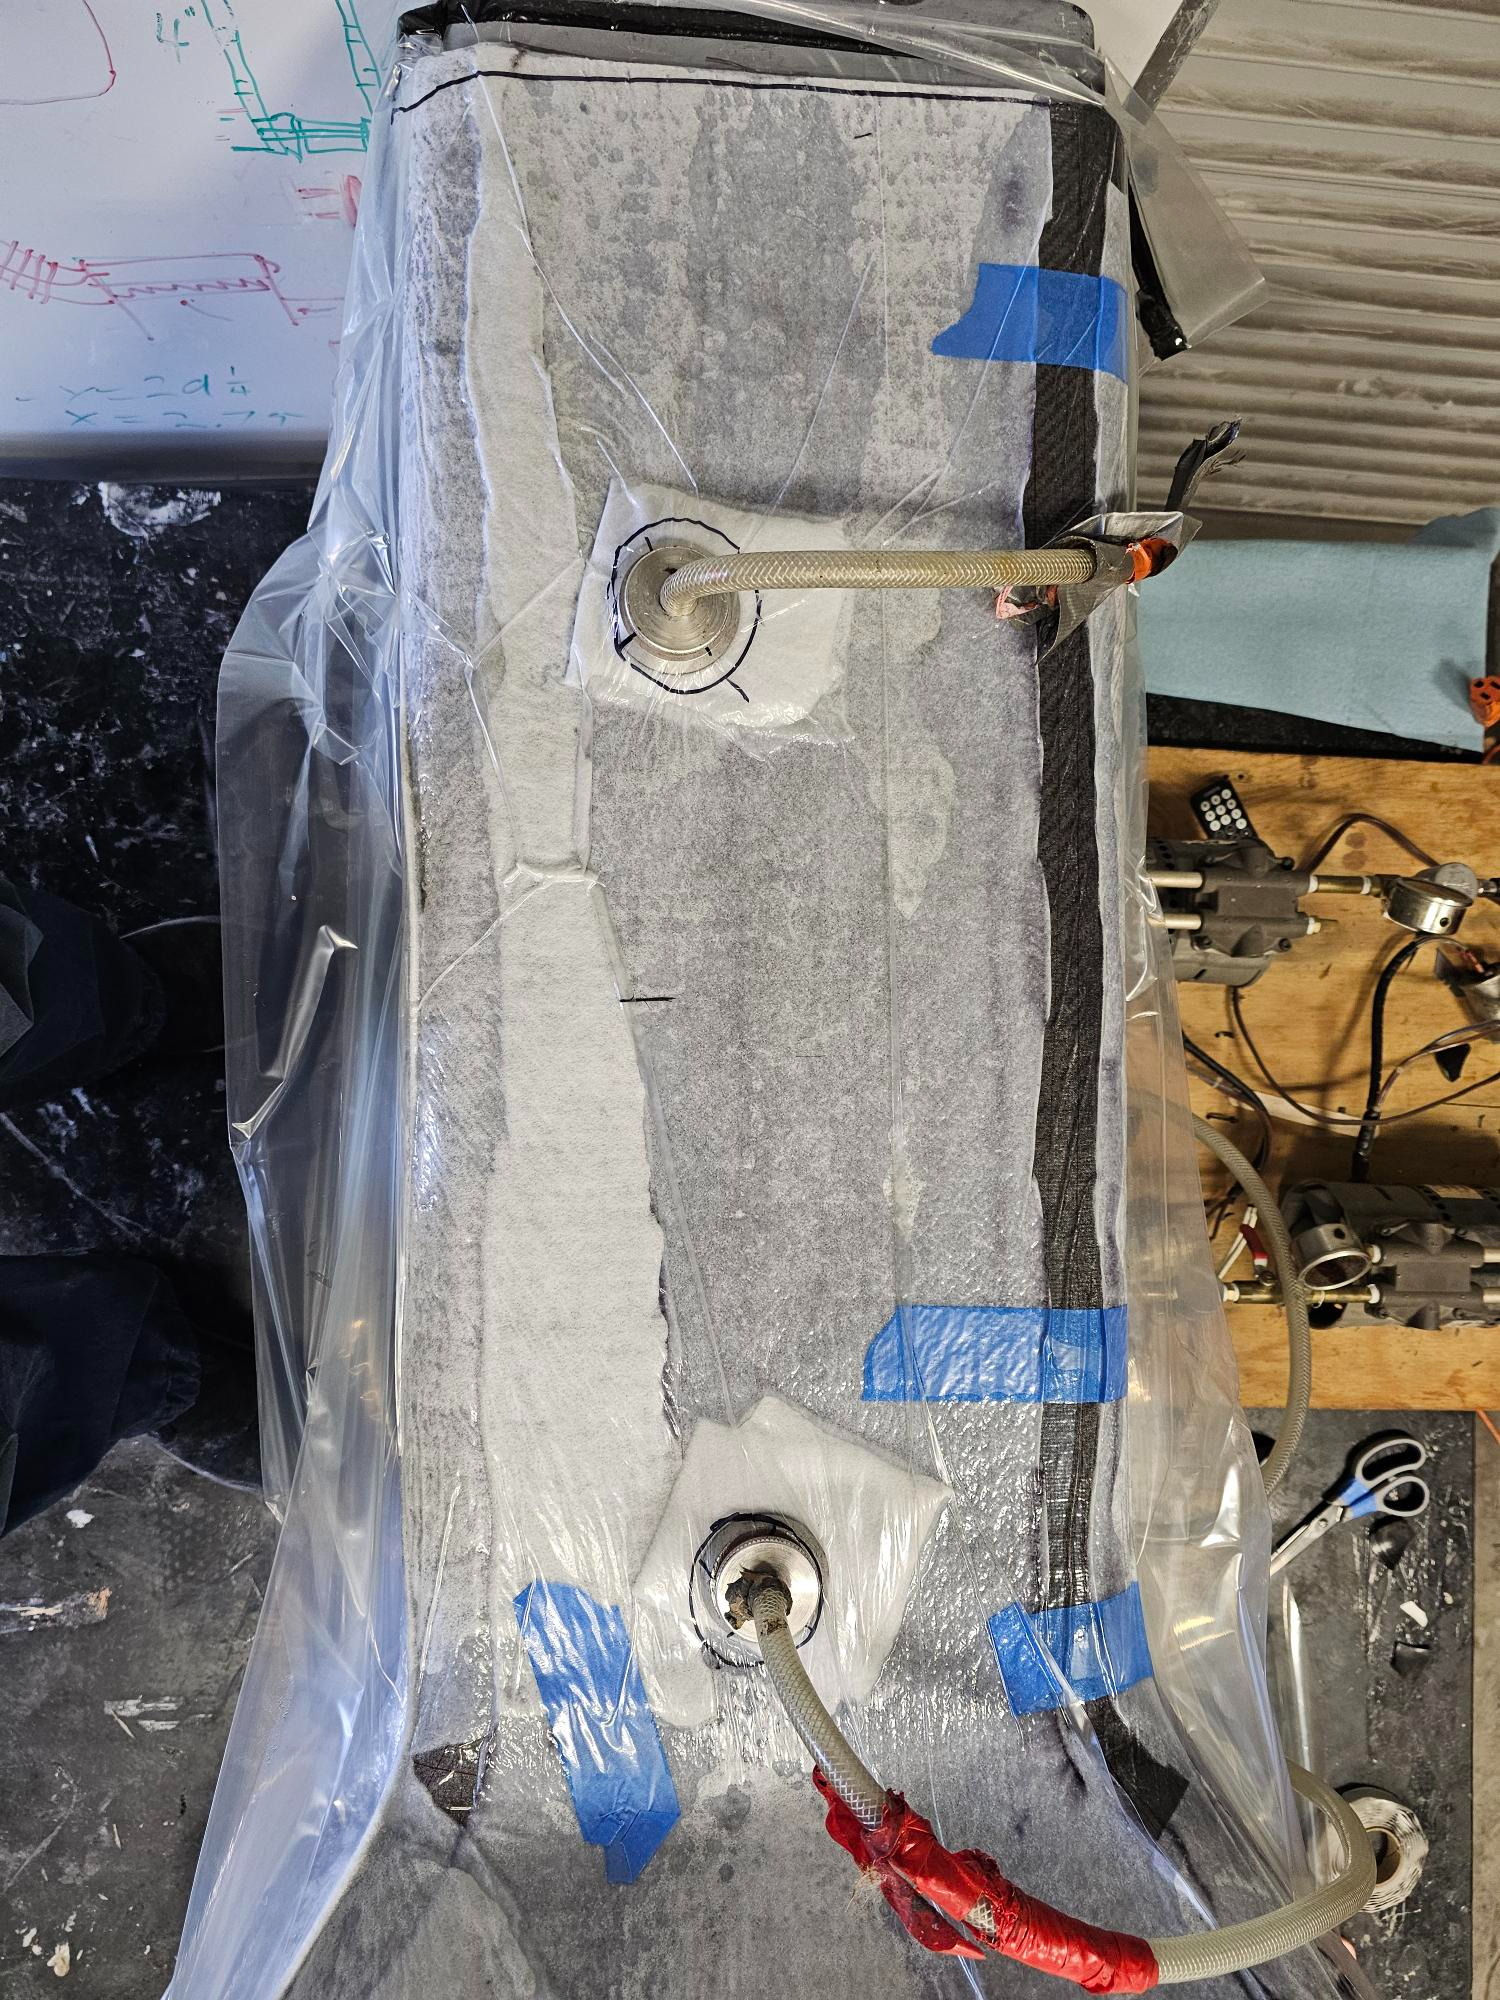
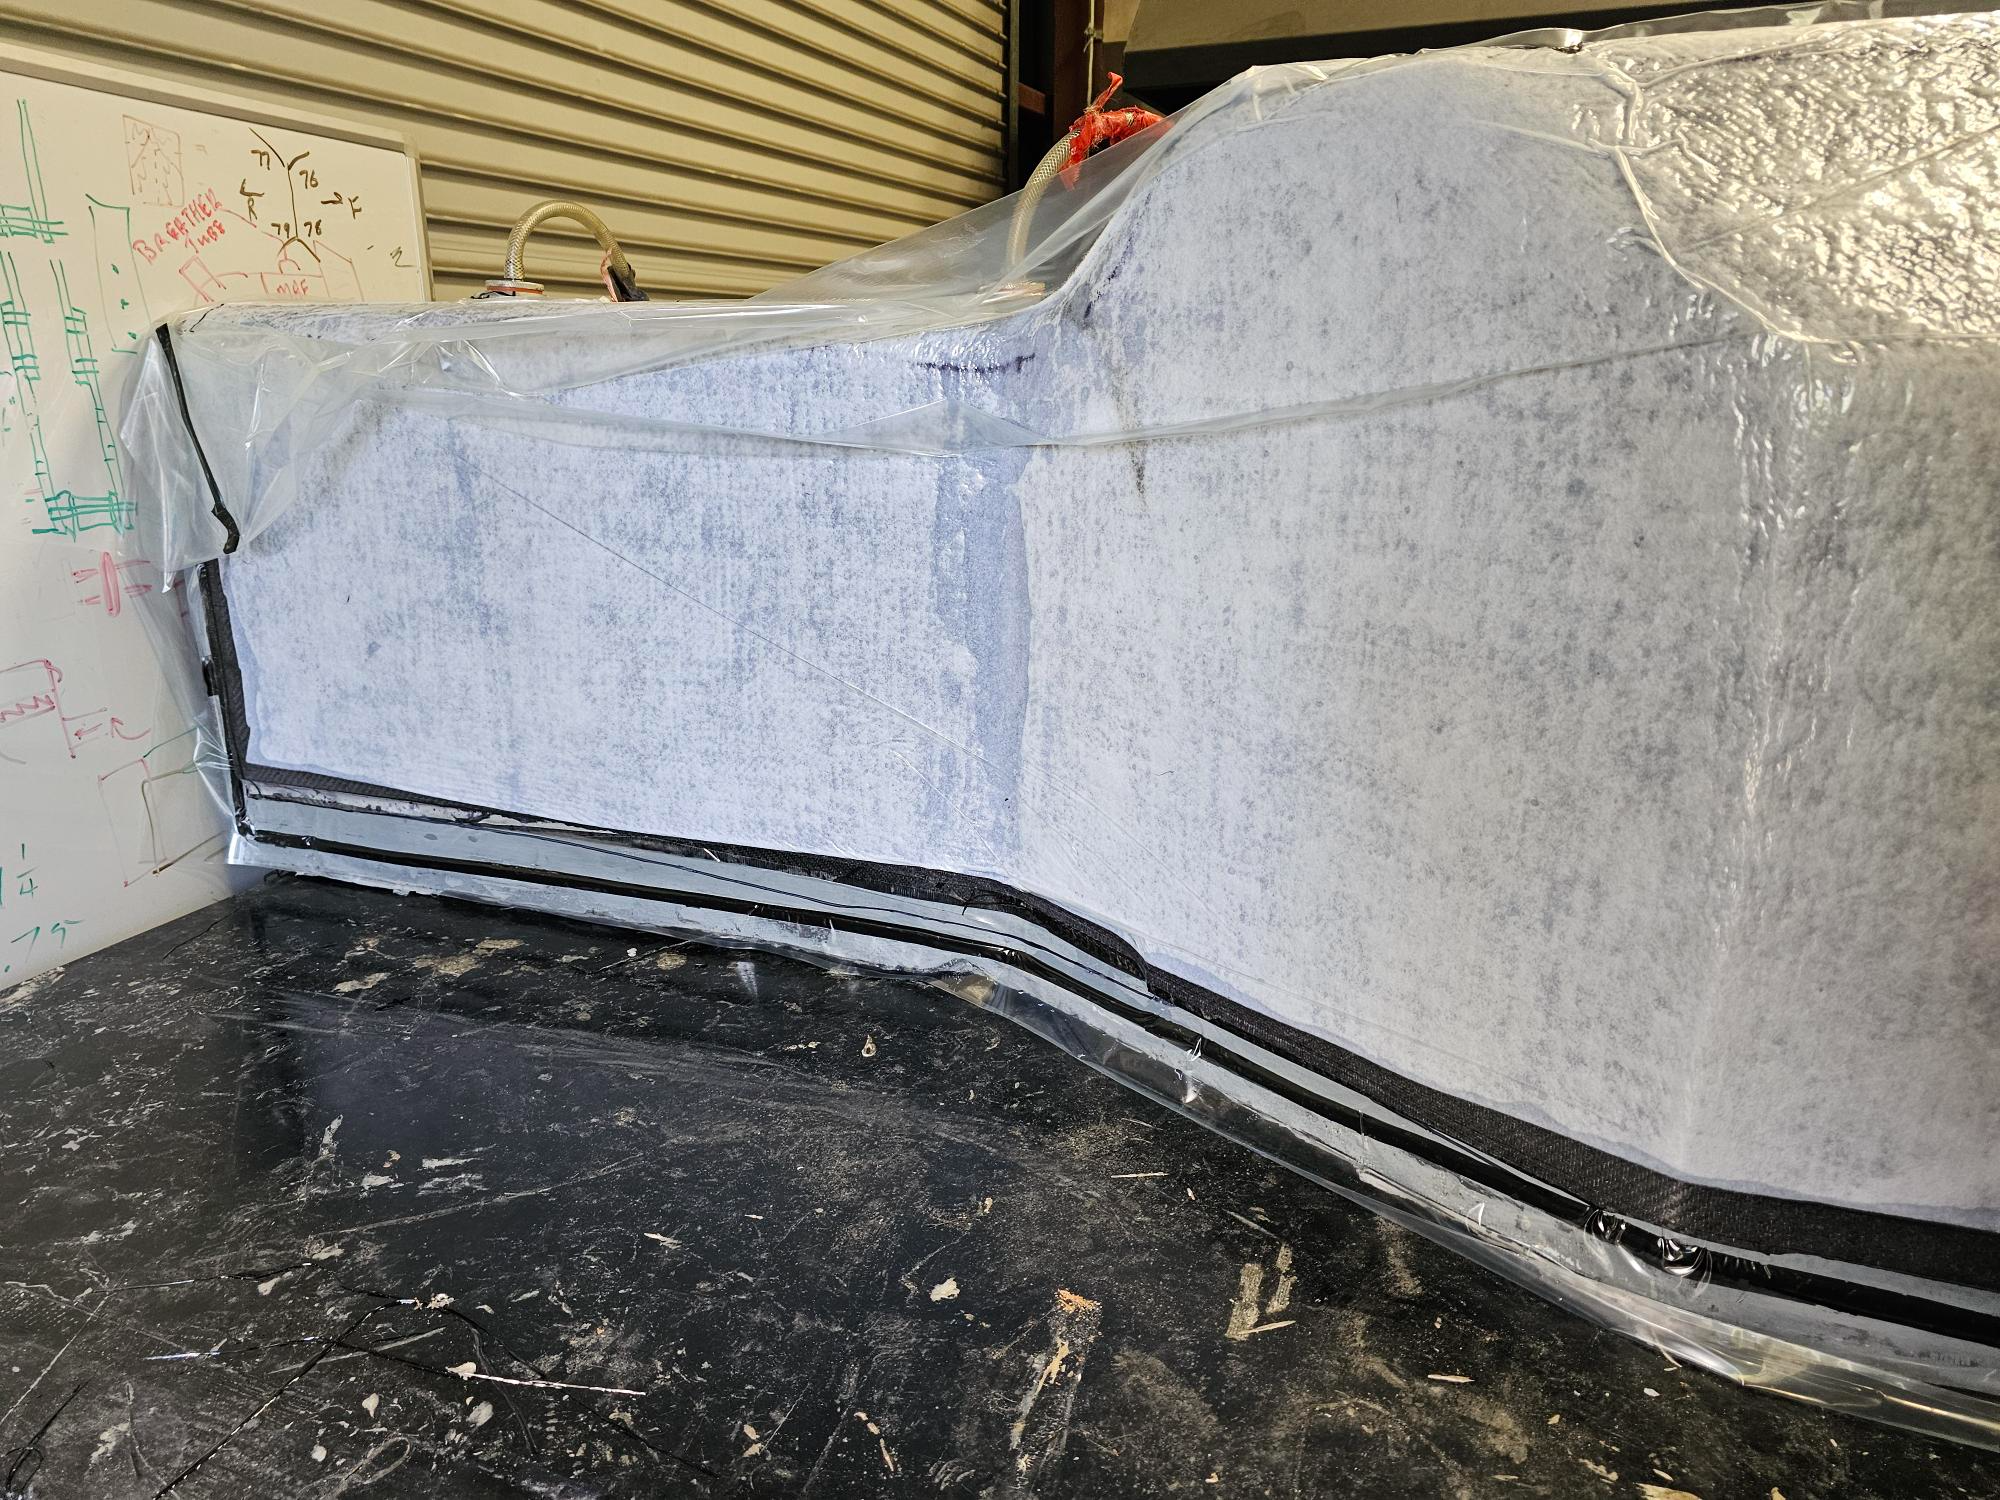
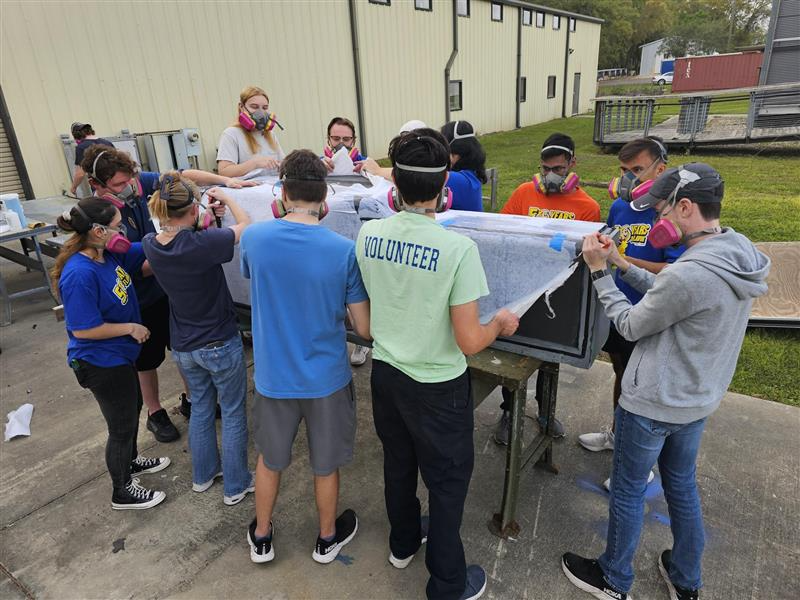

datuming was hell. Chassis needed to be in a specific region indicated by bat box panel on aeroshell, but making sure the back plate (that had bow in it) was parallel to the front of chassis and that the chassis was perfectly in the center of a non-datumed aeroshell, everything was curved. I spent a month making sure there was no yaw, roll, or pitch on chassis while ensuring the location of chassis was in the right spot and length.
Suspension holes were also added via ply wood waterjet with holes
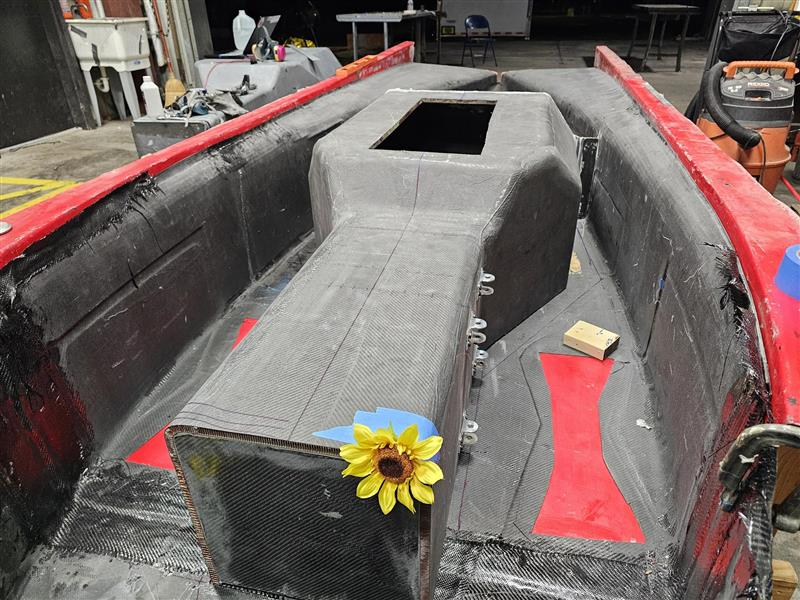
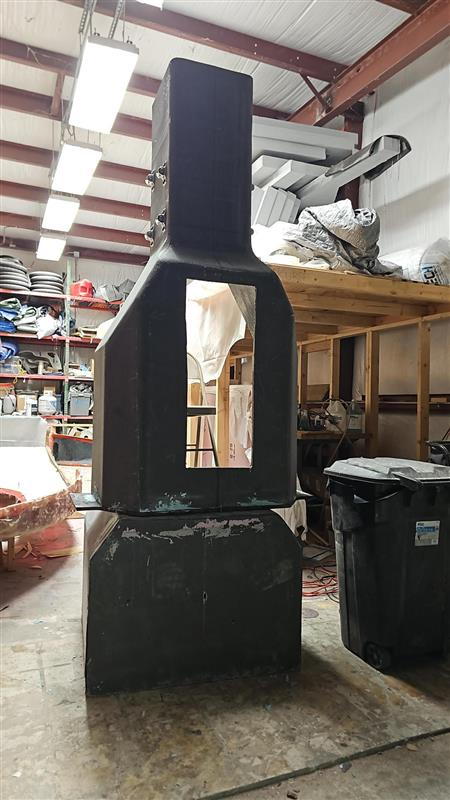
heatgun and scrapping worked very well dure to the polycarb finish on the plates
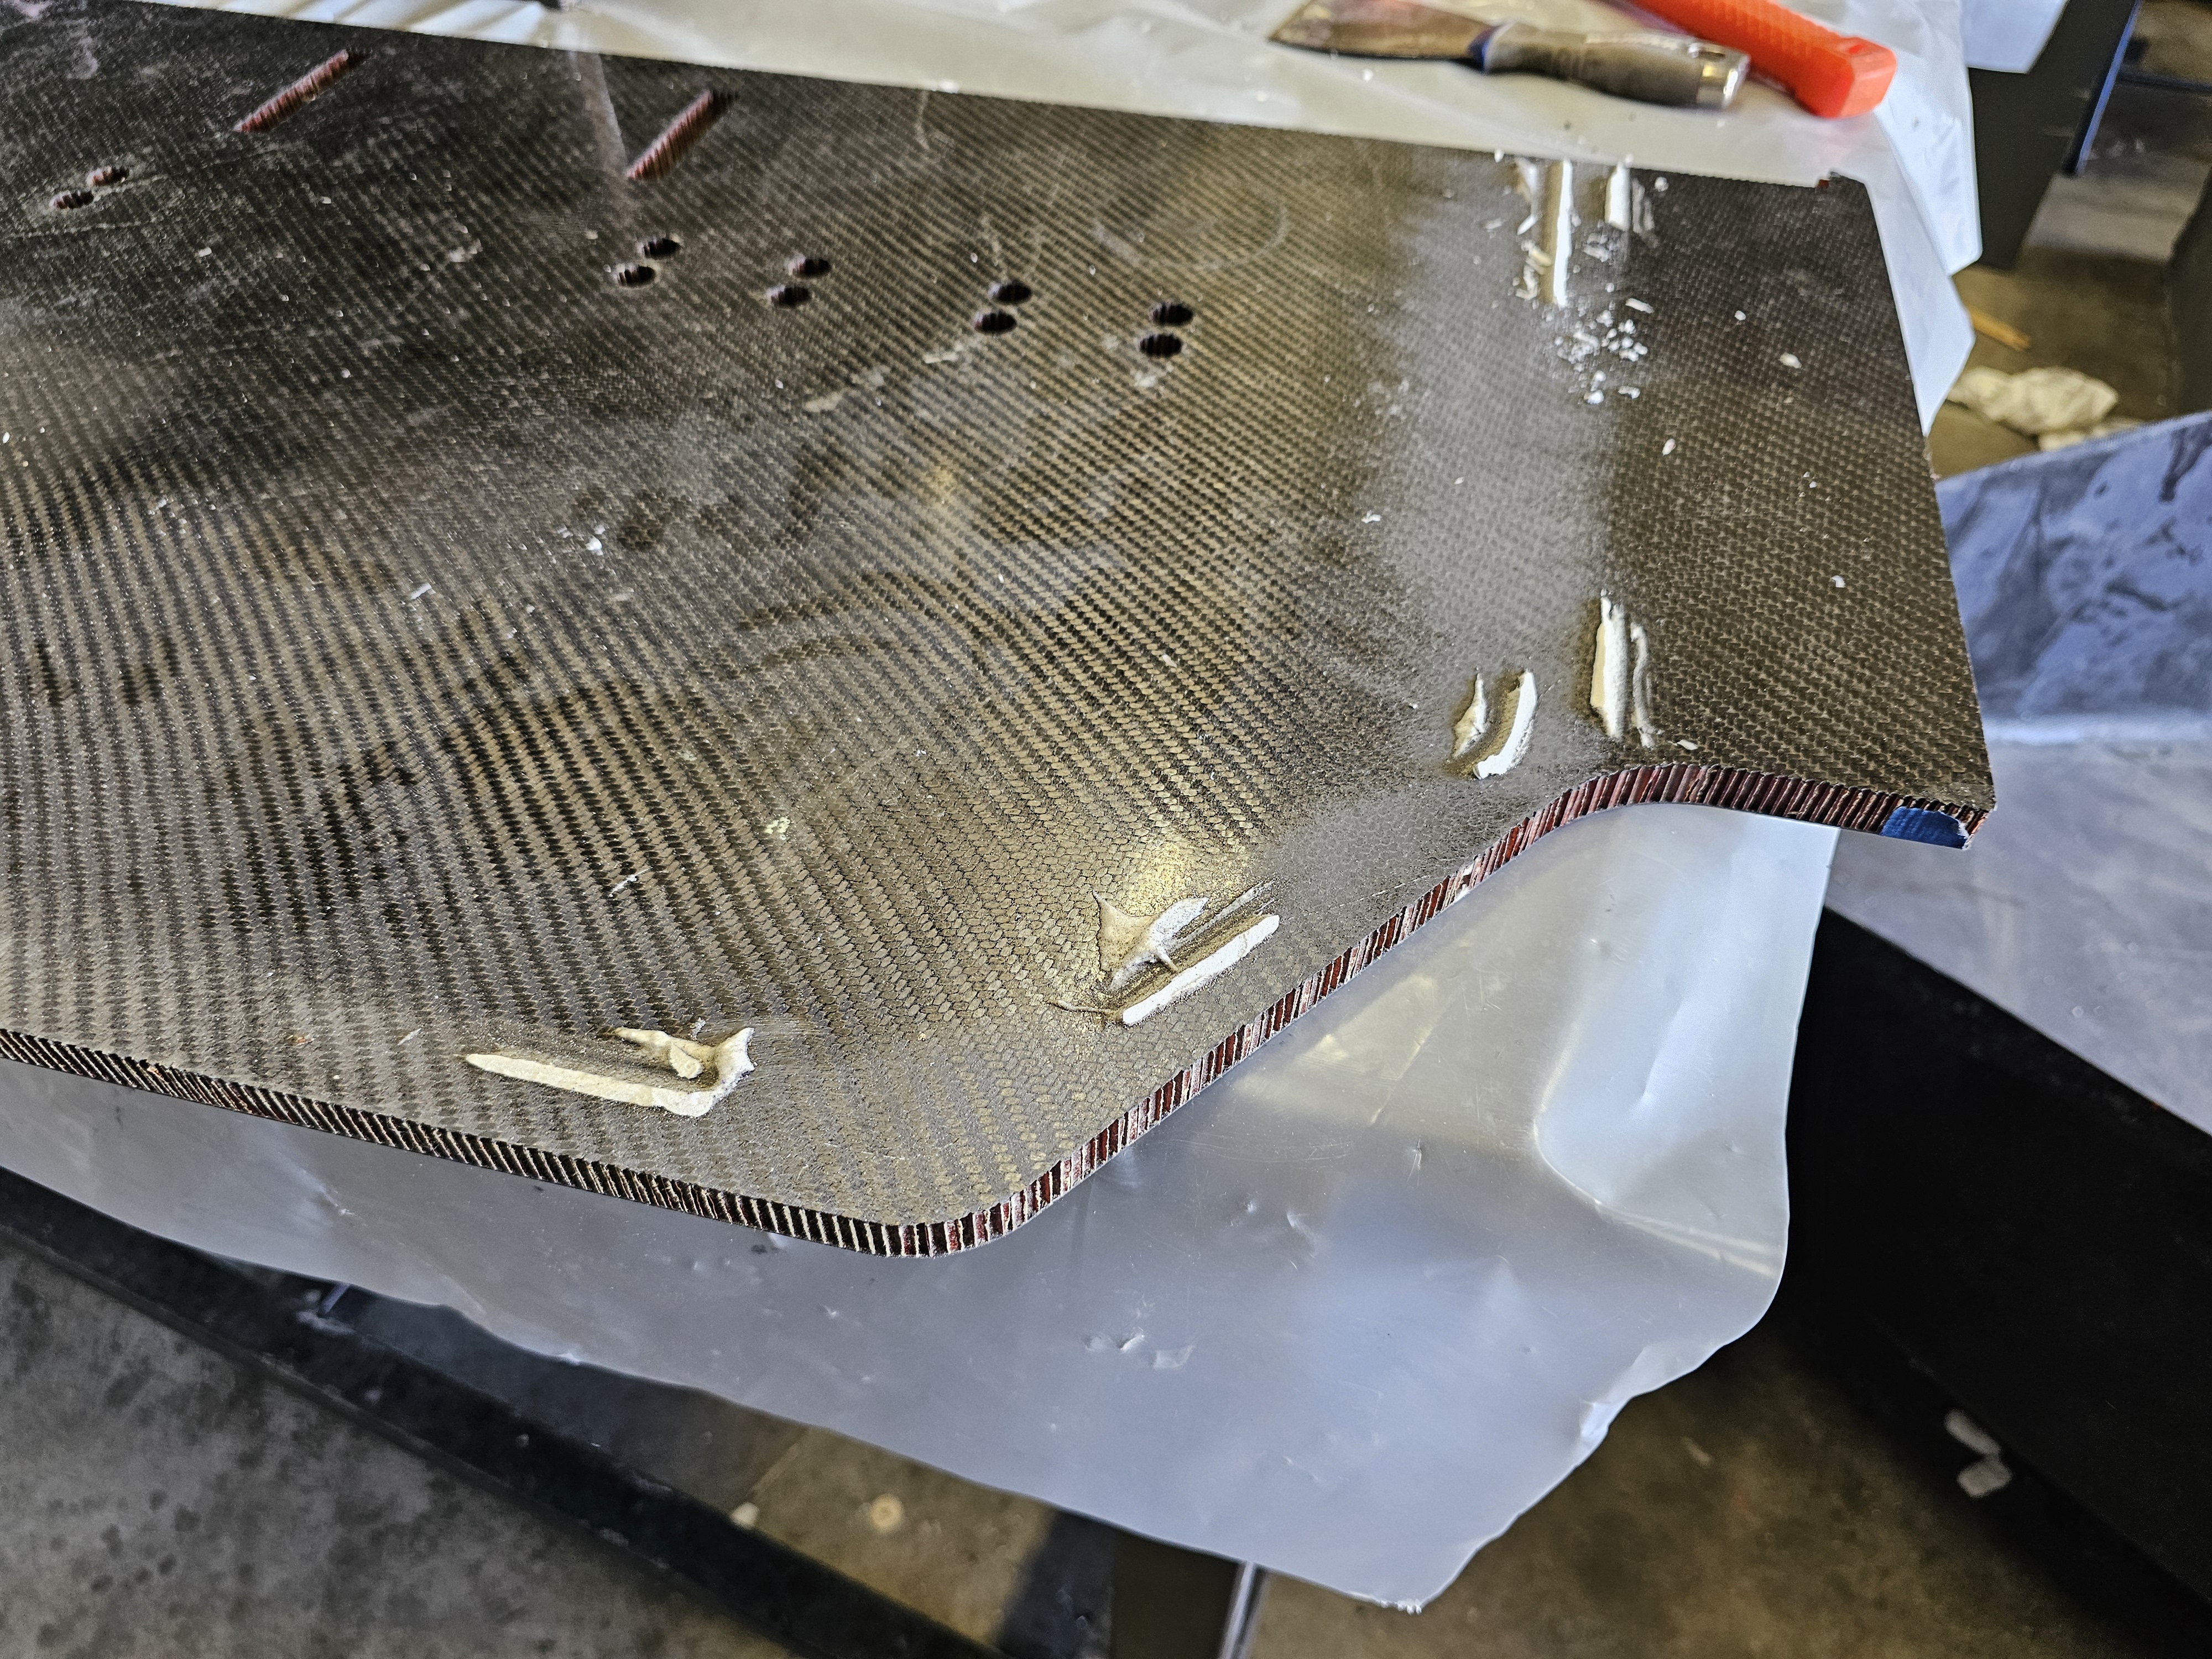
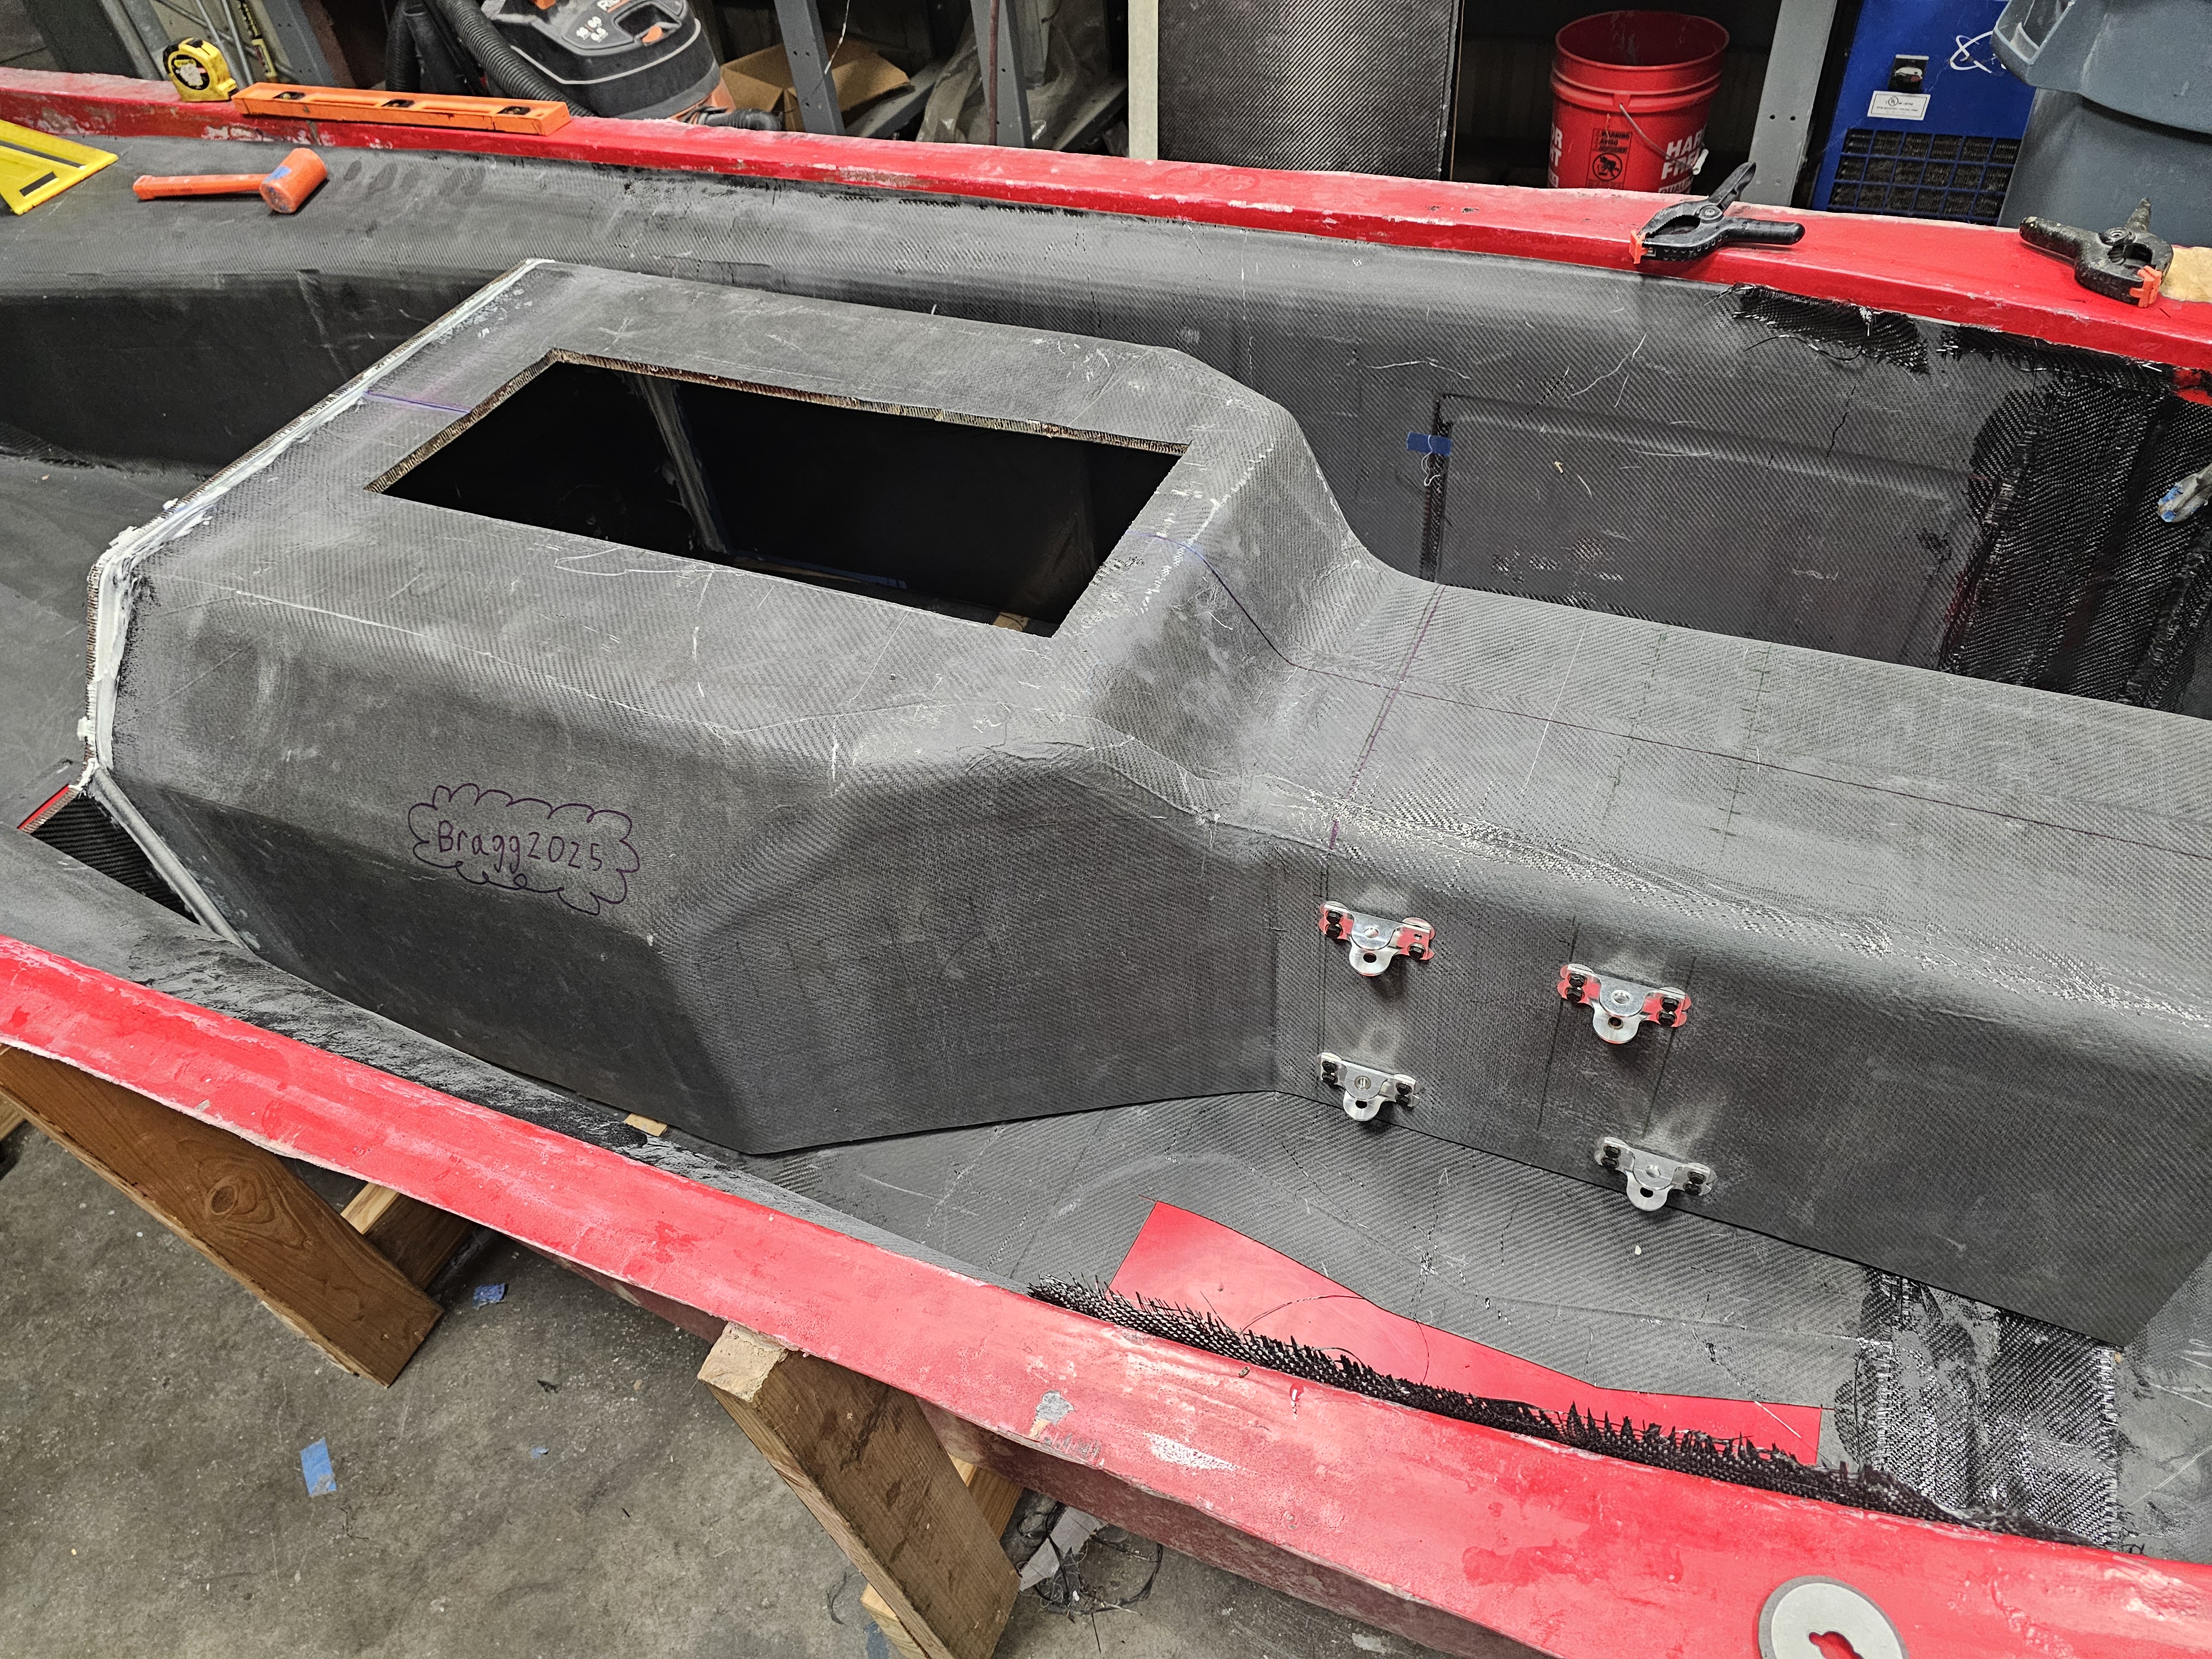
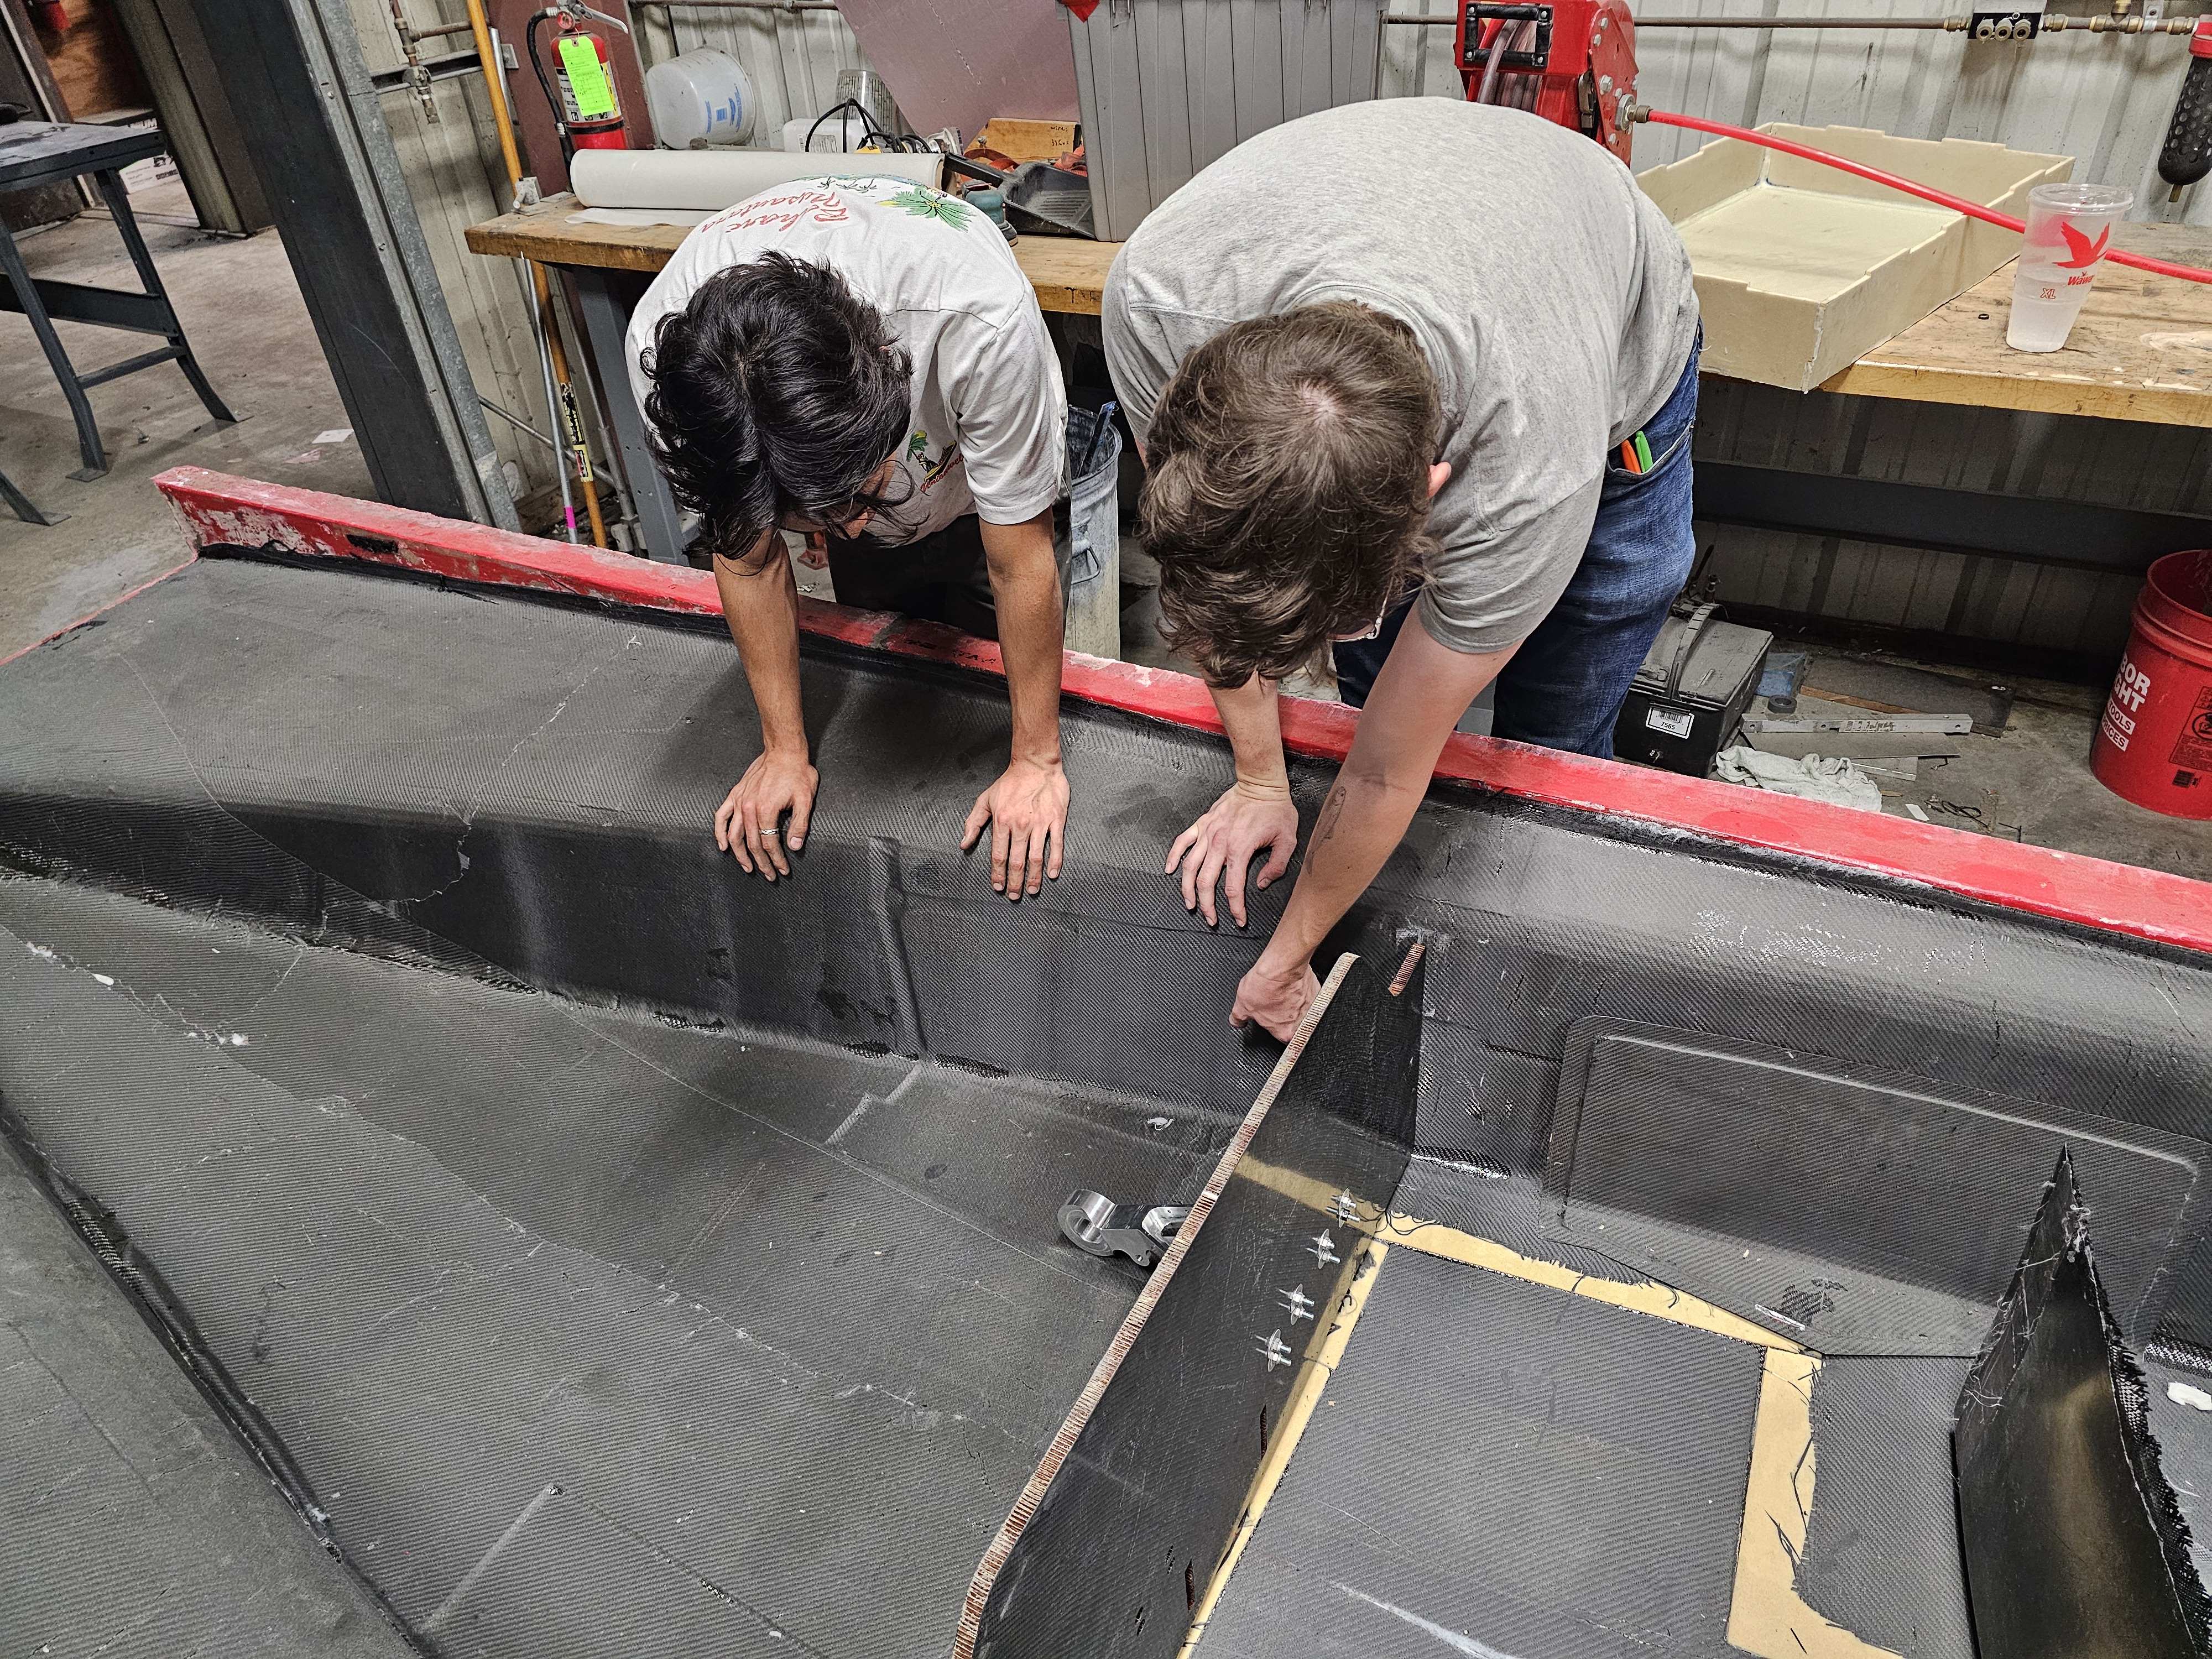
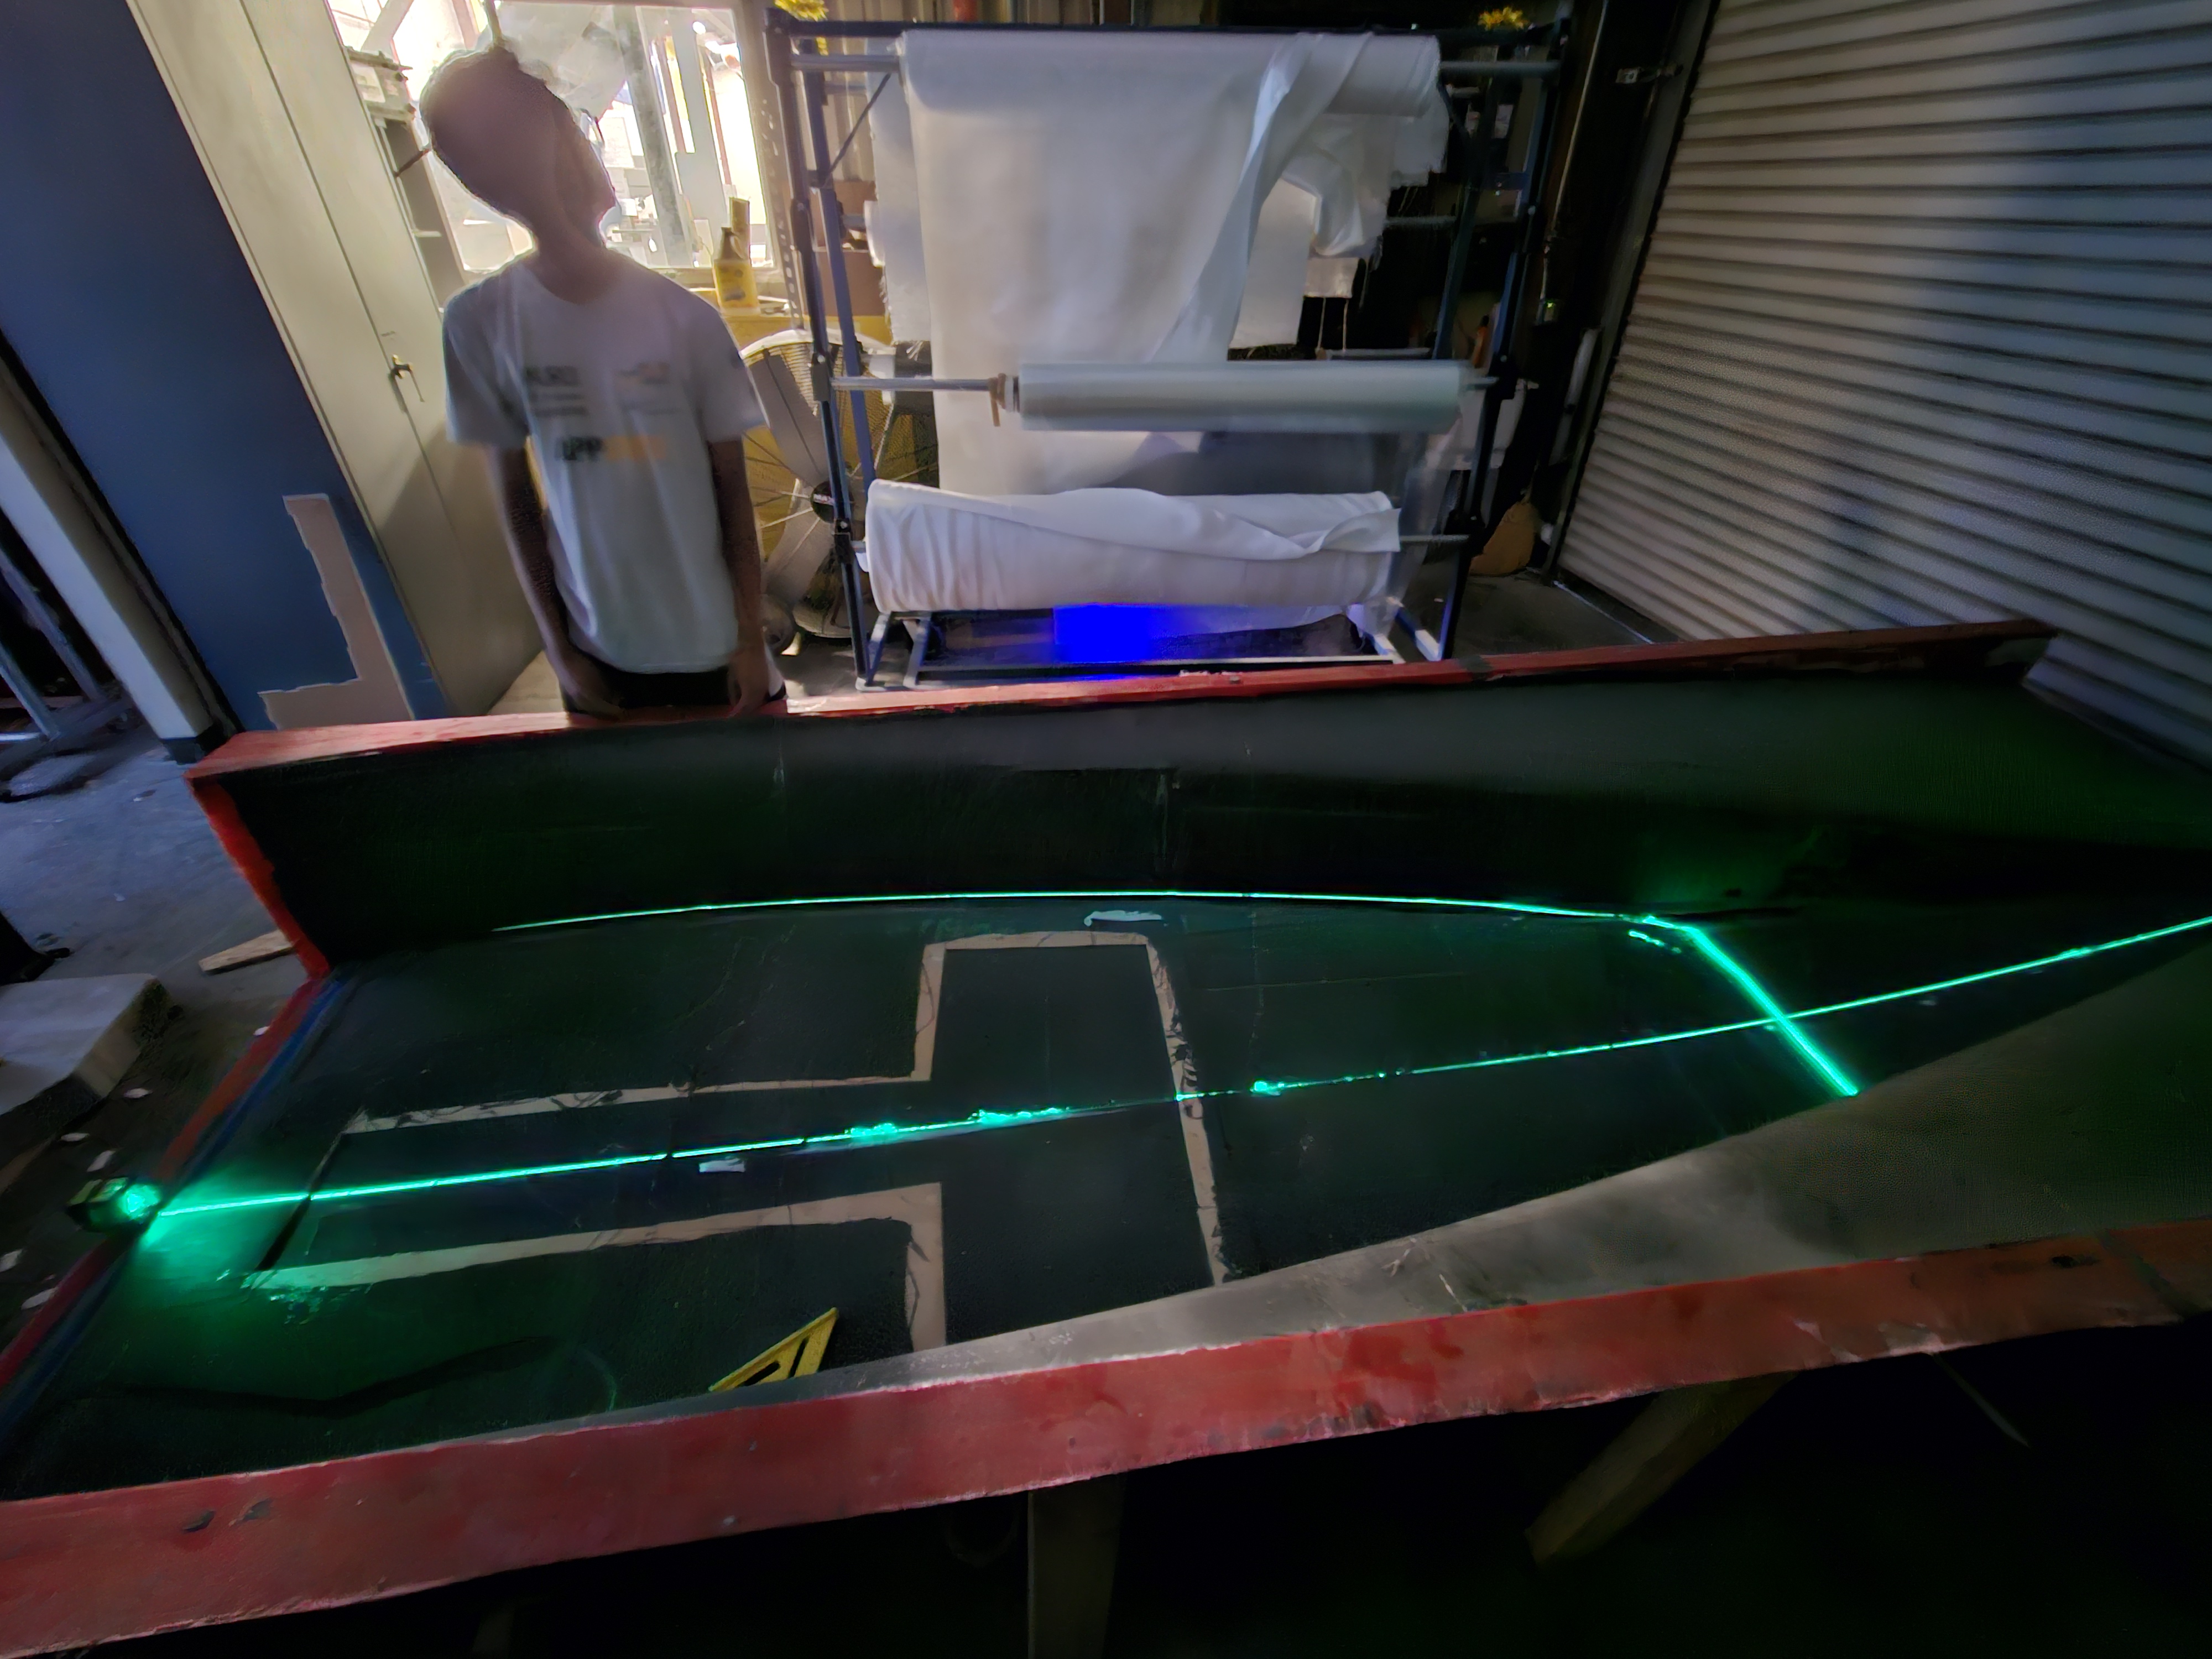
Chassis positon was finalized with a laser down the aeroshell up through chassis to the front of the car and many many MANY measurements - triangle measurements.
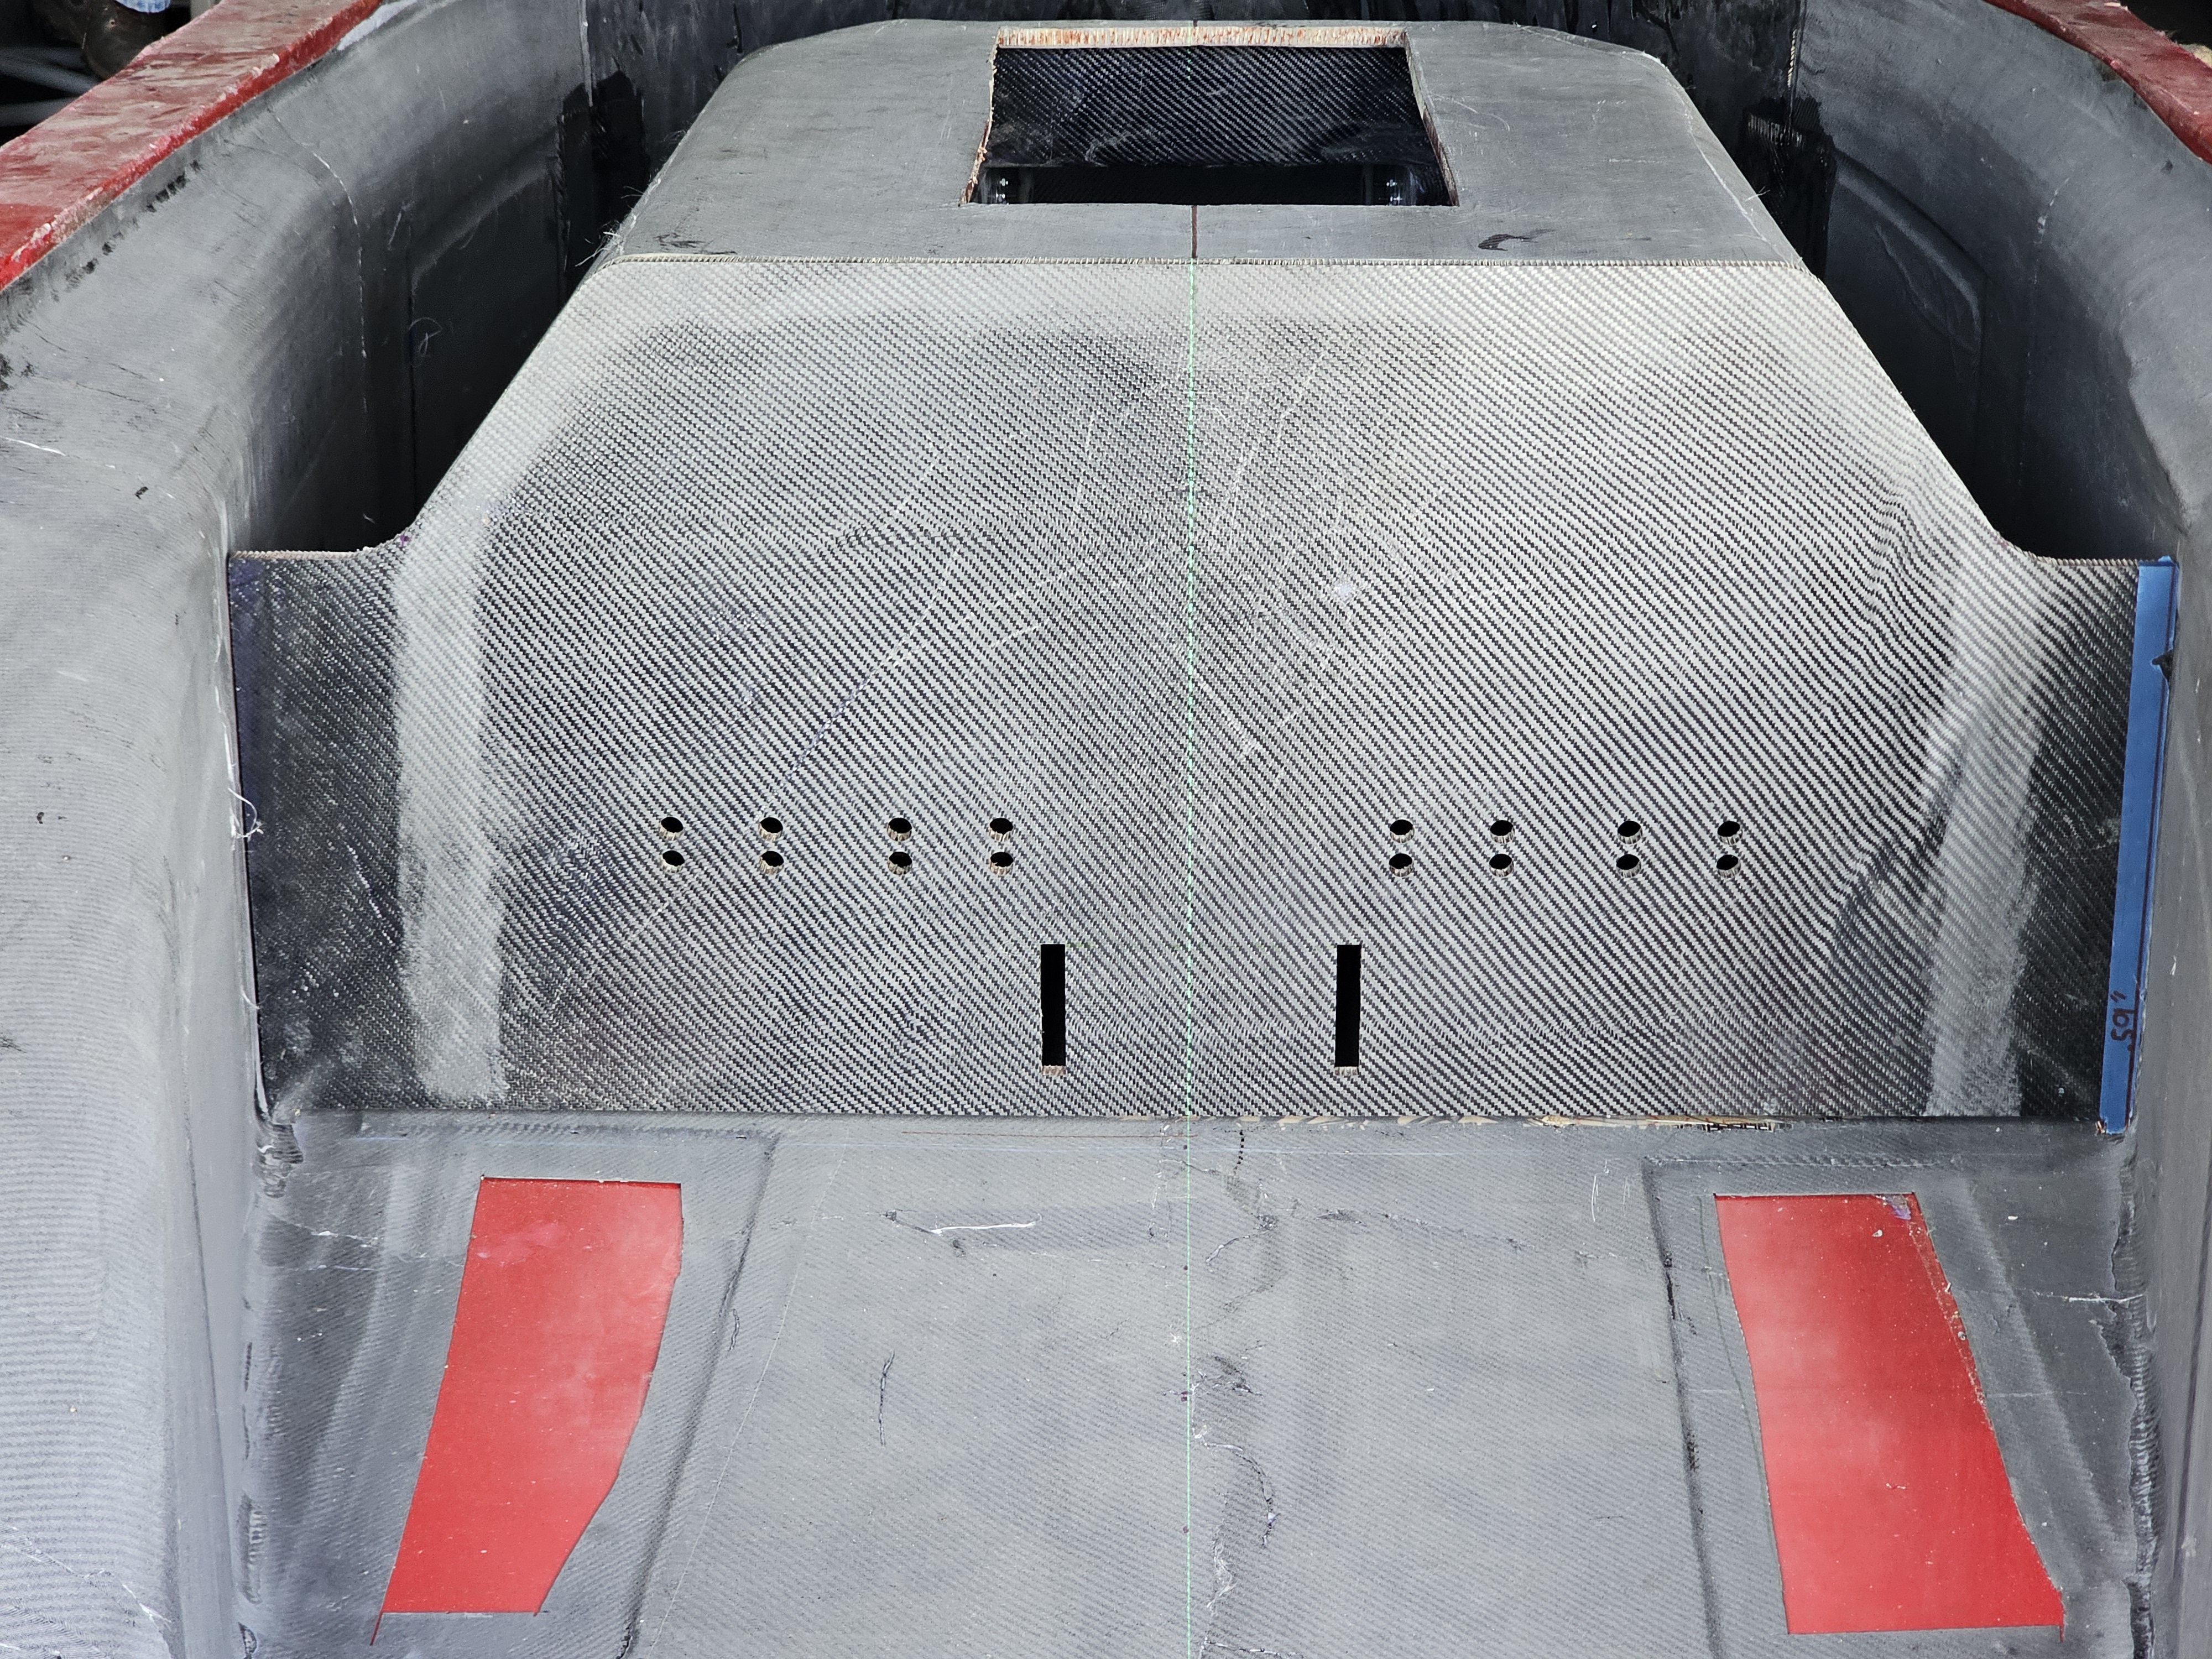
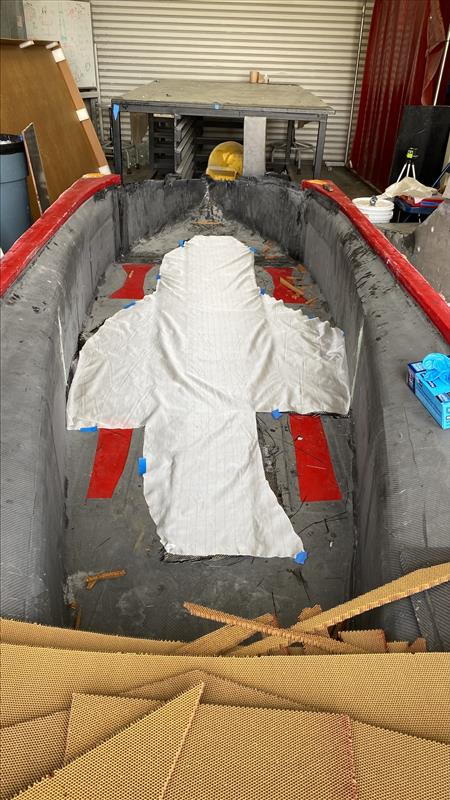
The floor was put in by routing out where the floor would be, that was sketched by me, then core was put in with a large EA9430 with filler fillet to allow the last ply to go on well. An inital EA9430 ply was put on then 1 last ply with epoxy (2 in total)
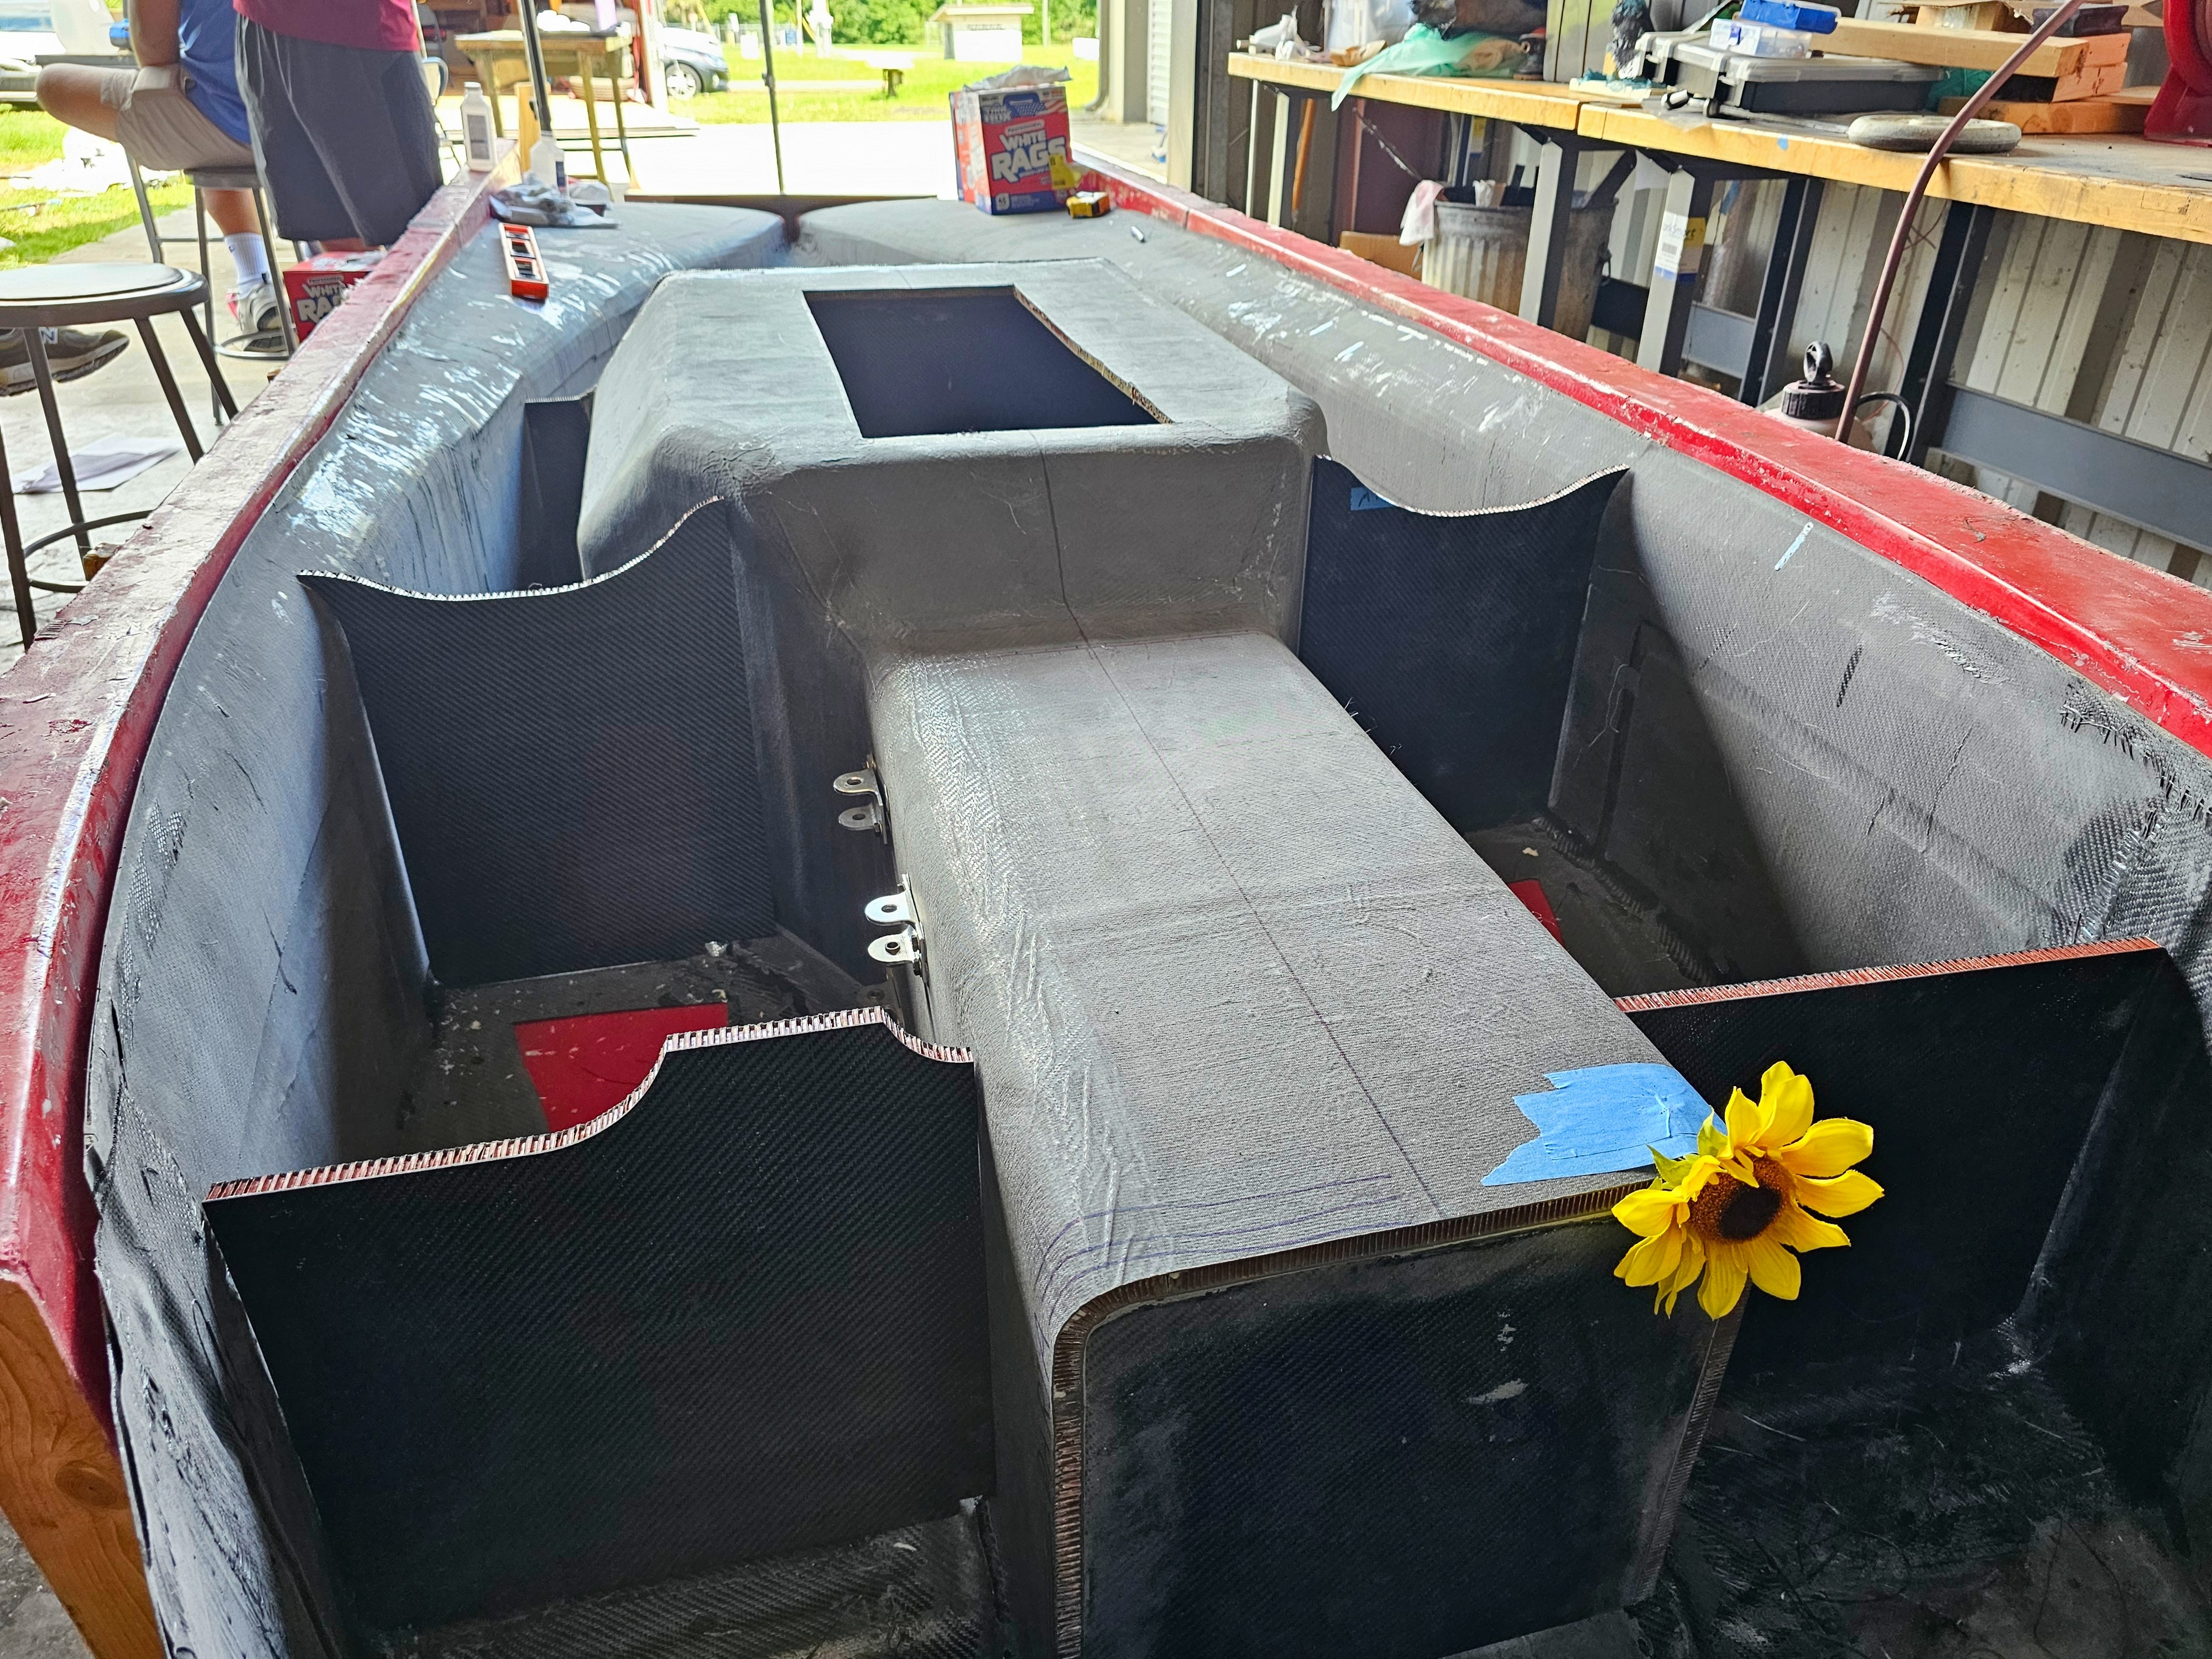
It was glued in and came out pretty nice, it had some pitch some how but when i weighed it down the dimensions all lined up, this is a mystery to this very day.
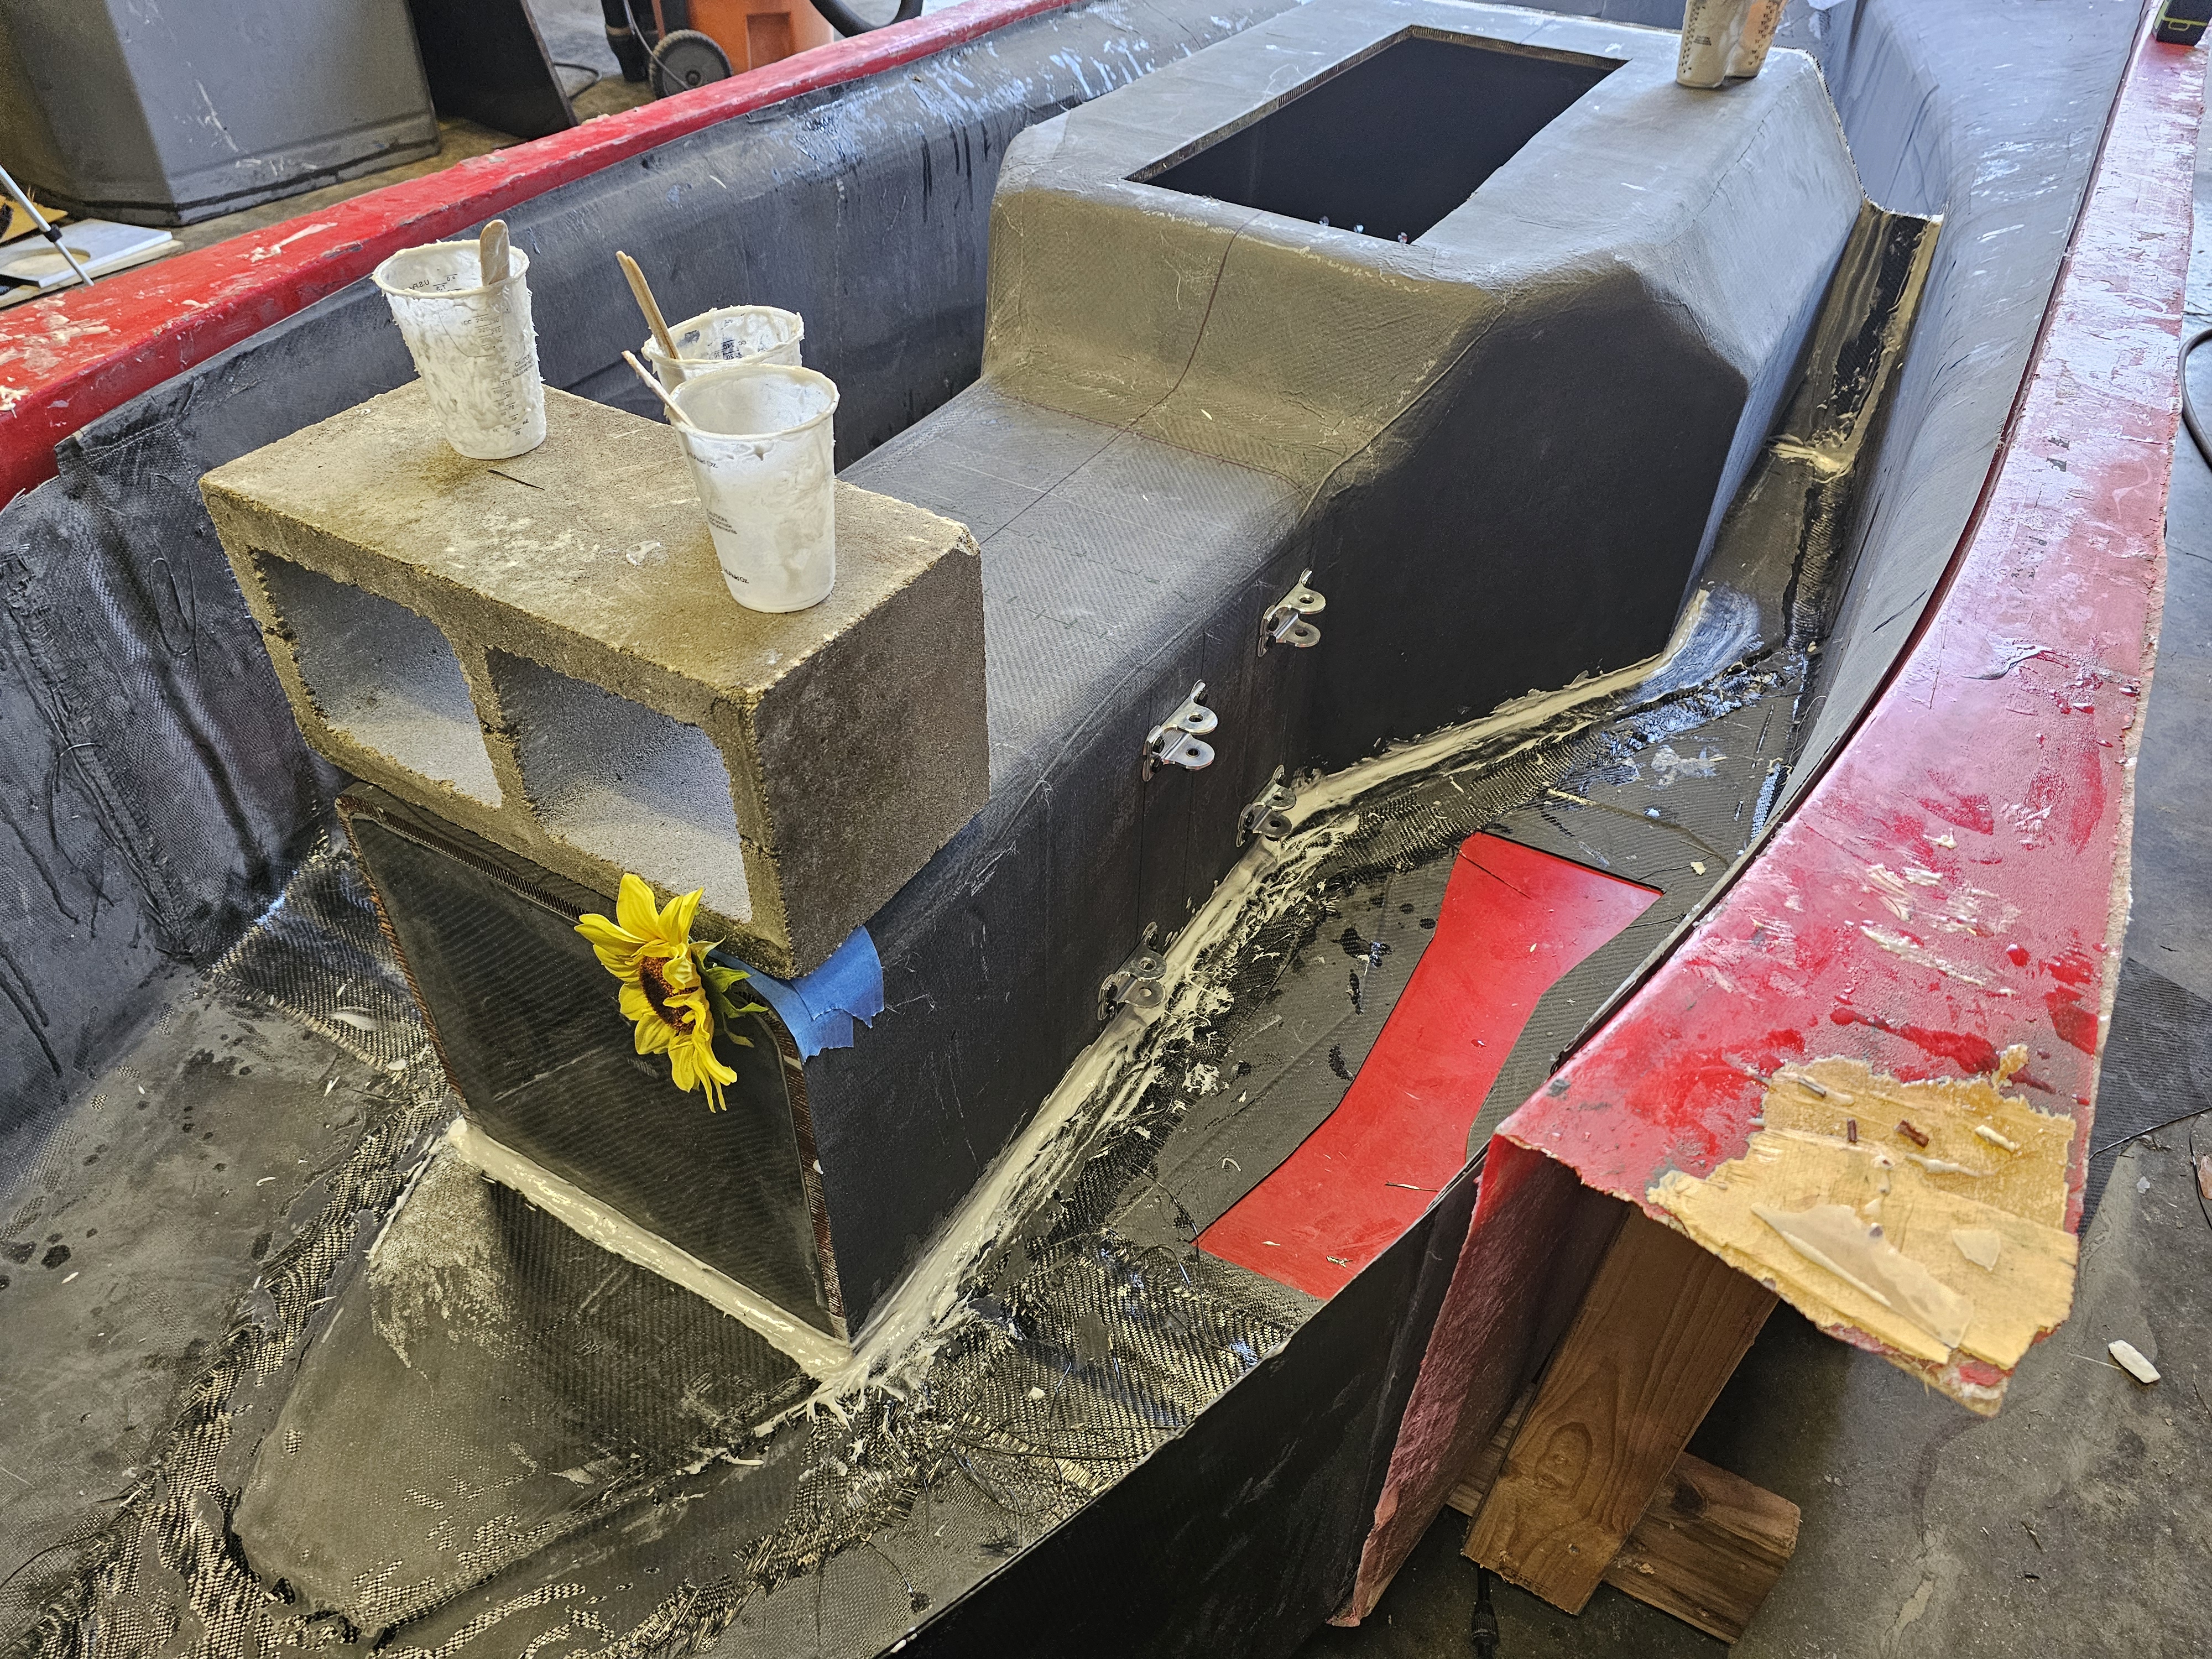

I worked every waking moment on this chassis and can't thank enough the people who helped this project come to life.
However, no one should be expected to put the time I put in, DO NOT START MANUFACTURING CHASSIS AT THE END OF FALL. It should take a year, not 4 months. I finished the chassis mold in roughly 10ish days and spent every moment (usually nights) working on chassis until I left for an internship. It got very painful, get your time tables right.
Thank you everyone on chassis, you are all amazing and I can't thank you enough. Thank you.
No comments to display
No comments to display